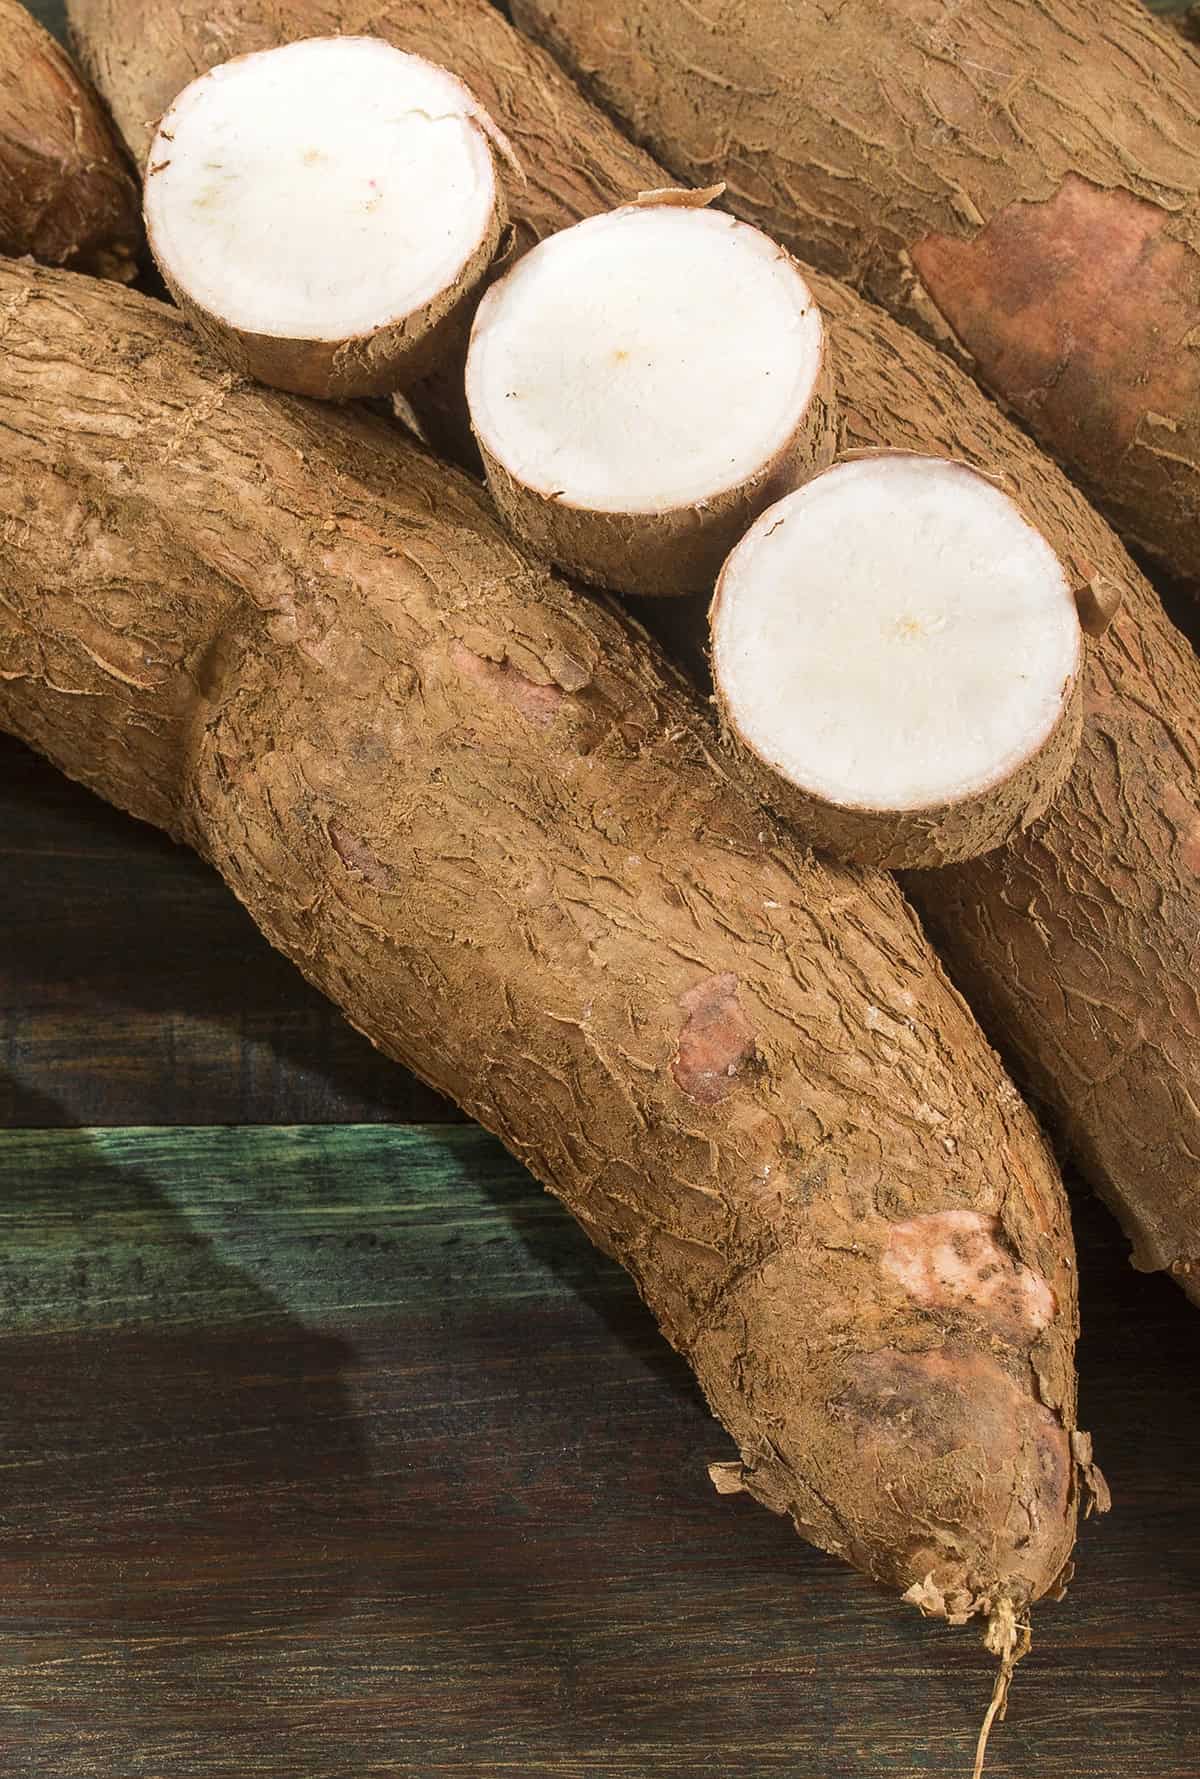
Arrowroot rewards you with a reliable starch crop when you match its tropical habits. You grow arrowroot by planting rhizomes in warm weather, keeping soil rich and moist, giving bright indirect light, and harvesting roots after about 10 to 12 months. This plant prefers steady care over extremes. Small adjustments make a clear difference.
Garden beds or roomy containers—either way, arrowroot’s pretty forgiving. Loose soil that drains but doesn’t dry out is the sweet spot. Light shade is usually just right, but filtered sun works too. Water shouldn’t be heavy-handed, just steady.
Variety does make a difference for size and yield, so pick carefully. Feed lightly but regularly. When it comes to harvest, timing means everything—wait for mature roots for better texture. If you catch stress early, most issues are easy to fix.
Table of Contents
Soil
Loose, well-drained soil is the way to go. Arrowroot likes it moist, but not soggy. If the soil’s too compacted, roots can’t really do their thing and harvests get smaller.
pH should lean slightly acidic, but close to neutral works if you don’t have a test kit handy. Sand, loam, or light clay can all work—just don’t let water pool up. Airy soil helps tubers expand.
Mixing in compost or rotted manure before planting does wonders for fertility and water balance. That way, the soil holds moisture without turning swampy.
Find a spot that’s a bit sheltered if you can. Shade tolerance is good, but warmth and a bit of air circulation matter. Early on, keeping the soil evenly moist beats overfeeding.
Mulch is handy for keeping the top layer from drying out. Just a thin layer—if it’s too thick, you risk soggy rhizomes.
Planting
Start with arrowroot rhizomes that feel firm and have visible growth points. Warmth and steady light are key—cold soil just slows things down. Drainage is non-negotiable, but the soil should still hold some moisture. Richer soil means stronger roots.
Plant rhizomes about four inches deep, with growth points up. Give them enough space for those wide leaves. Press the soil down gently and water right after planting to settle everything in.
Wait until after the last frost and make sure the soil is warm. Outdoor beds are great, but big containers do the job too. Keep things tidy so new shoots aren’t fighting through debris. Consistent moisture early on makes all the difference.
Variety Selection
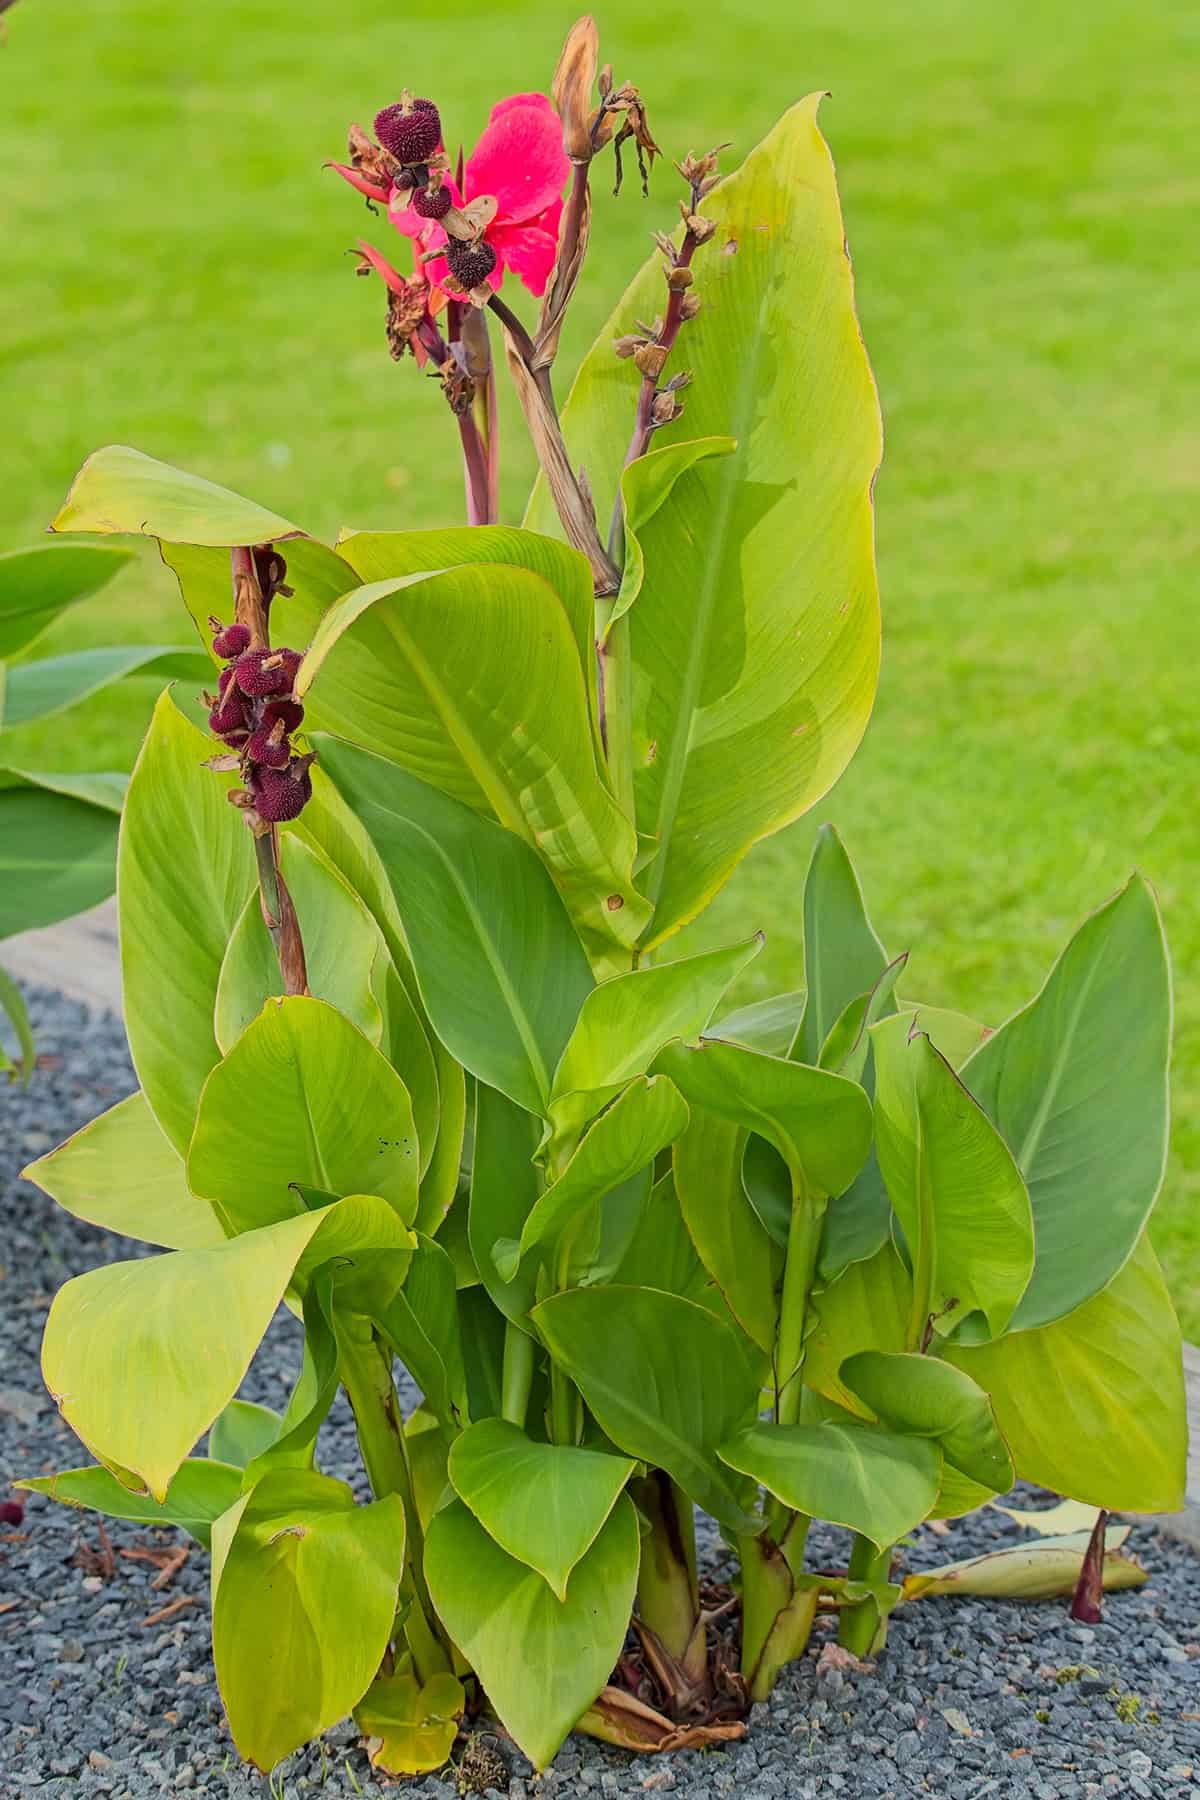
Here’s where it gets a little tricky—“arrowroot” can mean a few different plants. True arrowroot is Maranta arundinacea, the starch one. Sometimes people mean edible canna (Canna indica), but that’s a bit different.
If you want to eat it, stick with Maranta types that have a track record for good roots and mild flavor. They like warmth and don’t mind some shade. Local plant guides or extension offices usually know which ones do best nearby.
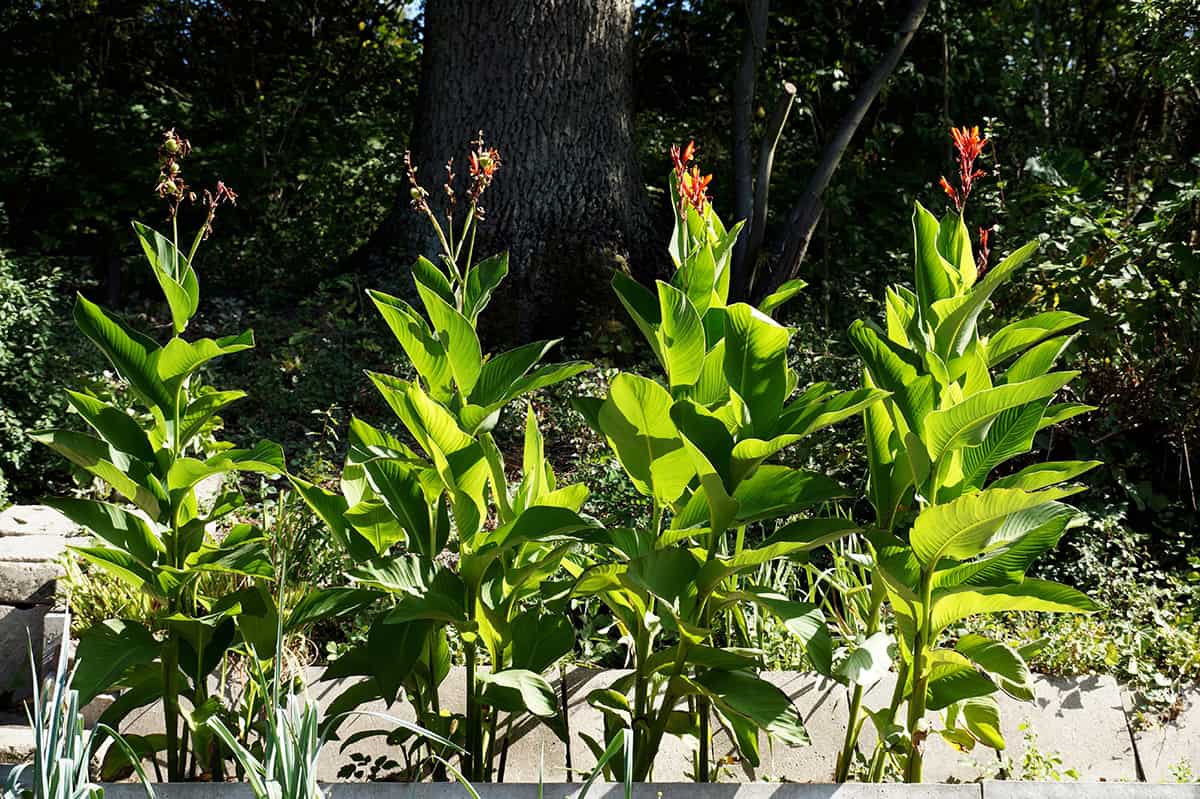
Ornamental cannas are more for looks, though their roots are edible too. They come in all sorts of sizes and colors. The red-flowered types even pull in hummingbirds, which is a nice bonus.
Match your pick to how wet your spot gets. Maranta likes it moist but not soggy. Canna can handle wetter ground, even pond edges.
Double-check catalog names and labels so you don’t end up with the wrong plant. Getting the right one up front saves a lot of hassle later.
Light
Arrowroot likes it bright but not blazing. Indirect light for most of the day is best—too much direct sun and the leaves can get scorched.
Filtered light under trees works nicely outdoors. If you’re growing inside, east or north windows are safest. South or west windows? Maybe add a sheer curtain.
It can handle partial shade, but if things get too dim, growth slows and the leaves look washed out. Try to keep things balanced.
In the tropics, morning sun with some afternoon shade is usually perfect. If you’re somewhere cooler, a little extra light helps. Move your plant as the seasons shift if you need to.
Grow lights are fine if you don’t get enough natural sun. Just keep them above the plant and set a regular schedule. It’s the consistency, not the intensity, that counts.
Water
Steady moisture is key for arrowroot. Water often enough to keep the soil evenly damp, especially when it’s hot out. If things dry out, roots don’t develop well and starch production drops.
It actually handles wetter soil than most garden plants. Low spots, rain gardens, even near ponds—arrowroot can take it, as long as water doesn’t just sit cold and stagnant for weeks. That’s when rot becomes a problem.
Young plants need a bit more attention. Water deeply after planting, and during dry spells, check moisture a few inches down before watering again. Mulch helps keep things stable.
Feeding
Arrowroot isn’t a heavy feeder. Work in compost or well-rotted manure before planting. Too much fertilizer, especially nitrogen, actually makes the roots worse. It’s all about balance.
During the growing season, a light organic feed once or twice is enough. Go for something with moderate nitrogen and low salts. If your soil’s already rich, you might not need to feed at all. Healthy leaves and steady growth mean you’re good.
Plants in pots need a little more attention since nutrients wash out faster. Feed lightly every month or so. Pale leaves can mean low nitrogen, but don’t go overboard. Skip feeding late in the season so the plant can store energy in the roots.
Growth Time
Arrowroot isn’t in a hurry. Shoots usually show up two to four weeks after planting healthy rhizomes. Once roots settle in and the soil’s warm, leaf growth picks up. Early growth feels slow, but that’s normal.
Full harvest size takes eight to twelve months—sometimes longer if you’re in a cooler spot. In frost-free places, they’ll just keep going. If it’s chilly, everything takes a bit more time.
When the leaves start yellowing and losing strength, that’s your cue—the rhizomes are ready and starch is at its best. Pulling them too soon just means smaller, less useful roots.
Growing Arrowroot In Containers
Short on space or stuck with lousy soil? Arrowroot does fine in pots. Pick a wide container with good drainage and sturdy sides. Depth is more important than height—rhizomes like to spread. Aim for at least 12 inches deep.
Keep the pot somewhere with bright but gentle light. Too much sun stresses the leaves, but some shade helps them stay healthy. Use loose, moisture-holding soil—container soil dries out faster than garden beds, so keep an eye on it.
Plant rhizomes a few inches down, leaving room between them. Water well after planting, and keep things moist as roots get established. Containers dry out fast, so don’t let them go bone dry.
Once you see new shoots, feed lightly with a balanced fertilizer. Too much and you’ll hurt the roots. If cold weather’s coming, move pots inside or to a sheltered spot—arrowroot really doesn’t like the chill.
Harvest
Roots are usually ready in about 6 to 8 months. Leaves go yellow and growth slows—that’s when the rhizomes are at their best. Dry weather helps with digging and keeps the soil crumbly.
Use a fork to loosen the soil from the side, then lift the plant by hand. Handle roots carefully—bruises shorten storage life. Shake off dirt and separate out the big rhizomes.
Rinse them with clean water, let them sit in the shade for a bit, and trim the stems. Store arrowroot in a cool, dry, airy spot. If you’re somewhere frost-free, you can just leave some in the ground and dig them as needed.
Common Problems And Troubleshooting
Yellowing leaves and limp growth? That’s usually root stress talking—often from soggy soil or poor drainage. Let the surface dry out a bit before watering again, and see if loosening up the soil helps.
If the plant looks pale and just refuses to get taller, it’s probably not getting enough light or nutrients. Arrowroot really likes that bright, dappled sun you’d find at a forest edge. Try shifting it closer to a window out of direct sun, and maybe give it a light feed with a balanced fertilizer—nothing too heavy.
Browning leaf tips or crispy edges tend to show up when the air’s too dry or watering is all over the place. Arrowroot prefers things a bit more stable—moderate humidity and evenly moist soil. Regular, spaced-out watering helps, and keeping it away from blasting heat or drafts can make a difference.
Leaves chewed or curled? That’s probably bugs—sometimes you’ll spot caterpillars or other larvae making a meal of the foliage. Most of the time, it’s not a crisis, but if it gets out of hand, just snip off the worst leaves and check nearby plants to keep things from spreading.
If you dig around and find squishy, stinky rhizomes, you’ve got rot. That happens when water just sits around the roots for too long. Cut away any mushy parts, save what’s healthy, and replant in a mix that drains well. It’s not always a lost cause, but you’ve gotta act fast.