Cassava, or yuca if you prefer, thrives where heat, sun, and a bit of patience meet. You grow cassava by planting healthy stem cuttings in warm weather, full sun, and loose, well‑drained soil, with steady water until harvest after about 9 to 12 months. It’s a crop that doesn’t ask for much, but it pays back if you stick to the basics.
Early choices set the tone—soil, sunlight, and variety all play big roles in how your roots turn out. Water and nutrients matter, but it’s more about balance than excess.
This guide covers setup, care, and harvest with plenty of practical detail. You’ll also find tips for growing in containers, troubleshooting problems, and a few tricks that save you hassle.
Table of Contents
Soil
Cassava’s not too fussy about soil types, which is a relief. Still, loose, well-drained soil gives you fatter roots. Sandy loam is great, but it’ll get by in less. Heavy clay isn’t ideal—roots stay small and rot risk goes up.
Honestly, drainage is more important than rich soil. If water hangs around, roots suffer. Avoid those soggy low spots. In stubbornly wet areas, raised beds can be a lifesaver.
It likes the soil a bit acidic—aim for a pH of 5.5 to 6.5. If your soil test is off, you can tweak it with lime or sulfur. Testing before you plant makes life easier.
While cassava will survive in poor soil, tossing in some compost helps a lot. It loosens things up and feeds the roots. Just don’t go overboard on nitrogen, or you’ll get a leafy jungle with skinny roots.
Planting
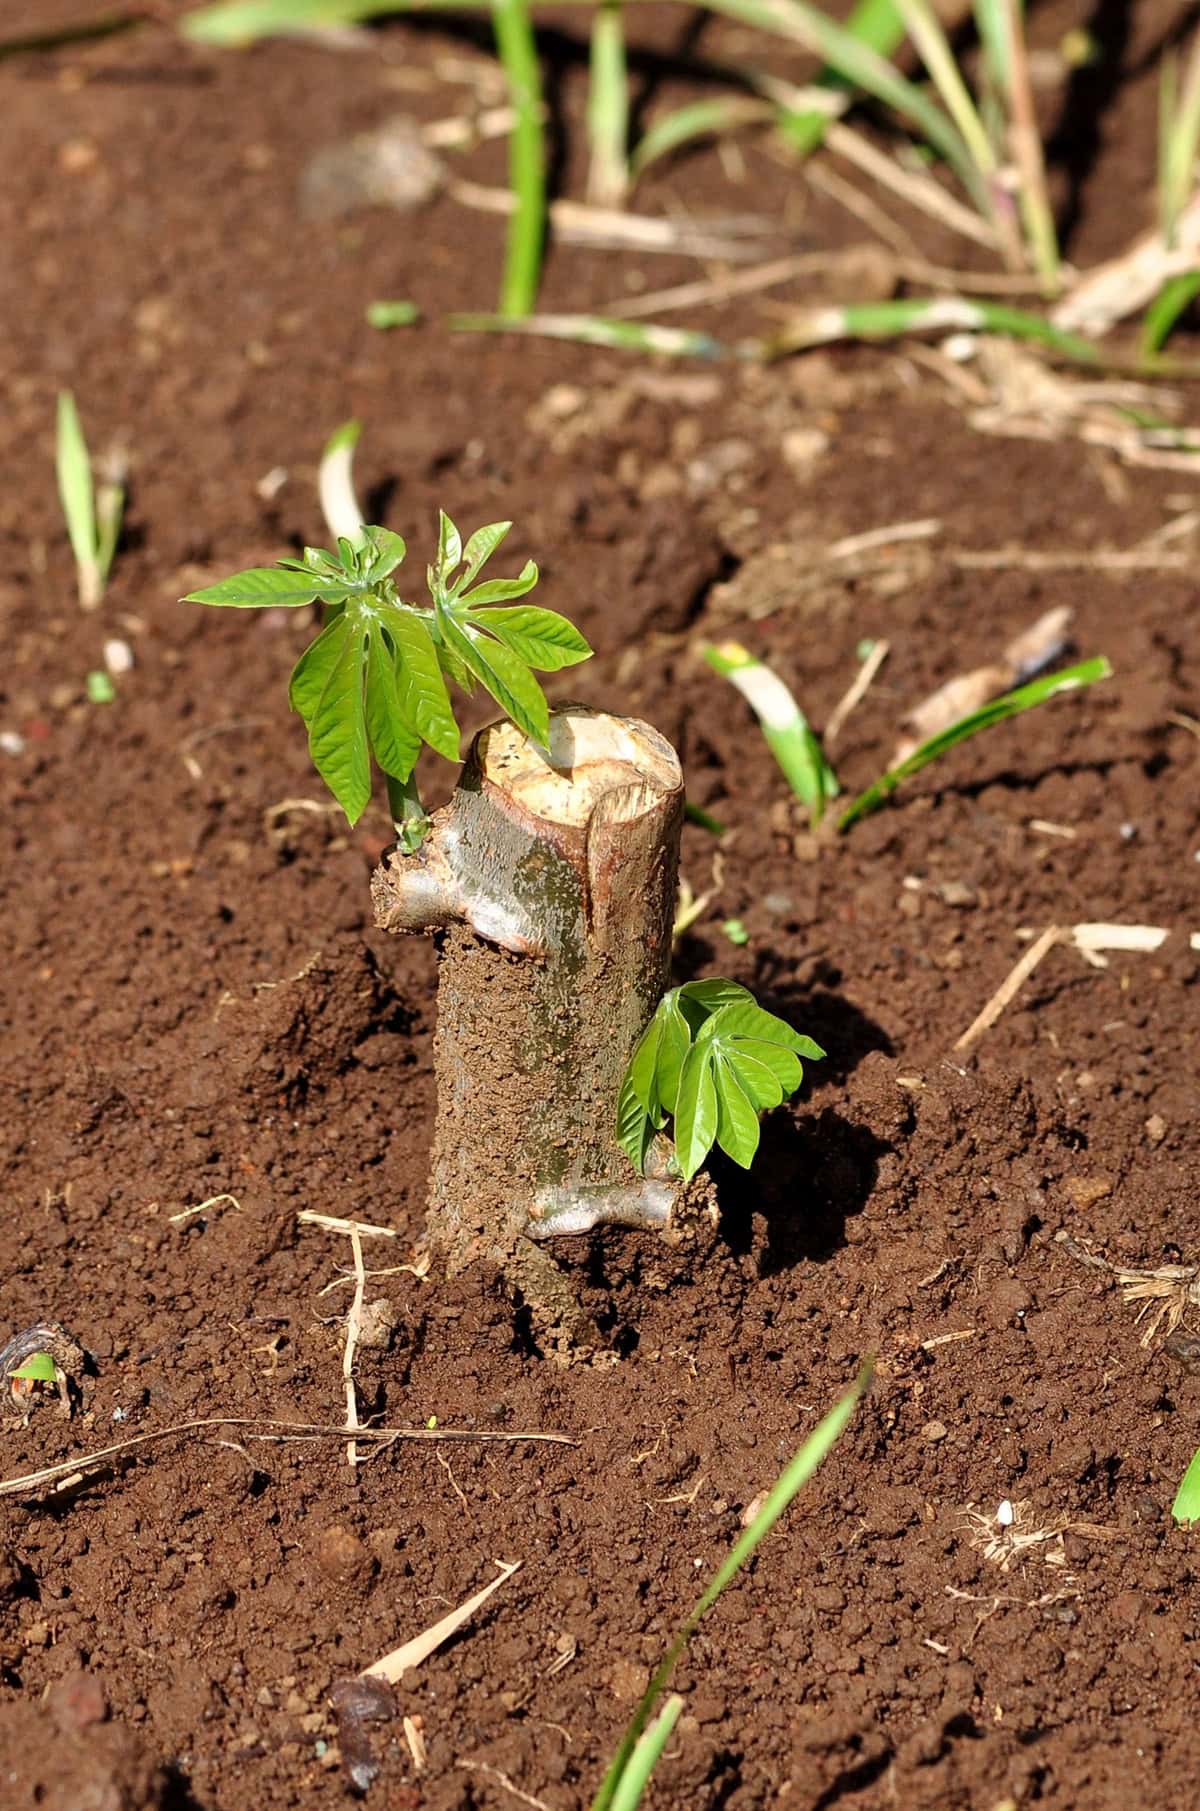
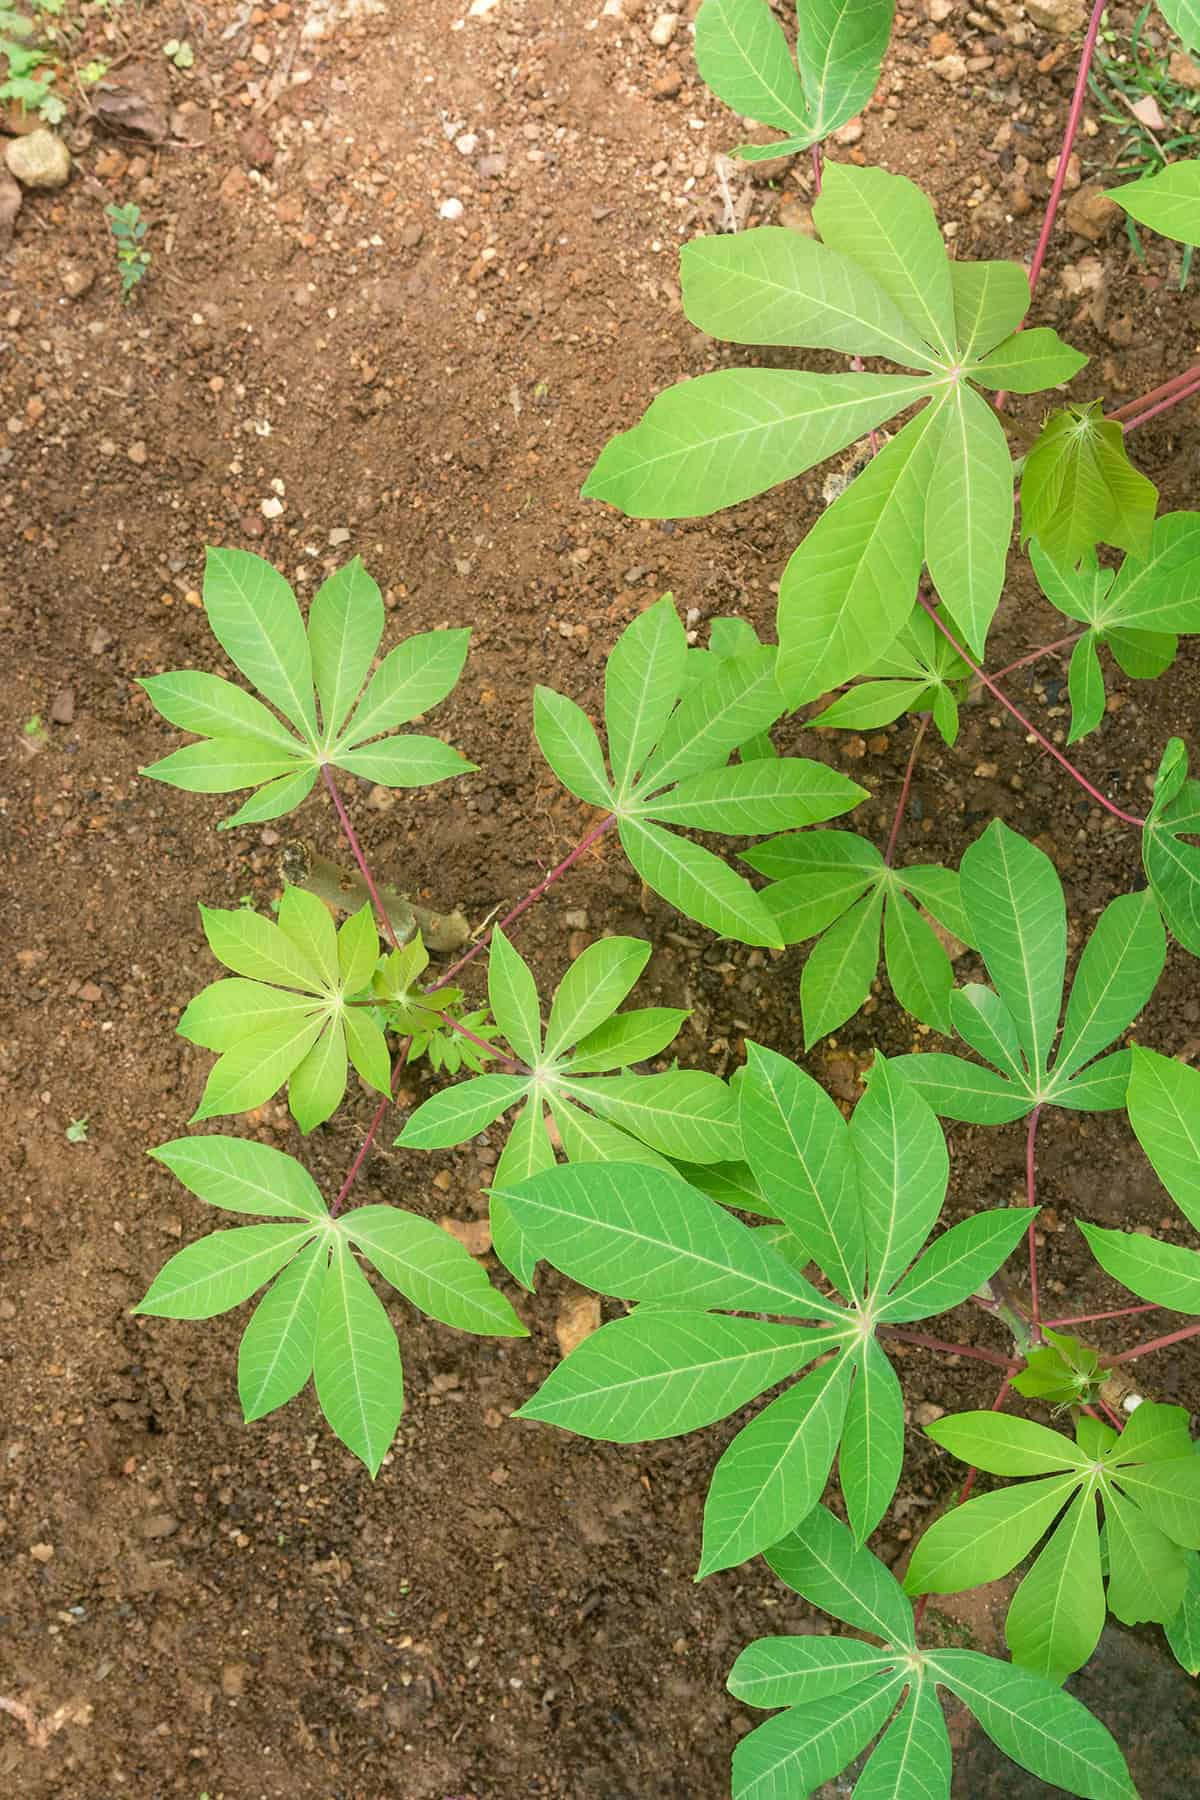
Cassava starts from stem cuttings, not seed. Pick healthy, mature stems, 8 to 12 inches long, with clear nodes. Stick them upright or at a slant, burying all but a couple nodes.
Warmth is key. Don’t bother planting until soil’s above 65°F—cold dirt just slows everything down. Go for a sunny, loose spot. Drainage still matters, even if cassava isn’t picky.
Give each plant about 3 feet of space so they don’t crowd each other out. Press the soil in gently to close up air gaps. Water once, then let the surface dry before watering again.
Wait until after the last frost if you’re in a cooler area. In the tropics, plant during a dry spell if you can irrigate. Gloves help—fresh cassava sap can be a skin irritant.
Variety Selection
What you plant changes everything—yield, safety, and when you’ll actually get to harvest. Stick with sweet cassava for eating; it’s way lower in cyanide than bitter types, which are best left for industrial uses. Some places have rules about which types you can grow, so double-check.
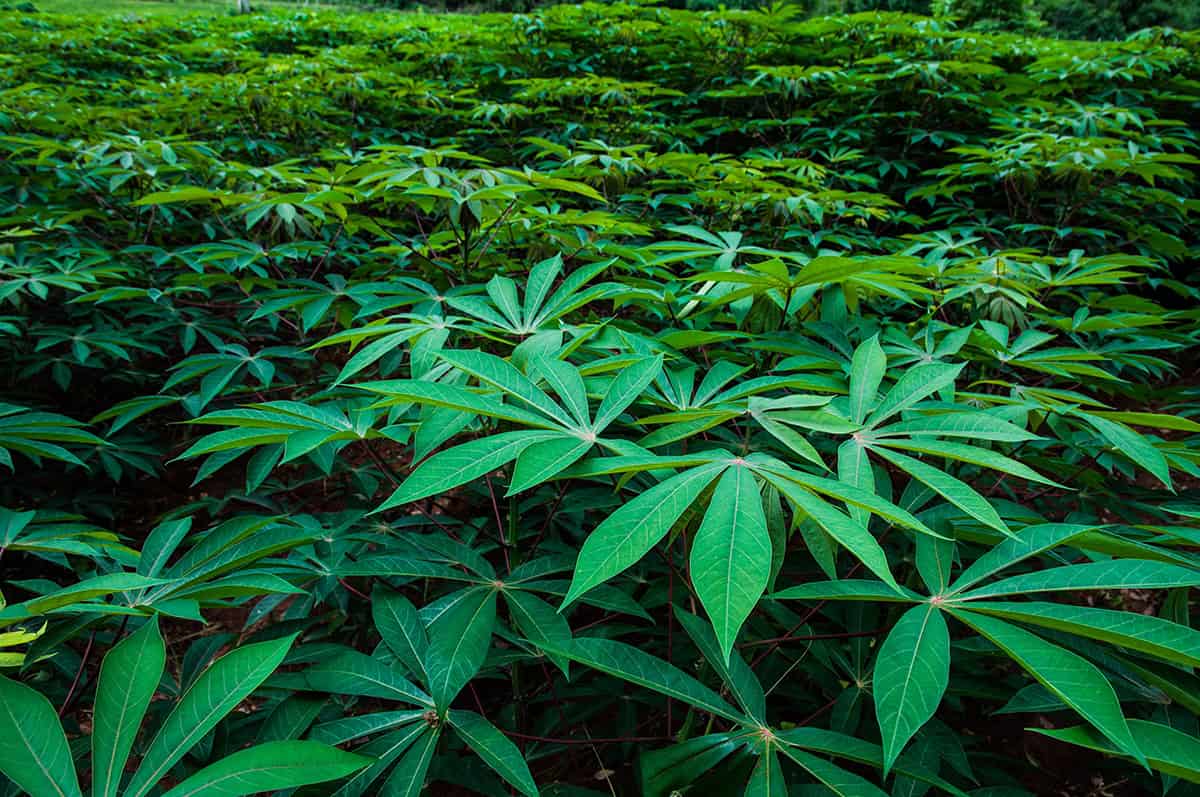
How long your growing season lasts matters, too. Most cassava matures in nine to twelve months, sometimes quicker if it’s hot. The plants get big—six to ten feet isn’t rare. Compact types are out there if you’re tight on space.
Try to get varieties that match your local soil and rainfall. Some handle rough ground, others need pampering. Disease resistance can be hit or miss, so local advice is worth seeking out.
There are ornamental cassava types, but honestly, they’re more for show than eating. Food varieties from a reputable nursery are the way to go if you want a proper harvest.
Light
Full sun is your friend here. Cassava wants at least 6 to 8 hours of direct sunlight. More is better for fat roots.
If you’ve only got partial shade, expect slower growth and smaller harvests. Shady spots just don’t cut it for this crop.
Best to plant in open ground, away from trees. Morning through afternoon sun keeps cassava happy. It’s not the occasional blast of light but steady exposure that matters.
For pots indoors or on patios, aim for the sunniest window—south or west is best. Rotate the container now and then so all sides get their share.
Don’t shock young plants with sudden sunlight. Move them out gradually over a week or so, or the leaves might burn.
Water
Once roots are established, cassava shrugs off drought. But at the start, keep soil evenly moist. Water well after planting, then let the top dry a bit before going again. Deep soaks beat frequent sprinkles.
Too much water is worse than a dry spell. Soggy soil chokes roots. Avoid planting where water collects. Raised beds help in rainy areas. Drainage is non-negotiable for healthy cassava.
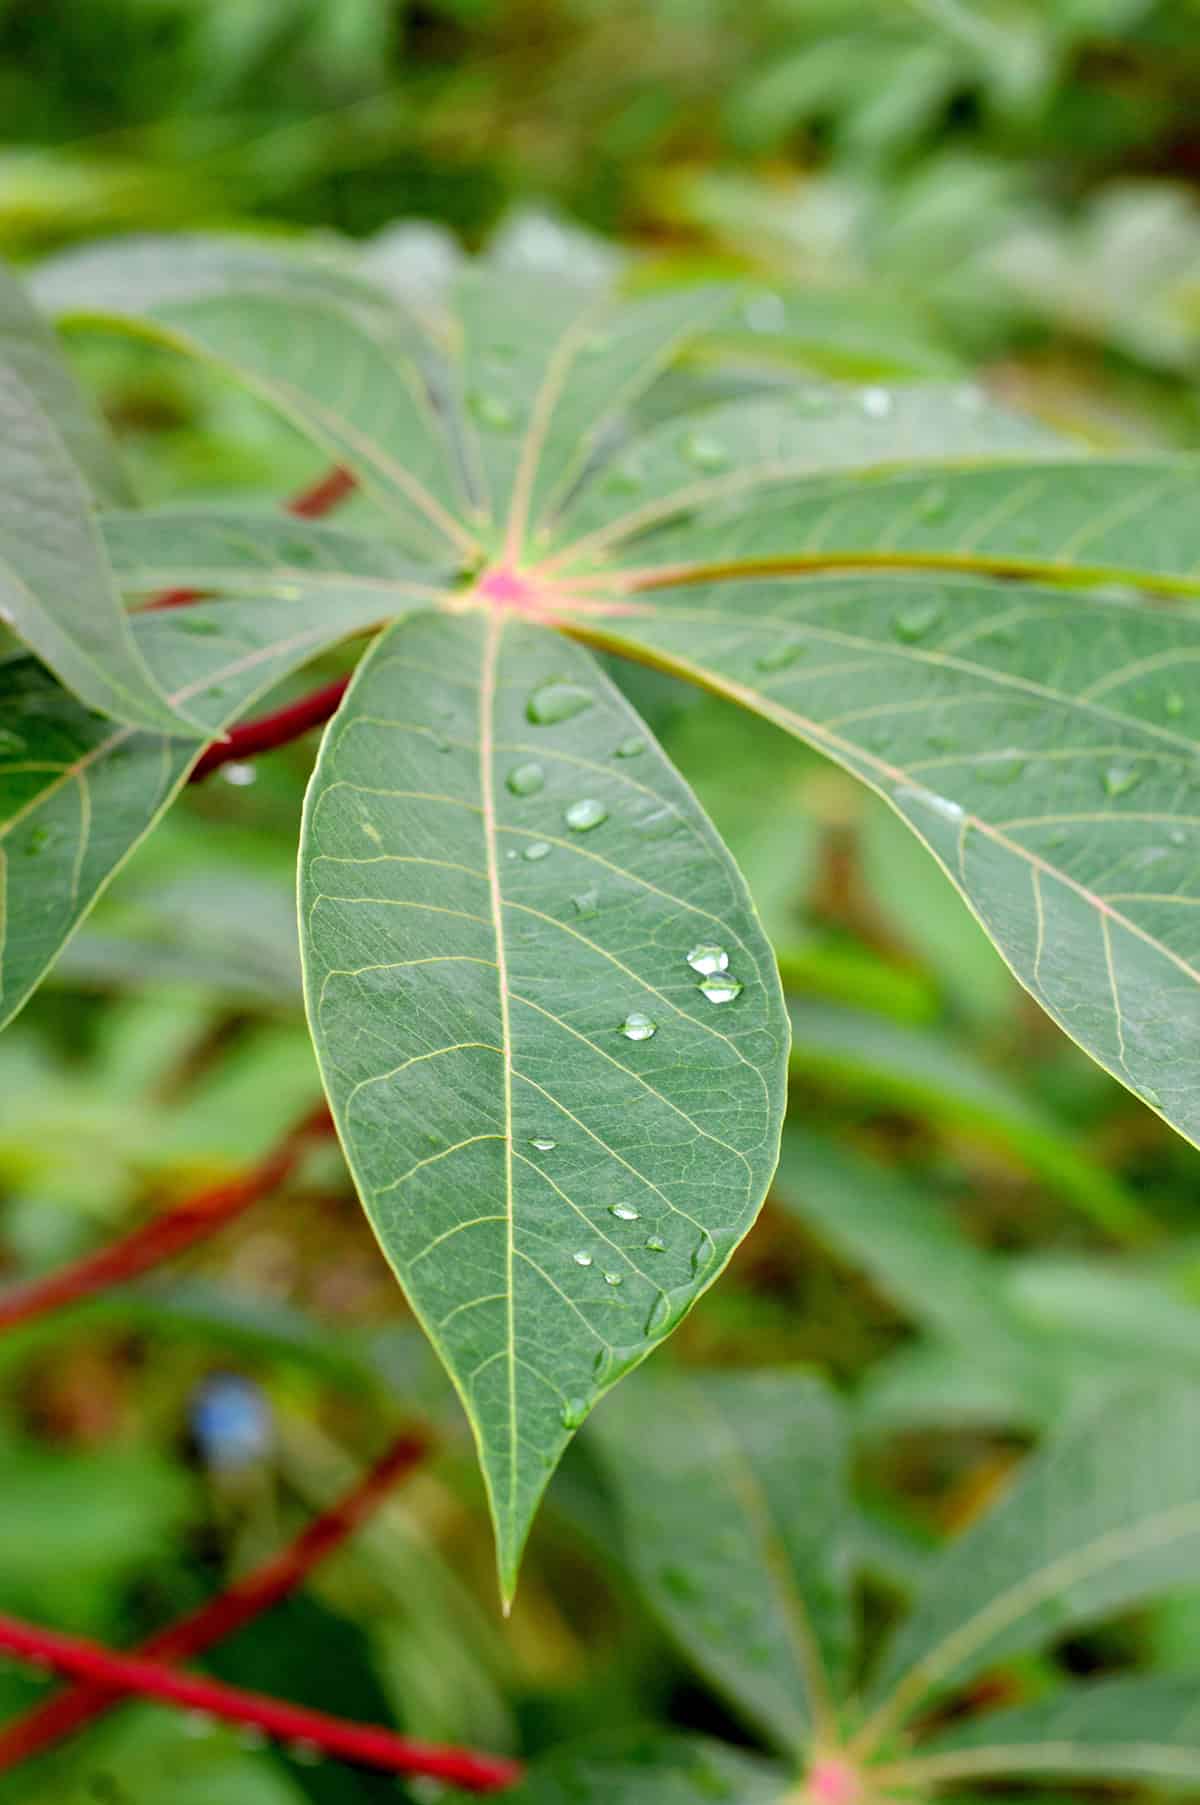
Rain usually does the job in the tropics, but during long dry spells, keep an eye out. Mulch helps lock in moisture. Only irrigate if leaves start to wilt or growth stalls. Both sweet and bitter types want the same water care.
Feeding
Cassava isn’t greedy. Decent soil with some organic matter is enough. If you must fertilize, go easy—too much nitrogen means leafy plants and skinny roots.
At planting, use a complete fertilizer with nitrogen, phosphorus, and potassium. Potassium matters for root size and starch, phosphorus for early root growth. Skip high-nitrogen stuff once plants are up and running.
One more light feeding two or three months after planting is plenty. Keep fertilizer a bit away from the stem to avoid burning roots. Water it in and then stop once roots start bulking up.
If your soil is poor, compost or well-rotted manure before planting helps. Test your soil if you can—it saves money and guesswork.
Growth Time
Cassava’s a slow burn. Roots are ready to dig up 9 to 12 months after planting. Warmth and steady water speed things along, but cold or dry spells drag it out.
Early on, you’ll see stems and leaves take off, but don’t be fooled—roots come later. Big tops don’t always mean fat roots below.
Some folks leave cassava in the ground for up to 18 months to get bigger roots. Quality is still fine if the soil drains well, though older roots can get a bit fibrous.
In the tropics, you can plant and harvest year-round. Cooler climates? Plan to harvest before frost hits or you’ll lose your crop.
Growing Cassava In Containers
No yard? No problem. Cassava grows in big pots—think at least 15 gallons, with drainage holes. Roots need space and depth. Heavy pots are less likely to tip over as plants get tall.
Put containers where they get plenty of sun, and keep them warm. Use loose, well-drained soil with moderate fertility. If water sits, roots will rot. That’s a dealbreaker.
Water deeply, then wait until the top dries before watering again. Cassava handles a bit of dryness better than soggy soil. Go light on fertilizer—too much and you’ll get more leaves than roots.
Always use stem cuttings, not seeds, for reliable results. Angle them in the soil with a third above the surface. Roots are usually ready in nine to twelve months. When it’s time, pull the whole plant and use the roots soon for best flavor.
Harvest

Roots are ready anywhere from nine to eighteen months after planting, depending on the type and your climate. Young roots taste better but don’t keep long. Older roots get bigger and travel better.
Check for yellowing lower leaves or woody stems—these are good hints roots are mature. You can always dig up one plant to peek at root size before going all in.
To harvest, loosen the soil with a fork or shovel and pull up the stem. Roots snap easily, so go slow. Broken roots spoil fast and attract bugs.
Use cassava soon after harvest—it starts to go bad in just a few days at room temp. Refrigerate for a week max, or freeze peeled pieces for longer storage.
Peel and cook roots thoroughly before eating, since some types have natural toxins. Handle with care and cassava’s a safe, satisfying crop for home gardens.
Common Problems And Troubleshooting
Ever seen cassava barely growing or leaves looking washed out? Usually, it comes down to soil that just isn’t cutting it. This crop really wants loose, well-drained dirt with a decent amount of nutrients. If water sits around too long, roots can rot and plants just kind of stall out. Tinkering with the soil and holding back on the nitrogen can help get things back on track.
Pests can be a headache, too—mites, mealybugs, thrips, whiteflies, you name it. Blanket spraying with insecticides tends to backfire, wiping out the good bugs before the bad ones even slow down. It’s smarter to keep things tidy around the field and only go after the pests you actually see, so you don’t end up making things worse.
Diseases show up as spots on the leaves, wilting, or even parts of the stem dying off. Bacterial blight is probably the worst offender, sometimes wiping out big chunks of a harvest. If you spot infected plants, yank them and get them far away—don’t just toss them nearby. Starting with clean cuttings helps dodge this mess next time.
Roots looking puny? That’s usually a water issue or just bad timing. If it’s too dry when roots are starting out, they’ll never size up right. Pull them out too soon and they’re tiny; wait too long and they turn tough and stringy. Keeping the soil moist and picking a harvest date somewhere between nine and twelve months usually does the trick.