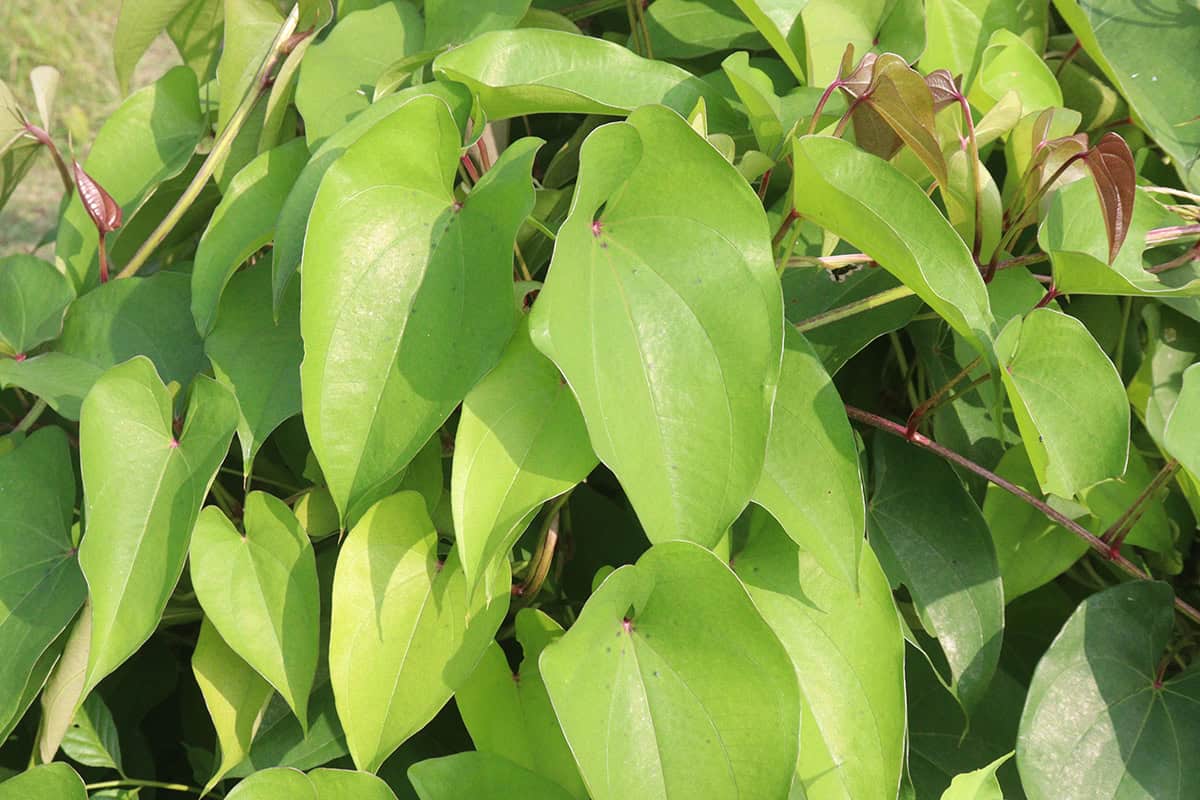
Most of the yams in North American supermarkets are actually sweet potatoes, and the true yam is a very different plant. Dioscorea species climb on twining vines and form heavy, bark-skinned tubers over most of a year, which makes them a crop for long, hot summers.
Gardeners in the Deep South, Florida and Hawaii grow them in the ground, and a big container on a sunny patio stretches the range a little further north.
Table of Contents
Yam Basics
True yams are unusual garden crops. They are slow, need plenty of heat and take up space for most of the year, so knowing exactly what is being planted and how long it occupies the bed is half the battle.
Yam vs. Sweet Potato (Quick Difference)
Grocery labels cause confusion, since most tubers sold as yams in North America are sweet potatoes. True yams belong to the genus Dioscorea and are native to Africa and Asia, while sweet potatoes (Ipomoea batatas) come from the Americas.
The skin is a good clue. Yams have thick, rough, bark-like skin with white, cream or purple flesh, while sweet potatoes have smoother skin with orange, white or purple flesh.
Growth habits differ too. Yams climb on twining vines and form large, deep tubers, while sweet potatoes sprawl along the ground. Yams also need far more heat and a much longer season.
What to Expect (Time, Size, Yield)
Yams are slow. Most types need 8 to 11 months of warm weather to mature, and cold snaps or early frost stop growth.
Tubers grow large in loose, deep soil, and a single tuber of Dioscorea alata weighs several pounds. Crowded or compacted soil produces misshapen, stunted tubers.
Each plant produces one to three large tubers, and properly cured yams store for several months.
Choose Your Yam to Plant
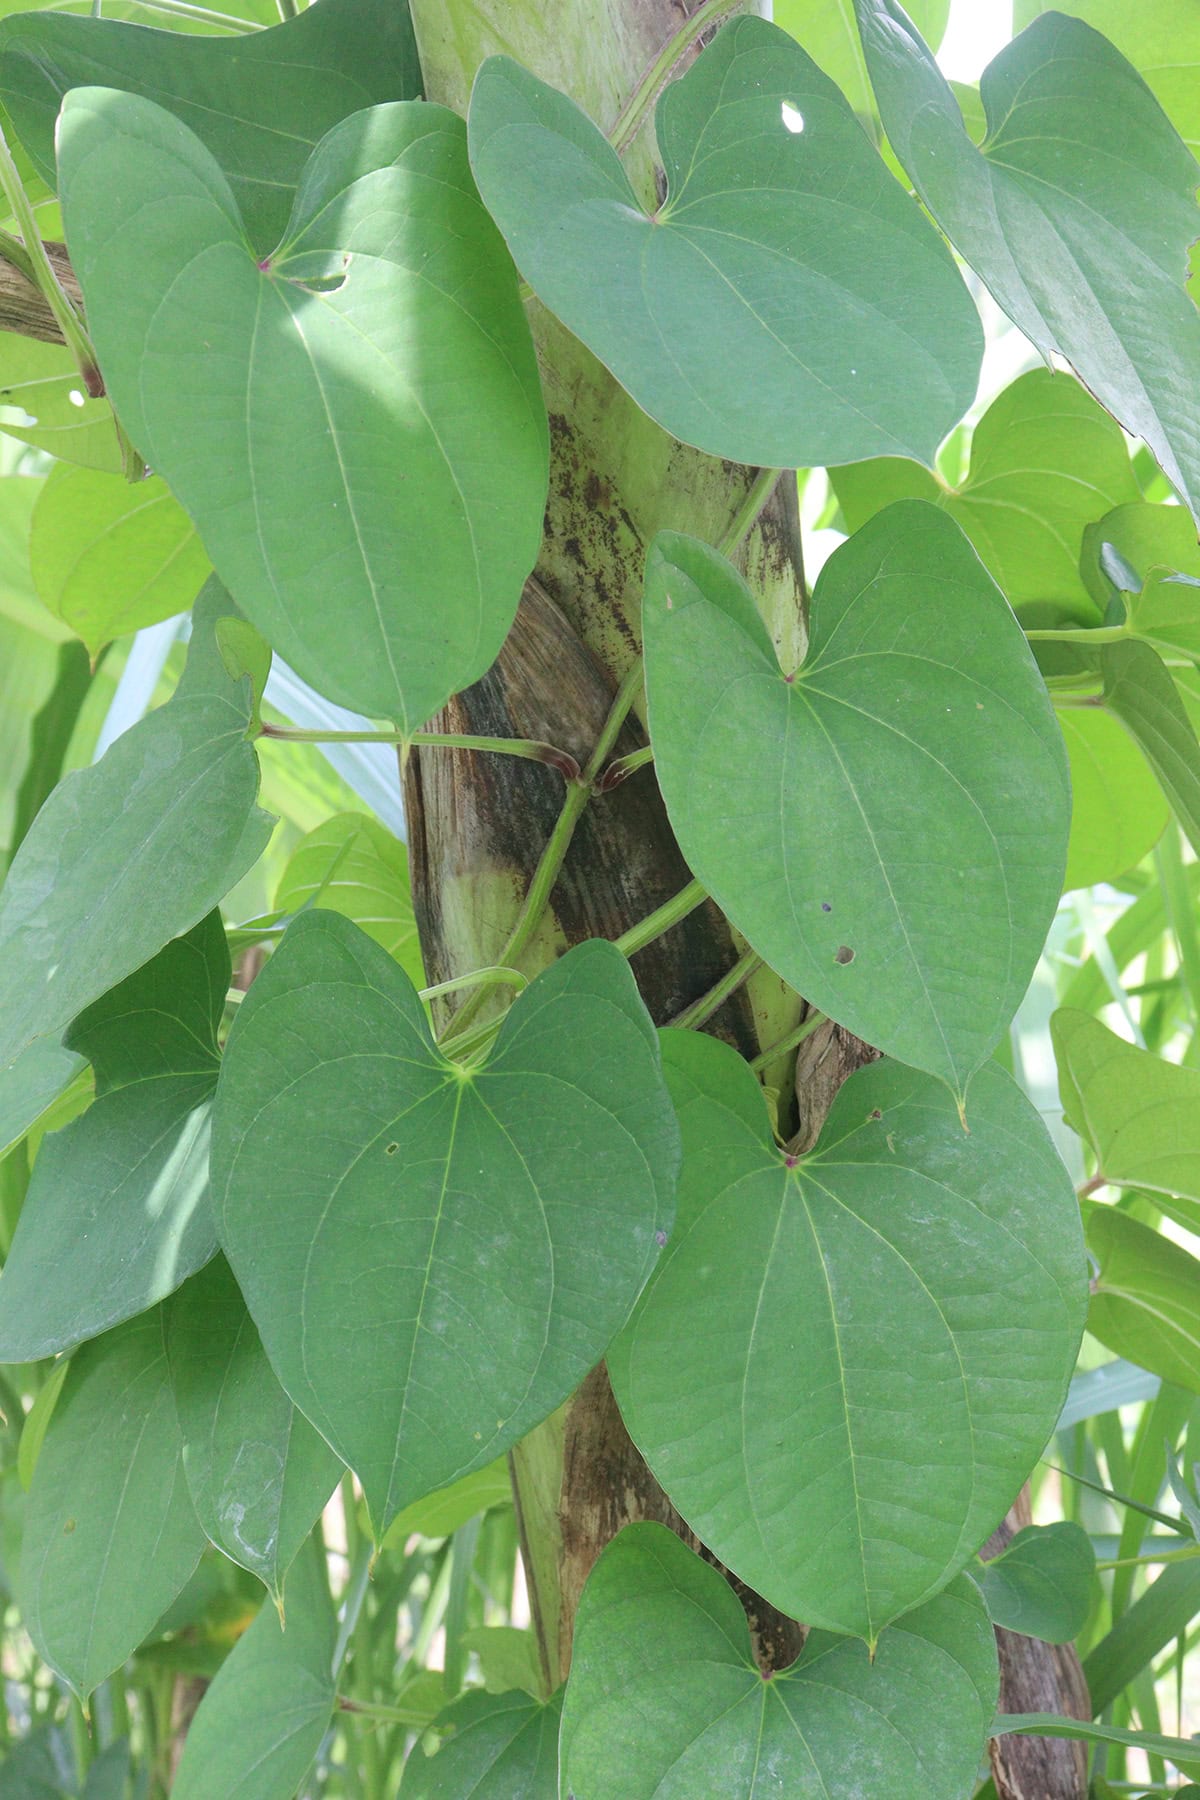
The right species and healthy planting stock matter a great deal. Climate match, maturity time and disease-free tubers count far more than appearance.
Best Types for Home Growing
For home gardens in warm climates, Dioscorea alata (water yam or purple yam, also known as ube) and Dioscorea rotundata (white yam) are reliable choices.
Both need a long, hot season of 8 to 11 frost-free months, which limits them to tropical and subtropical regions, roughly USDA zones 9 to 11.
Smaller or earlier-maturing selections are easier in home gardens, since the largest commercial types need heavy supports and a lot of room. Prolonged temperatures below 50°F make yam growing very difficult.
Where to Get Seed Yams Safely
Buy certified seed yams from a reputable agricultural supplier, since they are inspected for pests and diseases. Clean stock prevents problems later.
Grocery store yams are a gamble, since they carry pests and diseases and sprout unreliably. Specialty growers and some nurseries ship seed yams in spring.
Local extension offices and farm suppliers know which sources are reliable. When buying online, ask where the yams were grown and how they were stored.
When to Plant
Timing makes or breaks the crop. Warm soil and a long frost-free window matter more than any calendar date, and pre-sprouting indoors gains a few weeks in a slow spring.
Best Season by Climate
Plant after all danger of frost has passed, once the soil is at least 70°F and nights hold above 60°F.
In the tropics, plant at the start of the rainy season. In the Gulf Coast states and Florida, March through May is typical. The crop needs 8 or more frost-free months ahead, so short-season regions are a better match for containers that move indoors in fall.
Choose a sunny, well-drained spot. Raised ridges or mounds warm faster in spring, and cold, sticky soil after heavy rain is a reason to wait.
Indoor Pre-Sprouting Option
In a slow spring, start seed yam pieces indoors 4 to 6 weeks before planting out. Bury cured pieces in damp sawdust, coir or potting mix and wait for buds to sprout.
Temperatures around 75°F to 85°F speed sprouting. Hold the medium lightly damp, never wet, to prevent rot.
Move the sprouted pieces outdoors only once the soil is warm and nights are mild, and handle the new shoots carefully, since they snap easily.
Location and Sun
Heat, space and steady sun are the requirements for yams. Placement decides how strong the vines grow and how large the tubers become.
Sunlight Needs
Yams love sun. Aim for at least six hours of direct light, and eight is better. In very hot regions, a little afternoon shade prevents leaf scorch, though too much shade reduces the harvest.
Cool temperatures are the real problem. Growth slows below about 70°F, and frost kills the vines. Choose a spot that holds warmth from late spring through fall.
Avoid shaded corners and spots blocked by buildings, since low light produces long, thin vines and small tubers.
Growing Yams in Containers vs. Ground
For most gardeners, the ground is the better option. Yam tubers grow deep, and loose, rich, well-drained soil in full sun produces the best harvest.
Containers are possible if they are very large and drain well. Small pots produce tiny tubers and tangled vines.
Place potted yams in full sun, and protect them from cold snaps. Containers are also the only practical option where the season is too short, since they move indoors when temperatures drop.
Soil Prep
Loose, well-drained, warm soil makes all the difference. Correct heavy or compacted soil before planting, and shape the bed so tubers have room to develop.
Soil Texture and Drainage
Choose light, crumbly soil that tubers push through easily. Hard, compacted ground produces misshapen tubers and slow growth. The soil should drain quickly after rain.
Drainage matters more than fertility at the start, since soggy ground causes rot. A pH between 5.8 and 6.5 is ideal.
Raised ridges or mounds 8 to 12 inches high warm faster and shed excess water.
How to Improve Heavy Soil
In clay soil, loosen the ground at least a foot deep so the tubers have room to grow.
Mix in well-rotted compost or leaf mold to open up the structure. Avoid fresh manure, which pushes leaf growth instead of tubers.
Shaping the soil into ridges improves drainage and warming. Where water pools after rain, ridges are essential.
Planting Steps
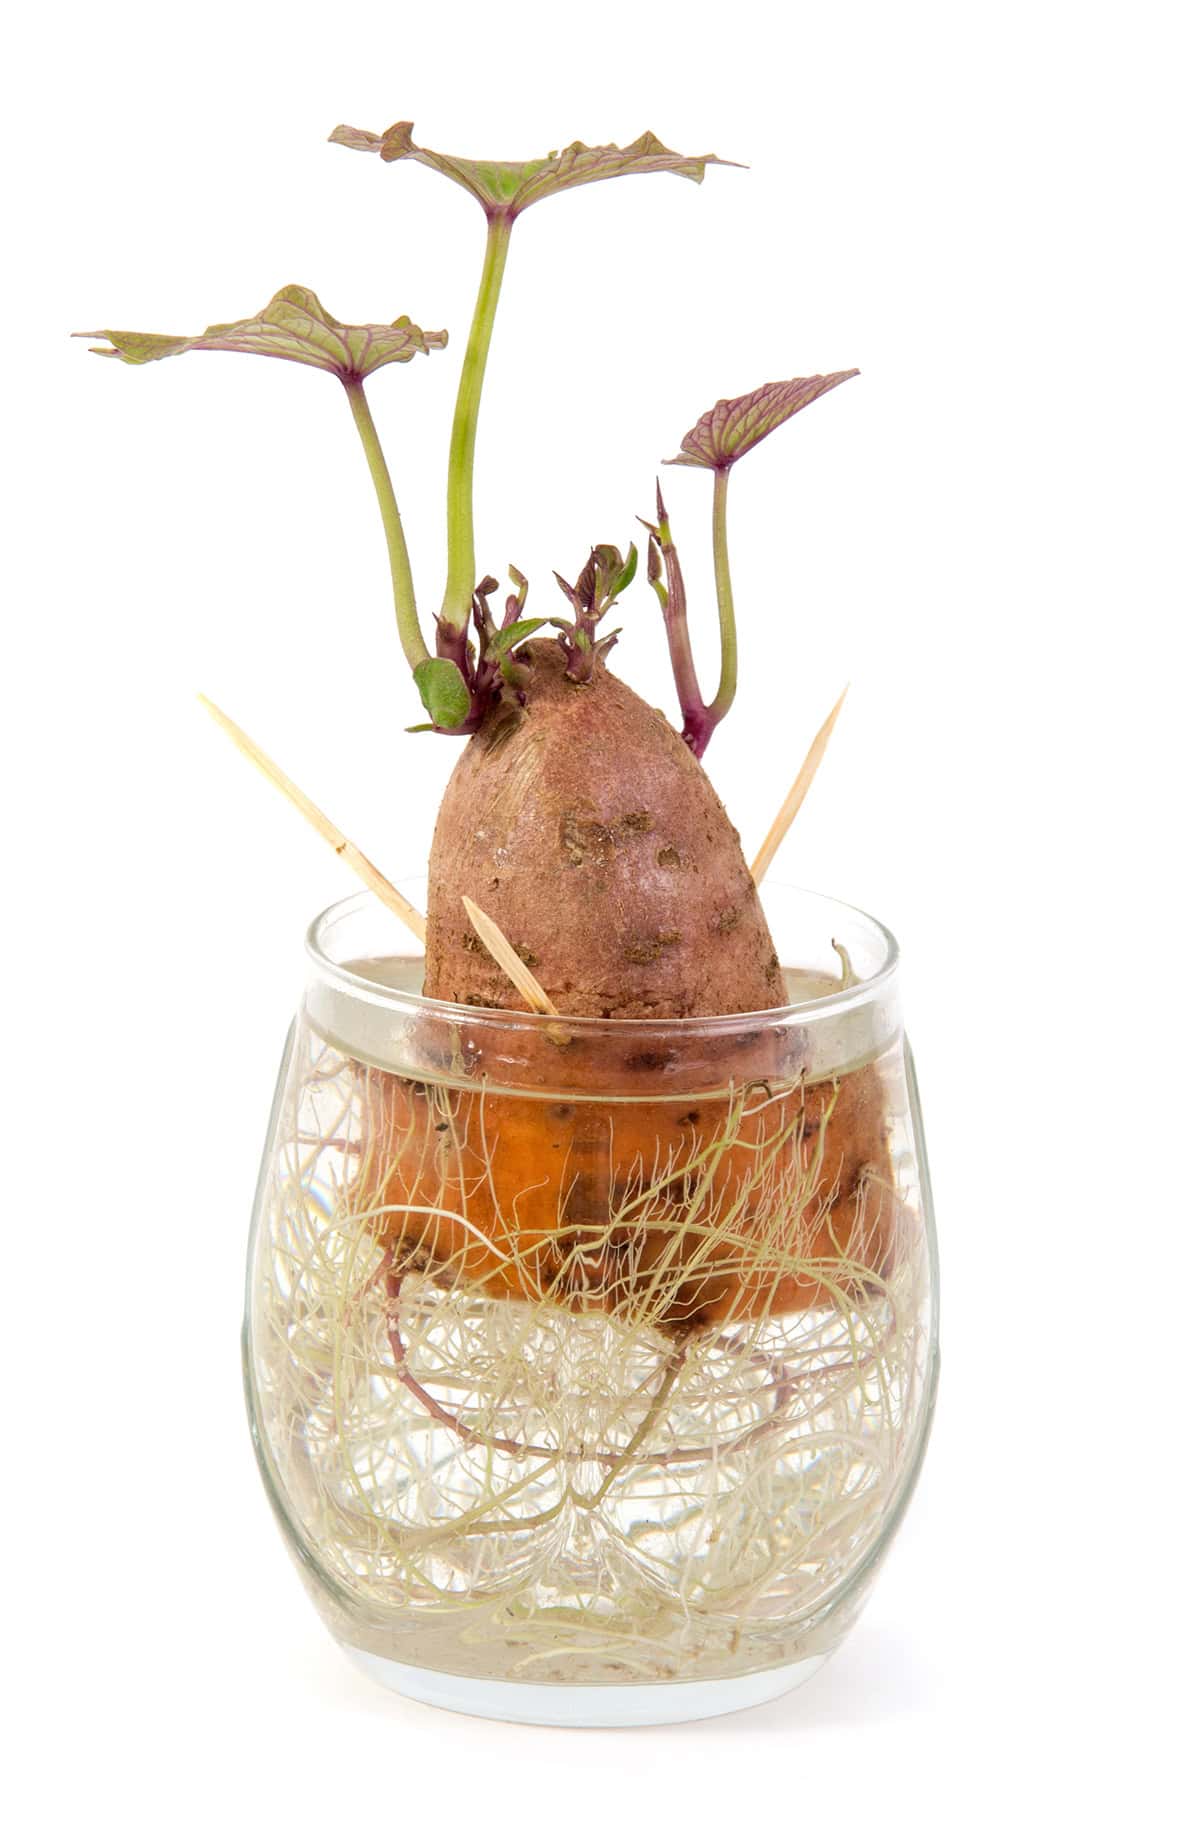
Big yields start with clean seed pieces planted correctly in warm soil. How they are cut, cured and spaced matters a great deal.
How to Cut and Cure Seed Pieces
Choose firm, mature tubers with no soft spots or mold. Cut them into pieces of about 8 to 16 ounces, or into smaller 1 to 2 ounce minisetts for more plants, with skin on each piece. Use a sharp, clean knife.
Cure the pieces in a dry, shady, airy spot for 2 to 4 days, which dries the cut surfaces and forms a protective layer. Planting fresh cuts invites rot, especially in cool or wet soil. Dusting the cut surfaces with wood ash is a traditional extra precaution.
The pieces are ready once the cut surfaces are dry and tough.
Depth, Spacing, and Orientation
Soil temperature matters more than the date, and the soil should be reliably above 70°F. Loose, well-drained soil helps tubers develop a good shape.
Plant each piece 3 to 5 inches deep, with the cut side down and the skin side facing up.
Space plants 18 to 24 inches apart in rows at least 3 feet apart, which improves airflow and reduces competition. Firm the soil gently and water once to settle it, then water for moist, never soggy, soil.
Support System (Vines)
Yam vines grow long and vigorous. A sturdy support organizes them and exposes more leaves to the sun, which feeds the tubers.
Trellis Options That Work
Choose solid supports, such as wooden posts with wire or strong nylon line. Posts at least 6 feet tall let the vines climb upward instead of sprawling.
Livestock panels are another good option when anchored deeply. They hold up to wind and the weight of mature vines. Space supports close enough together to prevent sagging, since the vines grow heavy.
Avoid flimsy mesh and thin stakes, which buckle by midsummer. Choose materials that last through a full season of weather.
Training Vines Neatly
Start early, and wind new vines gently around the support every few days, which is easier than untangling them later. Yam vines twine in a set direction, so follow each vine’s natural direction.
Spread the vines out so the leaves receive light and air, which reduces disease and evens out growth. Handle stems gently, since they snap easily.
Check ties regularly and loosen them as the stems thicken.
Watering and Mulching
Consistent moisture and a good layer of mulch protect the roots and slow soil drying.
Watering Schedule Basics
Deep, thorough watering is better than frequent light sprinkling. Soak the soil to root depth, then let the surface dry slightly, which supports tuber growth and prevents rot.
Early in the season, water every three or four days in dry weather. Once the vines are vigorous, water less frequently but more deeply. Aim for about an inch of water a week, rain included.
When the leaves start to yellow near the end of the season, reduce watering, since too much water late in the season causes cracked tubers and poor storage. Well-drained soil matters more than a rigid schedule.
Mulch to Keep Moisture Steady
Mulch holds soil moisture steady and cools the roots. Apply it once the soil has warmed, in a layer 2 to 3 inches thick.
Straw, dry leaves and compost are all good choices. They slow evaporation, suppress weeds and enrich the soil as they break down.
Leave a small gap around the stems to prevent rot and pests, and top up the mulch after heavy rain or wind.
Feeding
Yams need only light fertilizing. Warm soil and a light touch with nutrients, especially nitrogen, are the keys. Feed lightly early on, then stop so the tubers size up.
Simple Fertilizer Plan
Soil preparation shapes the harvest. Before planting, mix in well-aged compost or manure, and avoid high-nitrogen fertilizers, which produce rampant vines and small tubers.
Once shoots are established, apply a balanced fertilizer such as 5-10-10, lightly and watered in. Pale leaves call for one more light feeding about six weeks later.
Soil structure matters as much as fertility, since tubers need loose, well-drained ground to expand. Spread fertilizer several inches from the stems to avoid burning them.
When to Stop Feeding
Stop fertilizing about three months before harvest. Late feeding delays maturity, and the tubers store poorly.
Extra nitrogen late in the season produces excess vines and thin skins that damage easily at harvest.
Continue watering after feeding stops, though never to the point of soggy soil. Steady moisture helps the final sizing, and reducing water as harvest approaches firms the skins for storage.
Growing Yams in Containers Step by Step
Yams grow in containers in small spaces, which allows control over warmth, drainage and placement on a sunny patio or balcony.
True yams need heat and plenty of root space, so choose a very large pot and the sunniest spot available. Warm soil matters more than an early start.
- Select the container. Choose a sturdy pot or grow bag of at least 20 to 25 gallons, roughly 20 to 24 inches wide and deep, with good drainage holes.
- Prepare the soil. Use a loose mix of potting soil and compost that holds some moisture but never goes mucky, and skip heavy synthetic fertilizers.
- Plant the seed piece. Once the mix is above 70°F, set one cured seed yam piece 3 to 4 inches deep with the bud facing up.
- Place and care. Choose the sunniest, warmest spot available. Water when the top inch of mix dries, and avoid soggy conditions.
- Support growth. Insert a tall stake or small trellis at planting for the twining vine, mulch the surface and top-dress with compost after a couple of months.
- Harvest. After 8 to 11 months, when the vine yellows and dies back, tip out the pot and lift the tuber carefully.
Pests and Diseases
Healthy soil, careful watering and clean planting stock prevent most yam problems. Insects target vines and tubers, while soggy soil and heat encourage most diseases.
Common Pests and Prevention
Yam beetles and weevils are the main pests. They chew into tubers and ruin them for storage. Nematodes also damage roots and stunt plants.
Clean, healthy seed yams and crop rotation are the best defenses. Control weeds, which harbor pests, inspect plants regularly and remove damaged plants promptly.
Rot and Fungal Issues
Rot develops in waterlogged soil, and both soft and dry rot damage tubers before and after harvest. Fungi thrive in warm, damp conditions, so good drainage is essential.
Good drainage prevents more problems than any spray. Raised beds or mounds help where soil is still wet days after rain. Handle tubers gently at harvest, since cuts and scrapes let rot in, and store cured yams in a dry, airy place.
Harvesting
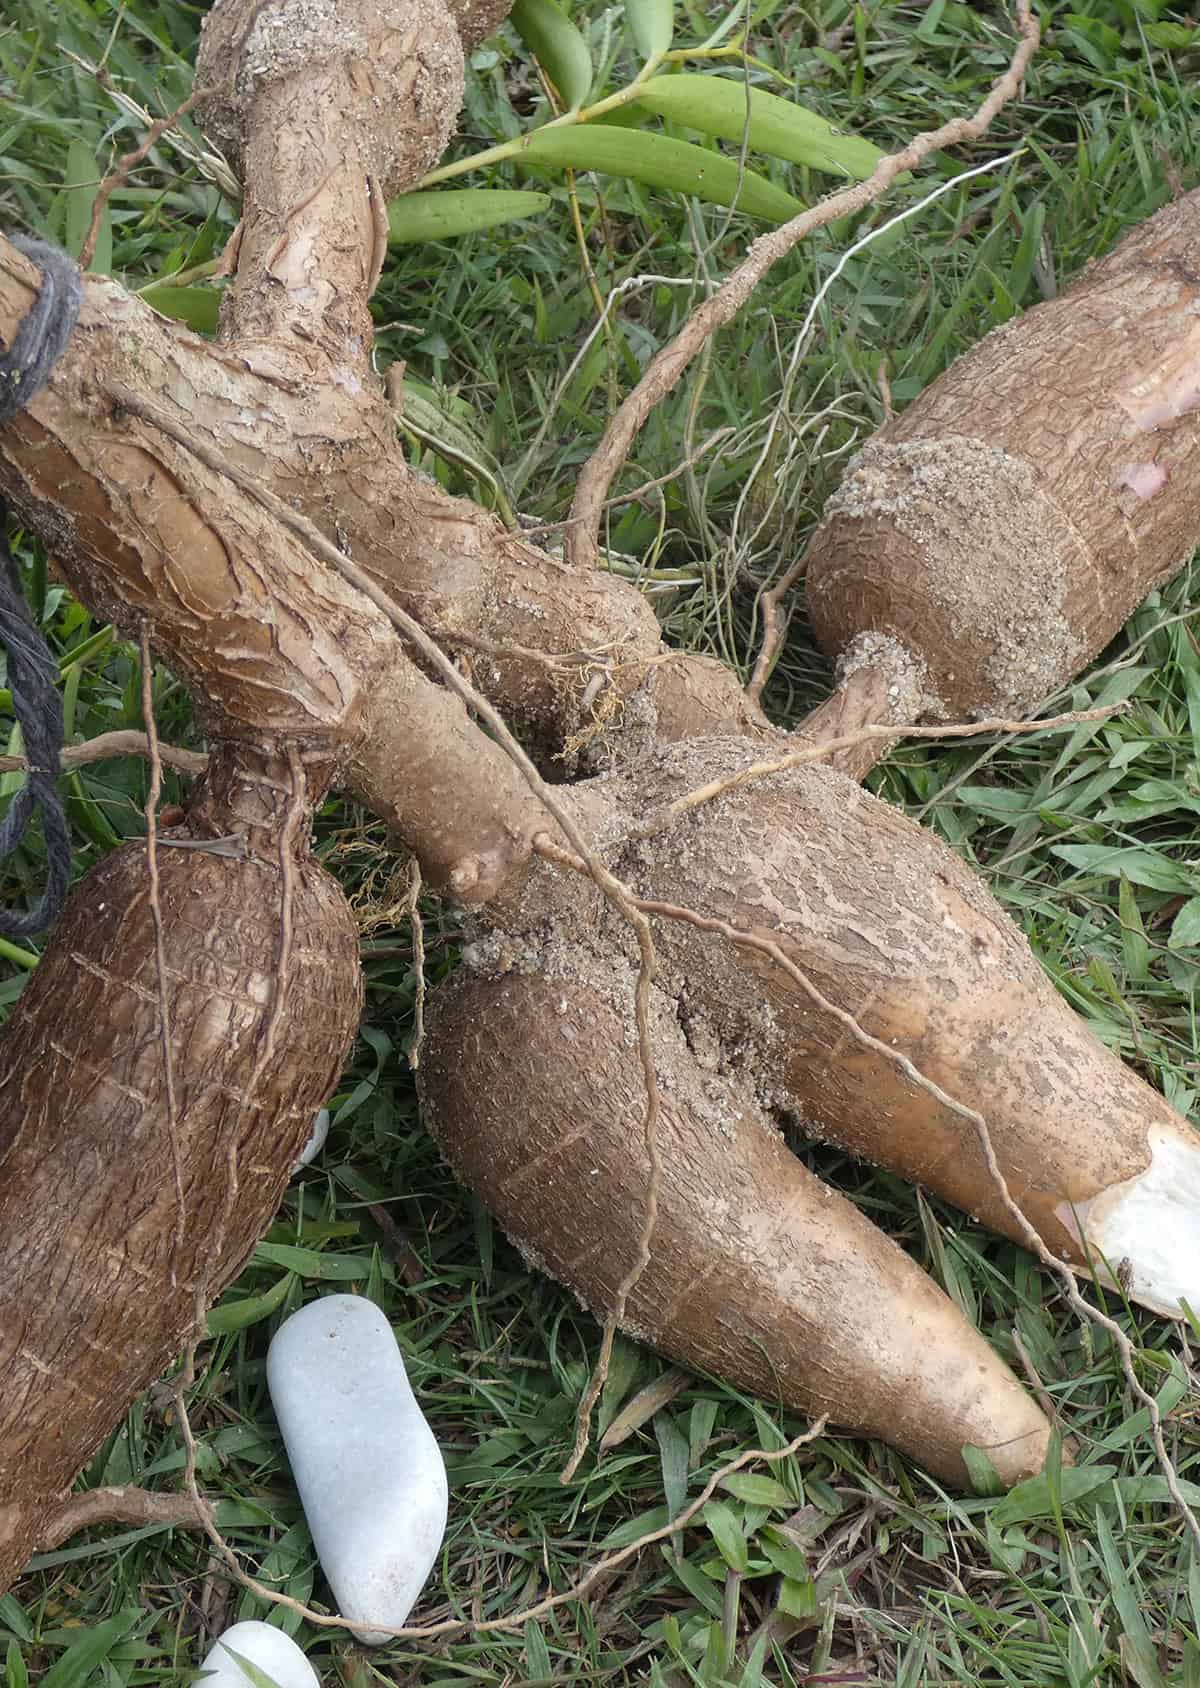
Harvest timing and gentle handling make a big difference to yield and quality. Rushing or rough handling leads to bruised tubers and wasted effort.
When Yams Are Ready
Most yams are ready 8 to 11 months after planting, with variation by species and weather. Yellowing leaves and a vine that dies back are the signs that the tubers have finished growing. Brushing soil away from one tuber shows its size.
Harvest before frost, which damages the tubers in the ground. Dig when the soil is dry instead of muddy.
After digging, let the tubers cure in a shaded, airy spot for several days, which heals small wounds and toughens the skin. Avoid washing them until just before use.
How to Dig Without Damage
Use a garden fork or spade, and start digging about 12 to 18 inches from the stem, since the tubers grow deep and wide. Loosen the soil gradually and finish by hand as the tubers appear.
Yam tubers bruise and break easily, so handle them carefully and avoid dropping them. Move them into shade right away to protect the skins from sun.
Let the tubers dry, then brush off loose soil. Store cured yams at about 55°F to 60°F in a dark, well-ventilated place, and avoid refrigeration, which damages them.