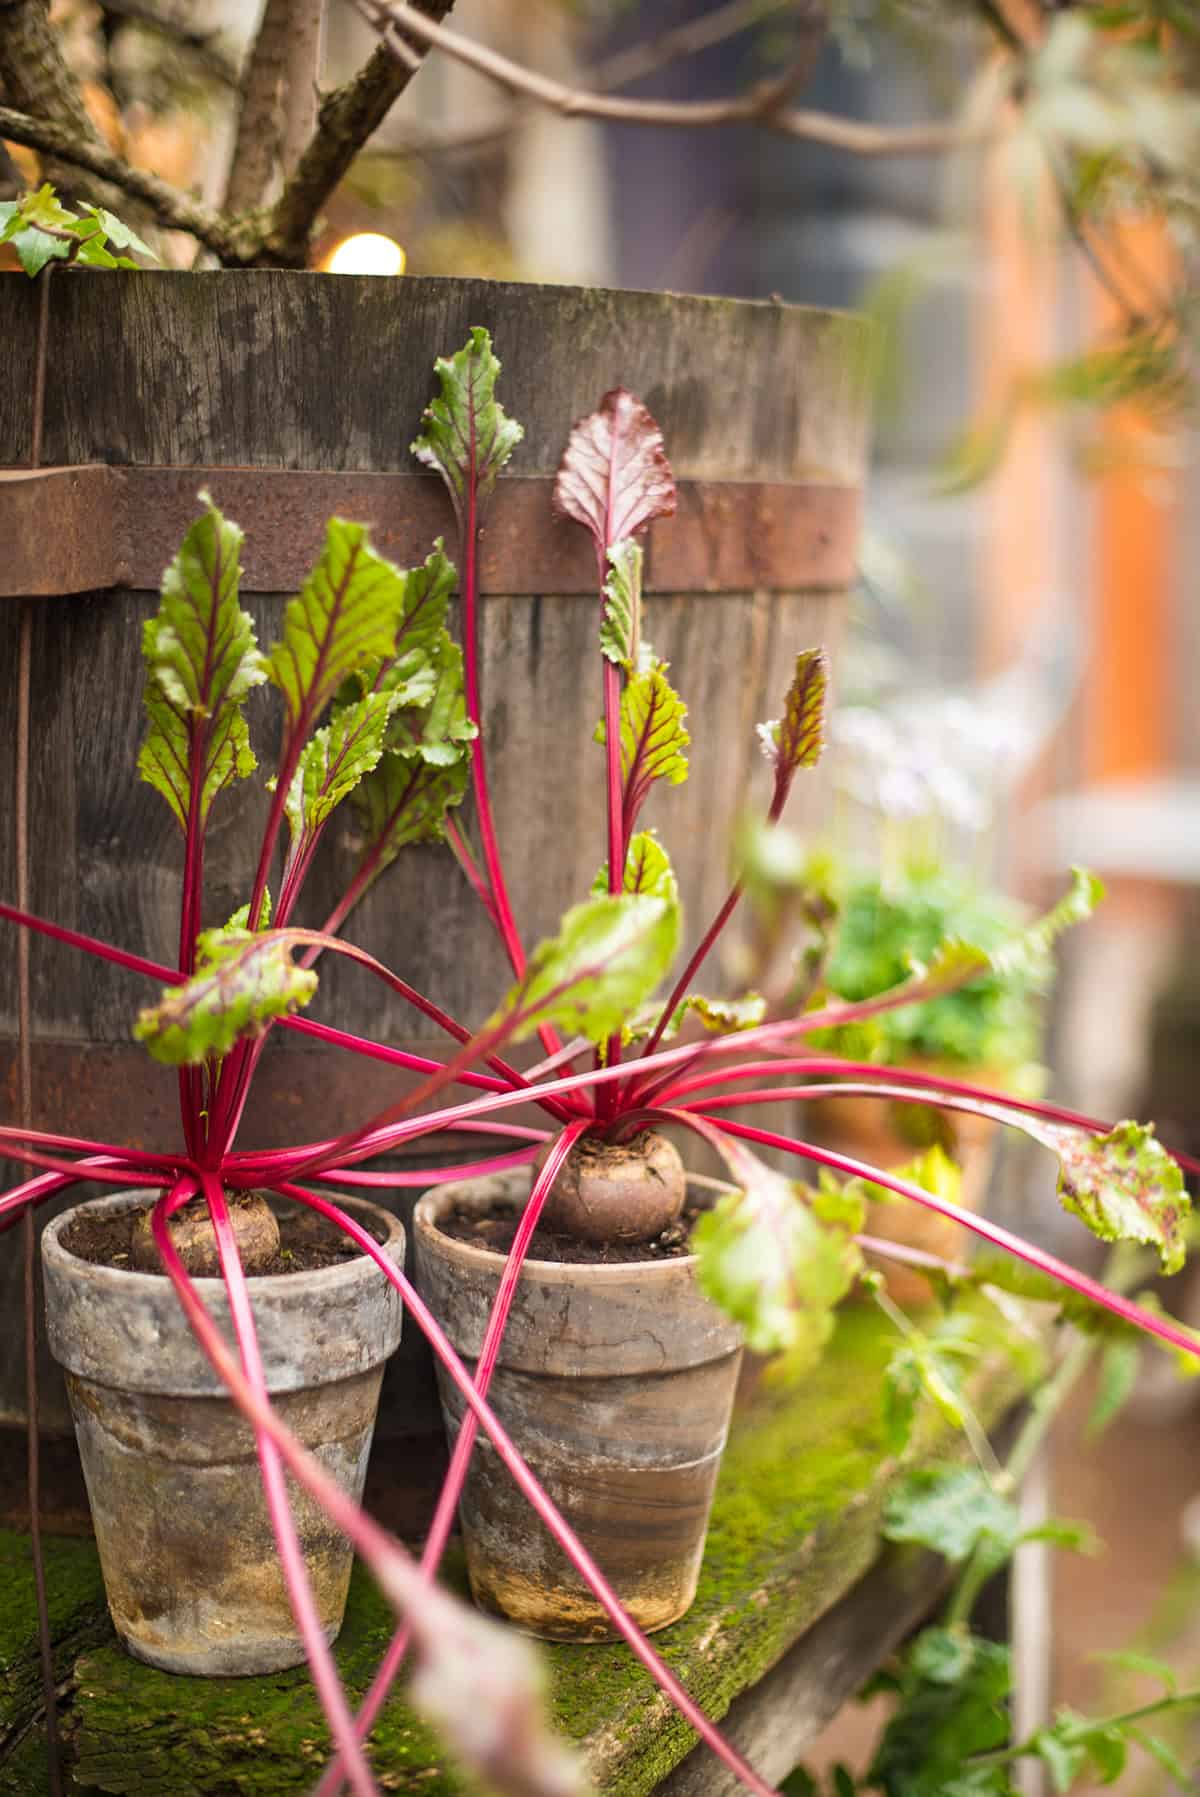
Beets don’t need a big backyard. You can grow them just fine in containers if you pay attention to soil, light, and water. That way, you get smooth roots and steady growth—even if all you’ve got is a balcony or a sunny stoop.
Deep pots, loose soil, steady moisture, and cool light are your main tools for growing beets in containers. The plants stay tidy and adapt surprisingly well to tight quarters. As long as the pot’s deep enough, the roots will still go for it.
This isn’t rocket science. Here’s a rundown of what kind of pot actually works, how your soil mix will shape your harvest, when to plant, and how to keep things watered without drowning anything. Plus, a look at the usual headaches and when to pull your beets for the best flavor.
Table of Contents
Beets in Containers Basics
With enough depth, loose soil, and steady moisture, you’ll have healthy container beets. The variety you pick and your patience with the process really affect what you end up with.
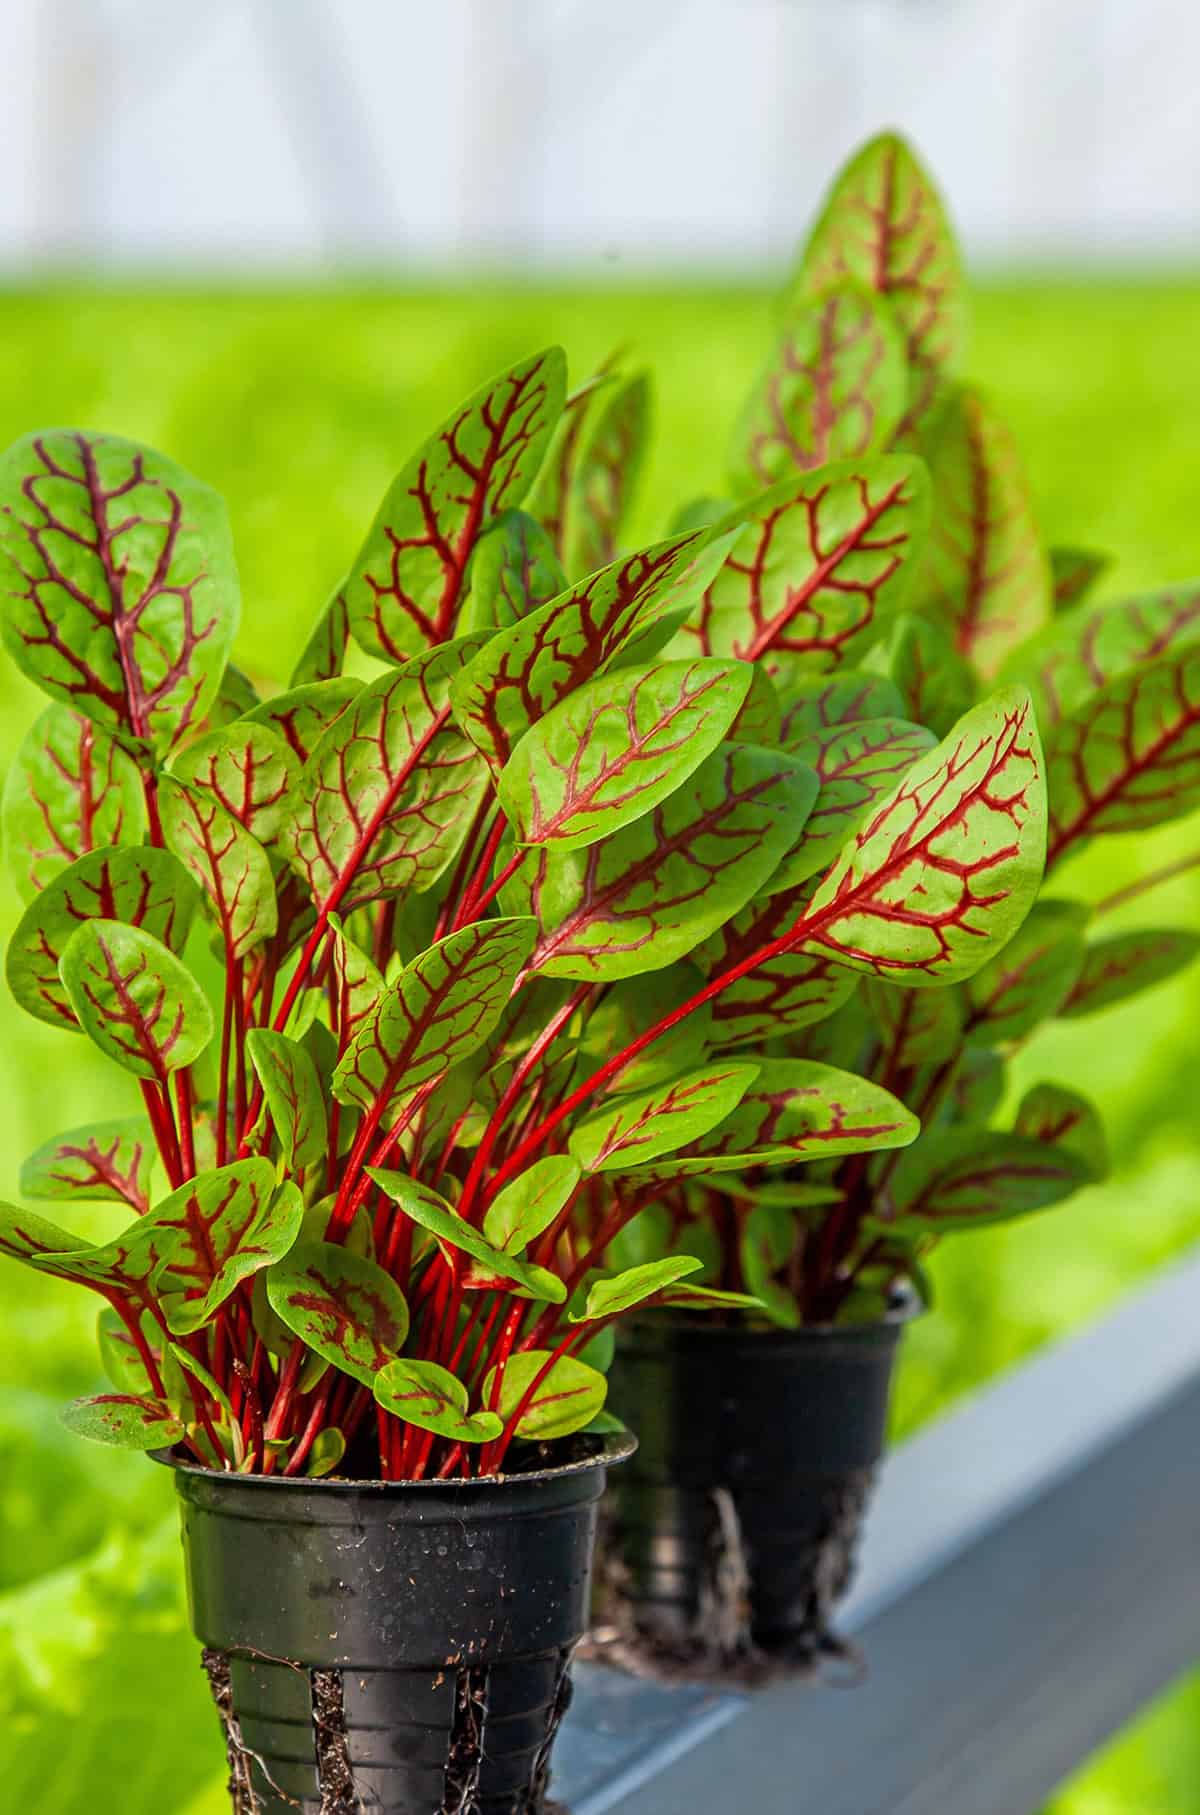
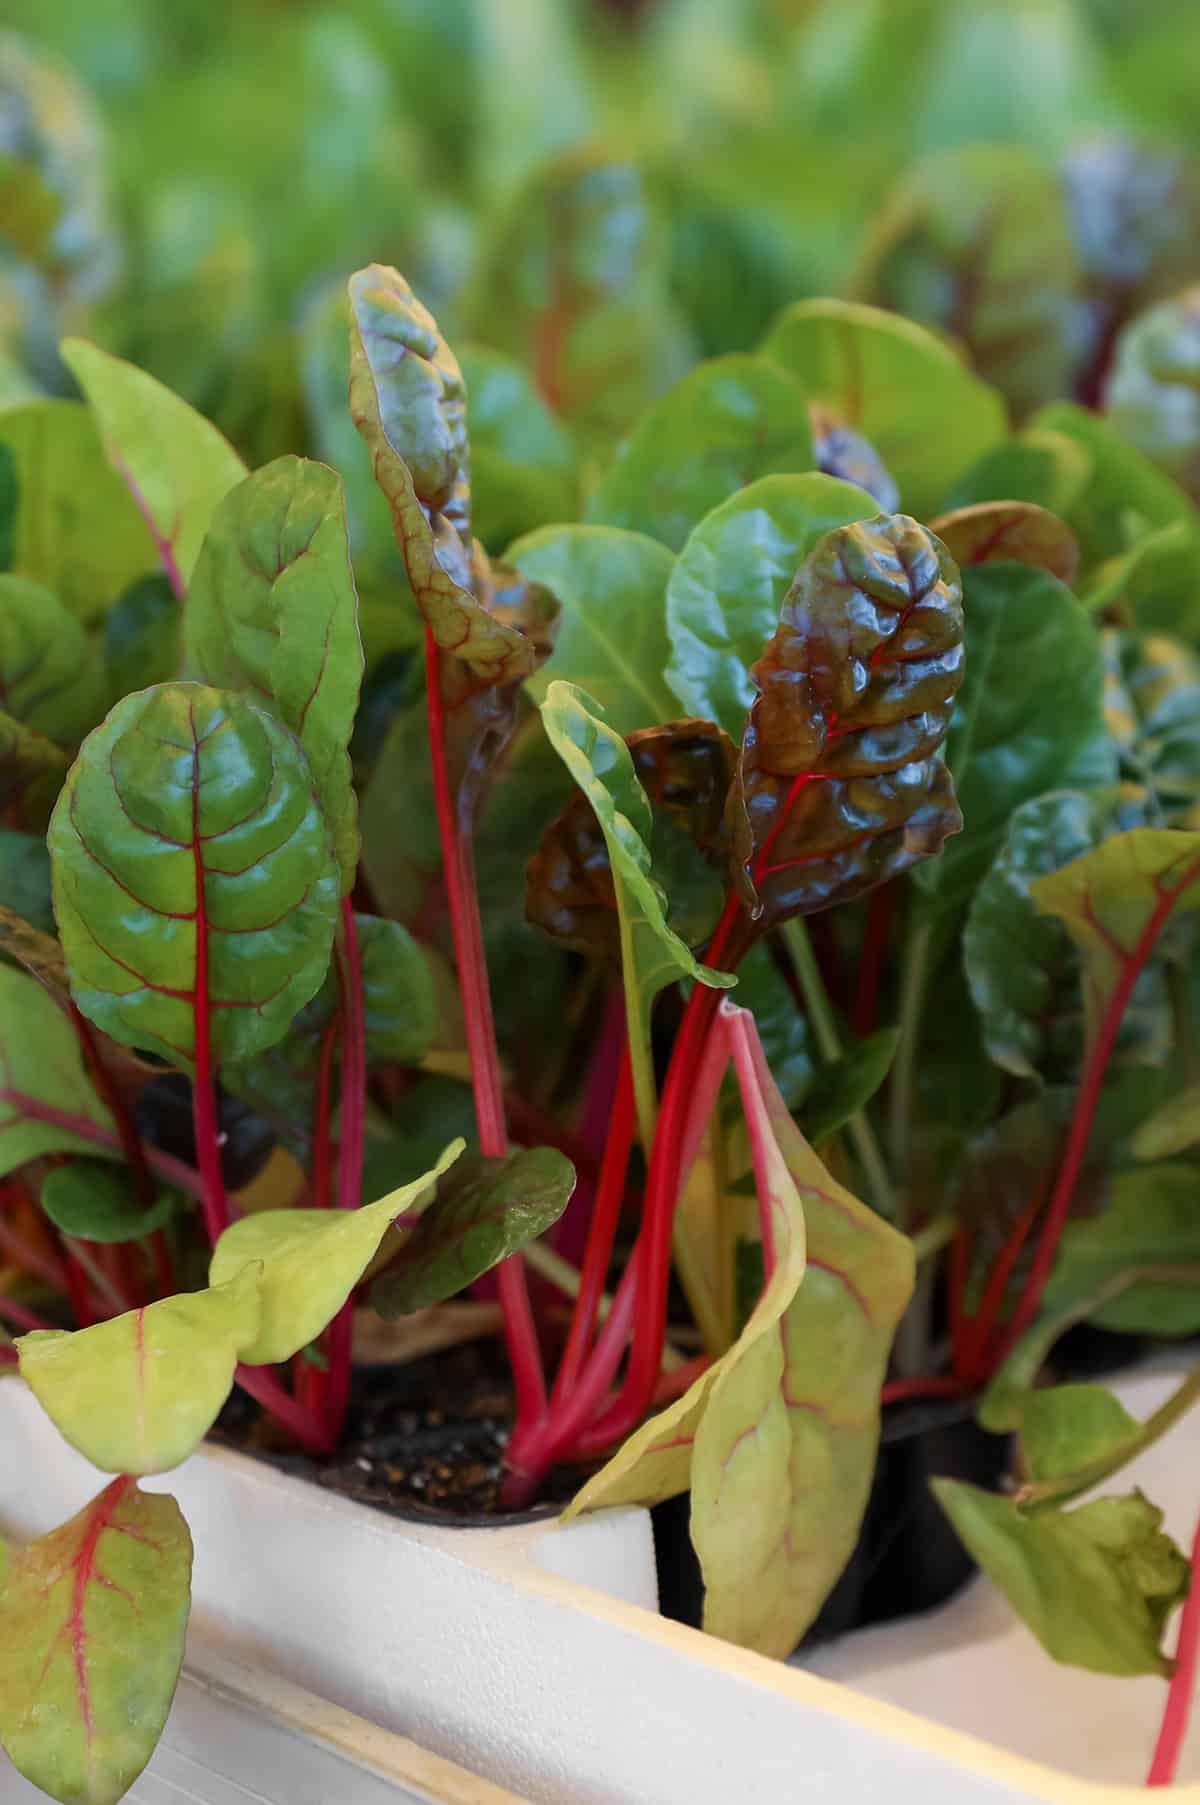
Best Beet Types for Pots
Short, round varieties are the go-to for containers—they mature quickly and don’t need much room. Try ‘Detroit Dark Red,’ ‘Babybeat,’ or ‘Bull’s Blood’ for consistent roots. Golden and striped beets also do well in pots and look cool, with no extra fuss.
If you’re set on cylindrical types, you’ll need a deeper pot—at least 10 to 12 inches, or you’ll end up with bent or stubby roots. Skip the big storage beets; they just hog space and don’t pay off. Check the seed packet for root size to match your container.
What to Expect (Timing + Size)
Beets in pots usually take around 50 to 60 days from seed to harvest. They’re happiest in cool weather (think spring and fall). Keep the soil moist, but don’t let it get soggy.
Roots usually max out at 1.5 to 2.5 inches wide in containers—just right for sweetness and tenderness. The greens grow quickly, so you can snip a few leaves after three or four weeks without hurting the roots’ progress.
Choose the Right Container
Your container really decides how big your beets get and whether they stay healthy. Depth and drainage are the main things to get right—don’t stress too much about the shape or color.
Pot Depth and Drainage
Beets send down a taproot, so depth is more important than width. Go for a pot that’s at least 12 inches deep. Deeper pots help with moisture and let you try bigger varieties if you want. If your container’s too shallow, expect weirdly shaped or stunted roots.
Drainage holes are a must. If water can’t get out, roots rot. Plastic and glazed pots keep moisture longer, while terra cotta dries out faster—pick what fits your watering style. Keep the pot raised a bit so holes don’t get blocked and you don’t end up with swampy soil.
Soil Setup
Soil quality makes or breaks container beets. You’re in charge of the mix, so small tweaks matter. Get the structure right first, then worry about nutrients and moisture.
Loose Mix for Better Roots
Beets want loose, deep soil for nice, straight roots. Use a pot that’s 10 to 12 inches deep at minimum. Shallow pots just lead to stubby or weirdly shaped roots.
Mix a good potting blend with compost for nutrients and texture. Skip heavy garden soil or anything clay-heavy—it just chokes the roots.
Keep the pH between 6.0 and 7.0. Mix the soil well before planting so there aren’t any hard spots. Water should flow through but not leave the soil bone-dry right after.
Planting Beets
Getting the depth and spacing right at planting is key. It’s the difference between nice roots and a tangled mess.
How Deep to Sow
Seeds need solid soil contact to sprout evenly. Drop beet seeds ¼ to ½ inch deep and press the soil lightly so there aren’t air pockets. Too shallow, they dry out; too deep, they’re slow to pop up.
Keep the soil moist after planting—damp, not drenched. Sprouts usually show up in 10 to 15 days if it’s cool. Warmer soil speeds things up, but if it’s too hot, germination drops off.
Each beet “seed” is actually a cluster, so you’ll get a few sprouts per spot. That’s normal—just part of beet life.
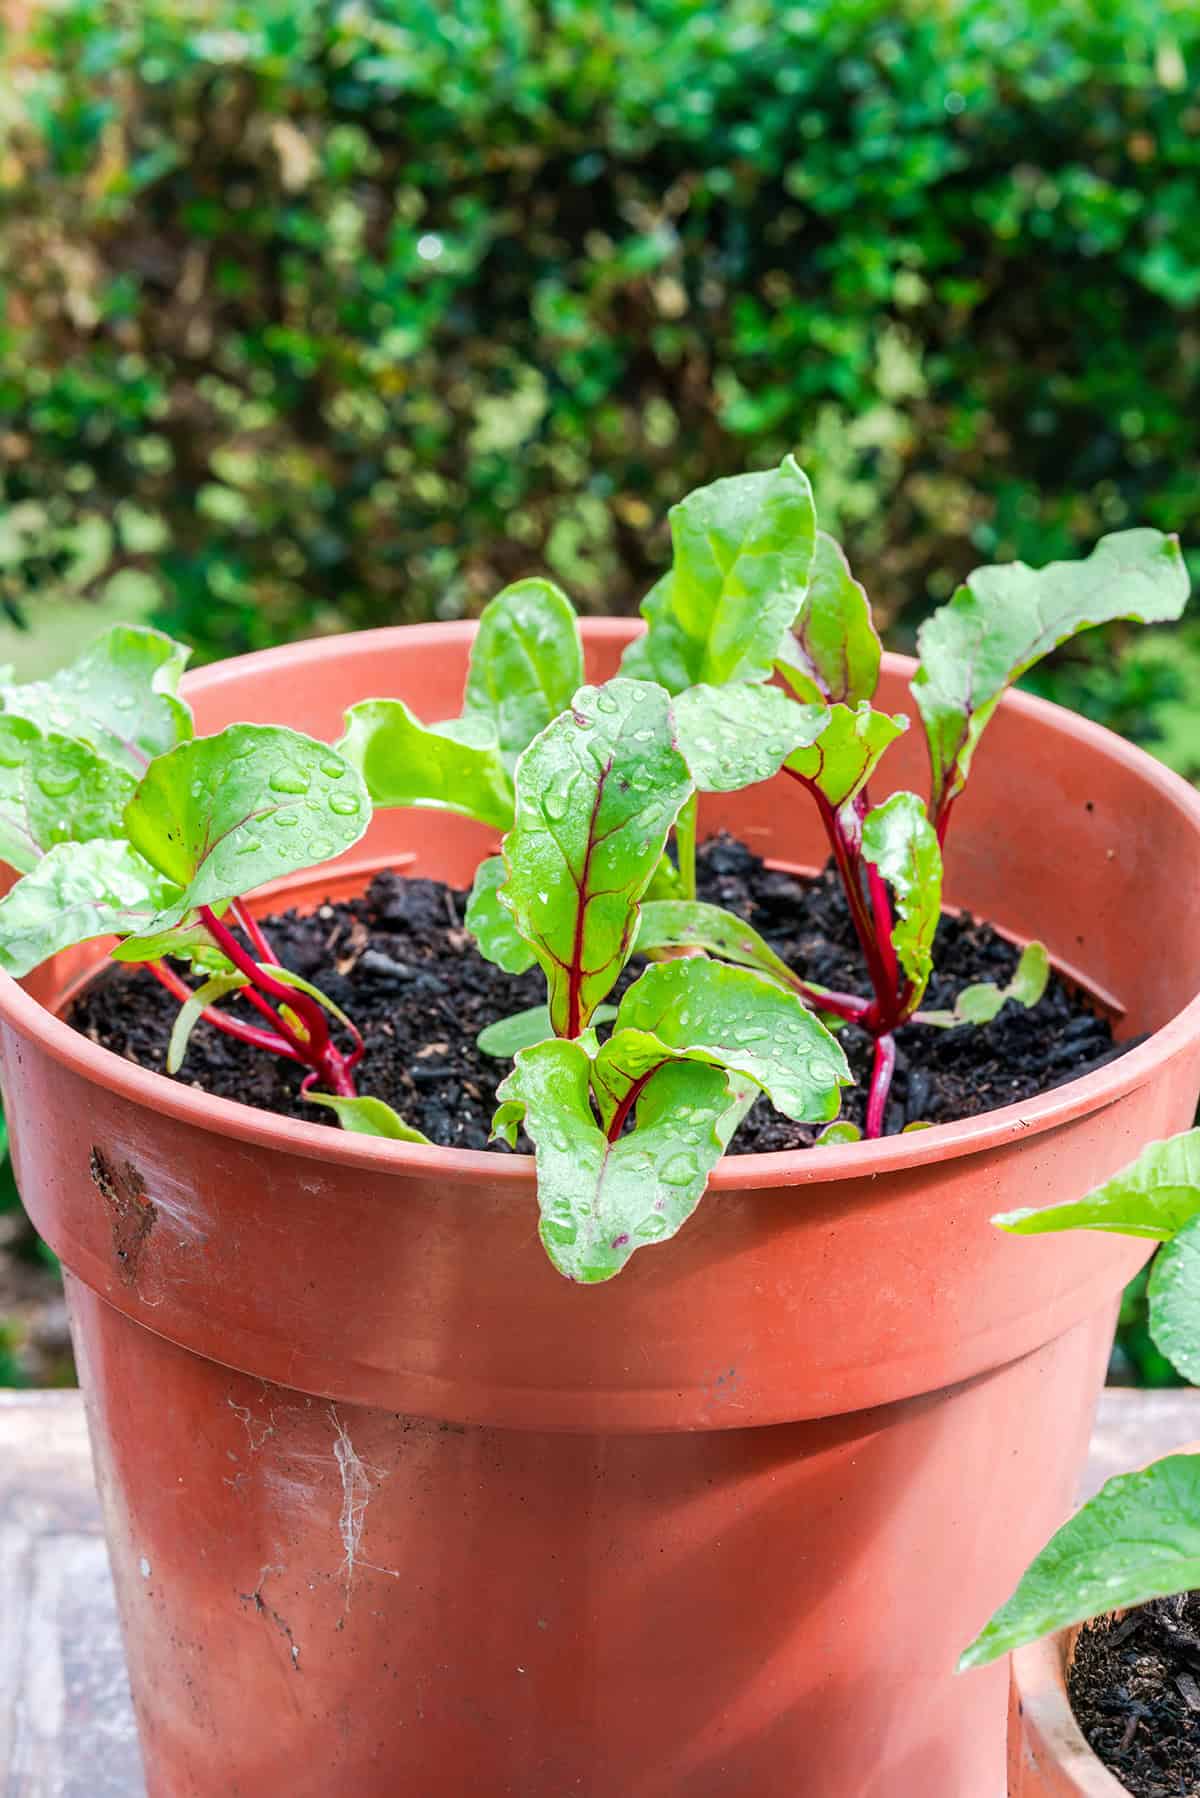
Spacing + Thinning
Don’t crowd them. Once seedlings hit 2 to 3 inches tall, thin each clump to the strongest one. Give each plant 2 to 3 inches of space.
Snip the extras off at soil level with scissors or pinch them. Pulling can yank up the neighbors, which is a pain in a small pot. The thinned greens are good in salads, by the way.
Good spacing helps with airflow and keeps roots from fighting for water. With enough room, you’ll get roots around 1½ to 3 inches wide in about 50 to 60 days.
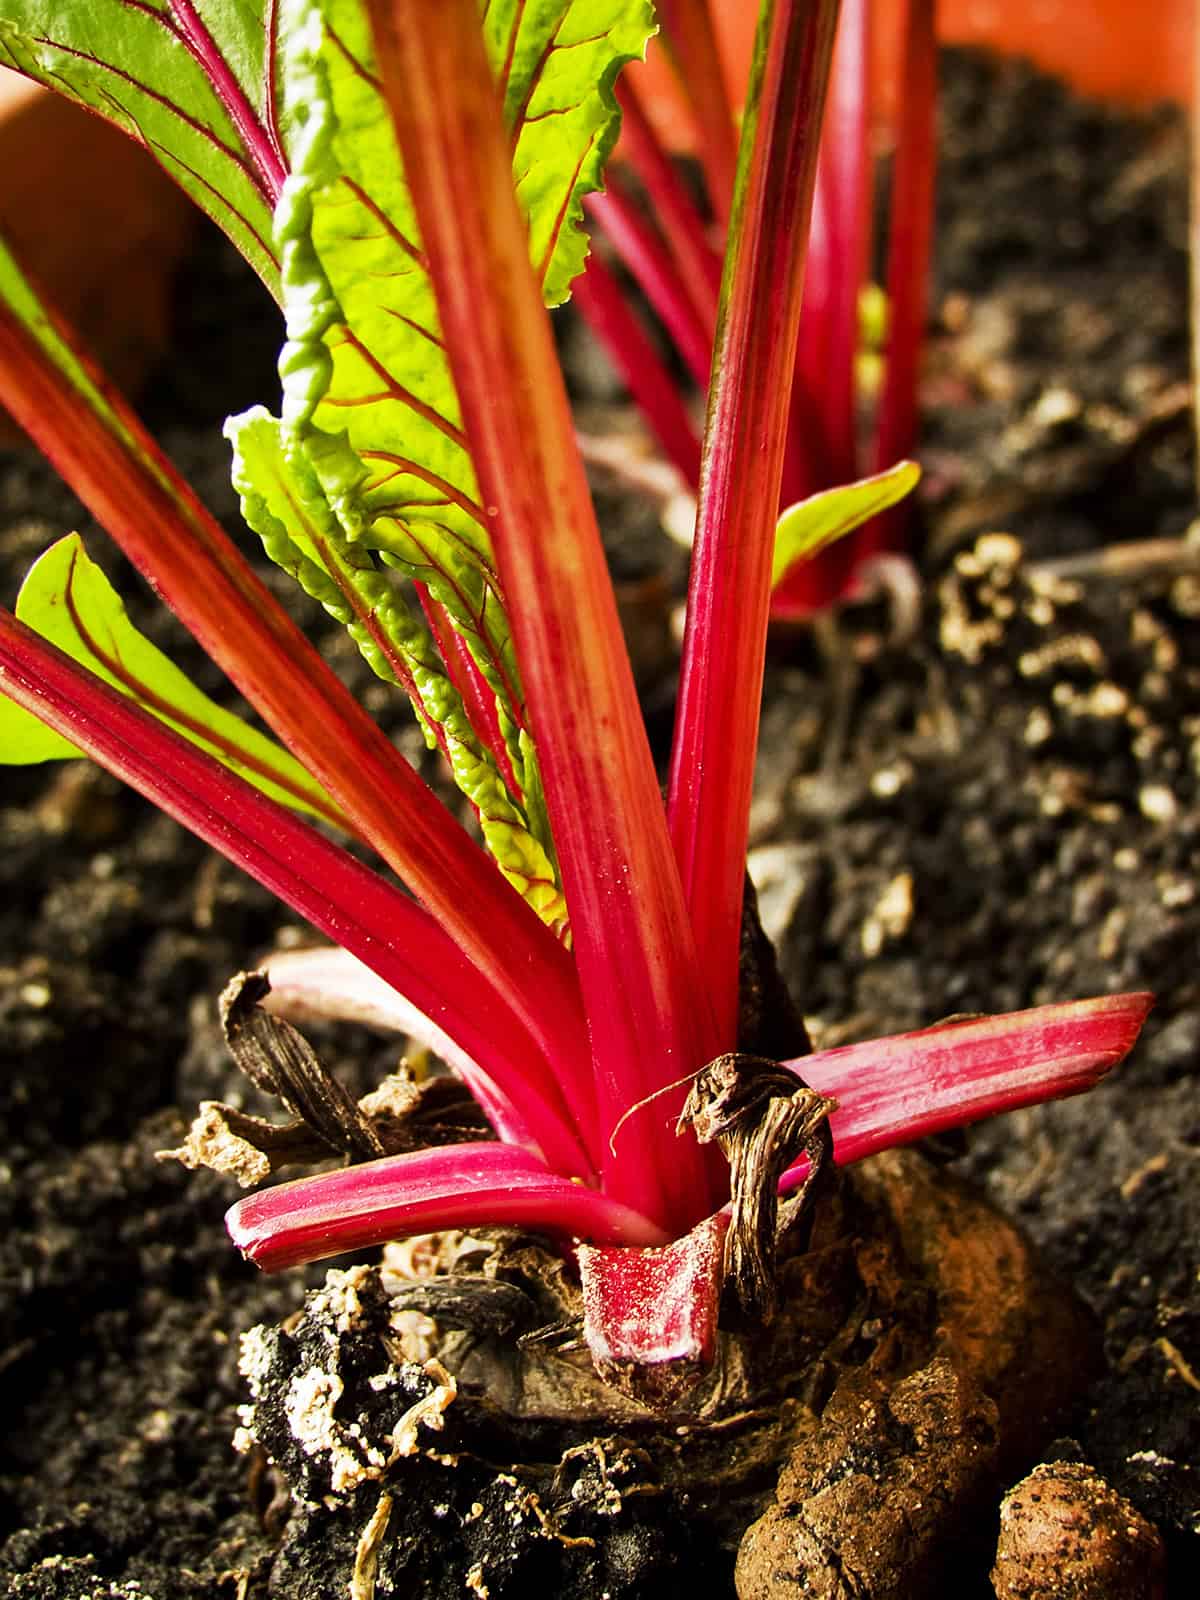
Light + Temperature
Beets like steady light, but not harsh, blazing sun all day. Aim for 4–6 hours of sun daily. They’ll handle some shade, especially in the afternoon if you live somewhere hot.
Cooler temps are better—anything from 50°F to 70°F is ideal. If it gets hotter than 80°F, roots turn tough and lose flavor. Containers heat up faster than the ground, so move them to a cooler spot if you need to.
Light frosts don’t really bother beets, especially the roots. If you’re worried about a cold snap, toss a cover over the pot at night. No need for fancy gear.
Watering
Pots dry out faster than garden beds, so you’ve got to stay on top of watering. Too much or too little, and you’ll see it in the roots.
Keep Moisture Steady (Avoid Woody/Cracked Beets)
Roots pull water from the top foot of soil, so even a short dry spell can mess with growth. Check by poking your finger in—if the top inch is dry, it’s time to water. Water until it starts to drain out the bottom, then stop.
Letting the soil dry out and then soaking it again leads to woody or cracked beets. Small pots might need water every day in hot weather; bigger pots give you more wiggle room.
When it’s cool, don’t overdo it. Too much water means less oxygen for the roots and more risk of rot. A thin mulch layer on top helps keep things even.
Feeding (Optional)
If you start with a good potting mix and compost, you can usually skip extra fertilizer at first. Compost carries the plants through early growth. Most folks don’t feed beets for the first month—less is more if you want good roots instead of just leaves.
If the leaves look pale after a while, a light dose of balanced fertilizer (or something just a bit lower in nitrogen) can help. Don’t go overboard—half strength is plenty, or you’ll get salt buildup in the soil.
Liquid feeds are easiest since pots drain fast. Once every three to four weeks is enough, and you can stop feeding a few weeks before harvest. Always water first, then feed, so nutrients spread out. Keeps things simple and avoids stressing the plants.
Common Problems + Pests
Beets in pots usually dodge most big problems, but a few pests and issues pop up. Catching them early keeps things on track.
Leaf Miners, Aphids, Slugs (Quick Fixes)
Most problems show up on the leaves first. Leaf miners leave pale squiggles, aphids cluster and make things sticky, and slugs chew holes—especially after rain.
Check the leaves a couple times a week and pull off any that look bad. Hand-picking works well in containers. Fine mesh covers block bugs if you put them on early.
For aphids, blast them off with a strong spray of water. Clean up old leaves and debris at the end of the season. Good soil and rotating crops help keep pests down over time.
Poor Root Size (Common Causes)
If roots are small or weirdly shaped, it’s usually a depth or soil issue. Shallow pots or compacted soil make roots fork or stall out.
Water is the big one, though—dry soil slows growth, but soggy soil suffocates roots. Keep the moisture even and make sure water drains out fast.
Sunlight matters too. Less than three hours a day, and roots don’t develop well. Too much nitrogen? That just makes leaves, not beets. Stick to balanced feeding and don’t rush with the fertilizer.
Harvest
Harvest time is all about timing and paying attention. Pot size, watering, and spacing affect root size, while when you pick them changes the taste. You can take a few leaves as you go if you’re gentle.
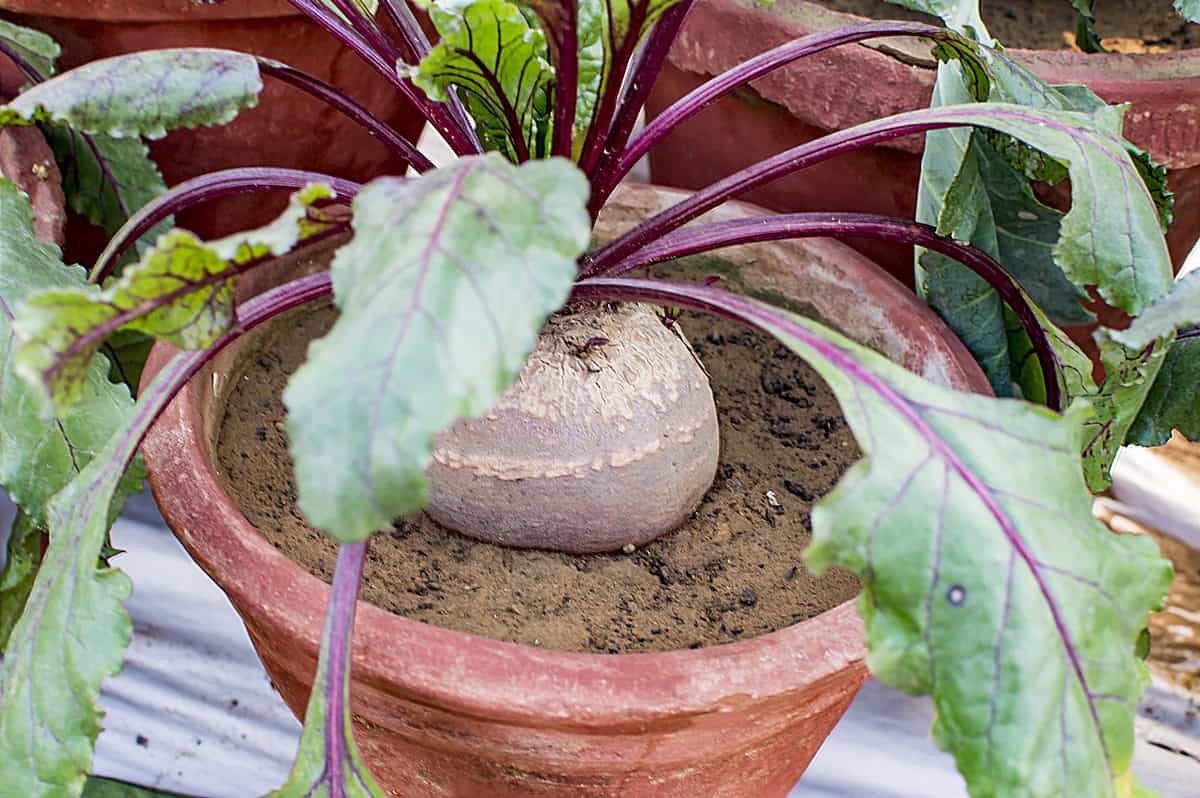
When to Pull Roots
Most beets in containers are ready about 50–60 days after planting. But don’t just watch the calendar—check the root diameter at the soil line. Once they hit 1½ to 3 inches wide, they’re usually at their best for flavor and tenderness.
Smaller roots are sweeter and cook quicker. Letting them get too big usually means woody texture, especially if it’s hot or the soil’s dry. Water the pot the day before you harvest for easier pulling.
Grab the stems at the base and pull straight up. If they’re stuck, loosen the soil with your fingers. You can harvest the whole pot or just take the biggest ones and let the rest keep growing.
Harvesting Greens + Storage
Once your greens hit about 6 to 8 inches tall, they’re ready for a trim. Snip off no more than a third of the leaves from each plant, always leaving that center growth alone so the roots keep doing their thing.
Grab some clean scissors and cut the leaves close to the stem. Tugging by hand? Not a great idea—container roots are fussy and don’t like being messed with. The younger and firmer the greens, the better they taste.
If you’re dealing with roots, twist off the tops and leave roughly an inch of stem. Skip washing until you’re ready to eat. Toss the roots in a perforated bag and stick them in the fridge—they’ll last about 2–3 weeks that way.
Greens, on the other hand, should be used up pretty quickly. Keep them unwashed, in a sealed container with a dry paper towel in the fridge, and they’ll stay decent for a few days.