You can grow turmeric indoors year-round in a container if you give it warmth, bright light, rich soil, and steady care. All you really need is a sunny room and a deep pot—no yard required. Fresh rhizomes from the store are usually fine and adapt to home life without much fuss.
This guide digs into which types actually fit on a shelf, why pot depth isn’t just a detail, and how your choice of soil can either help or hurt your harvest. There’s also some straight talk about light, water, and feeding, so you know what to expect from that first sprout to the moment you pull up your own turmeric.
Table of Contents
Best Varieties For Indoors
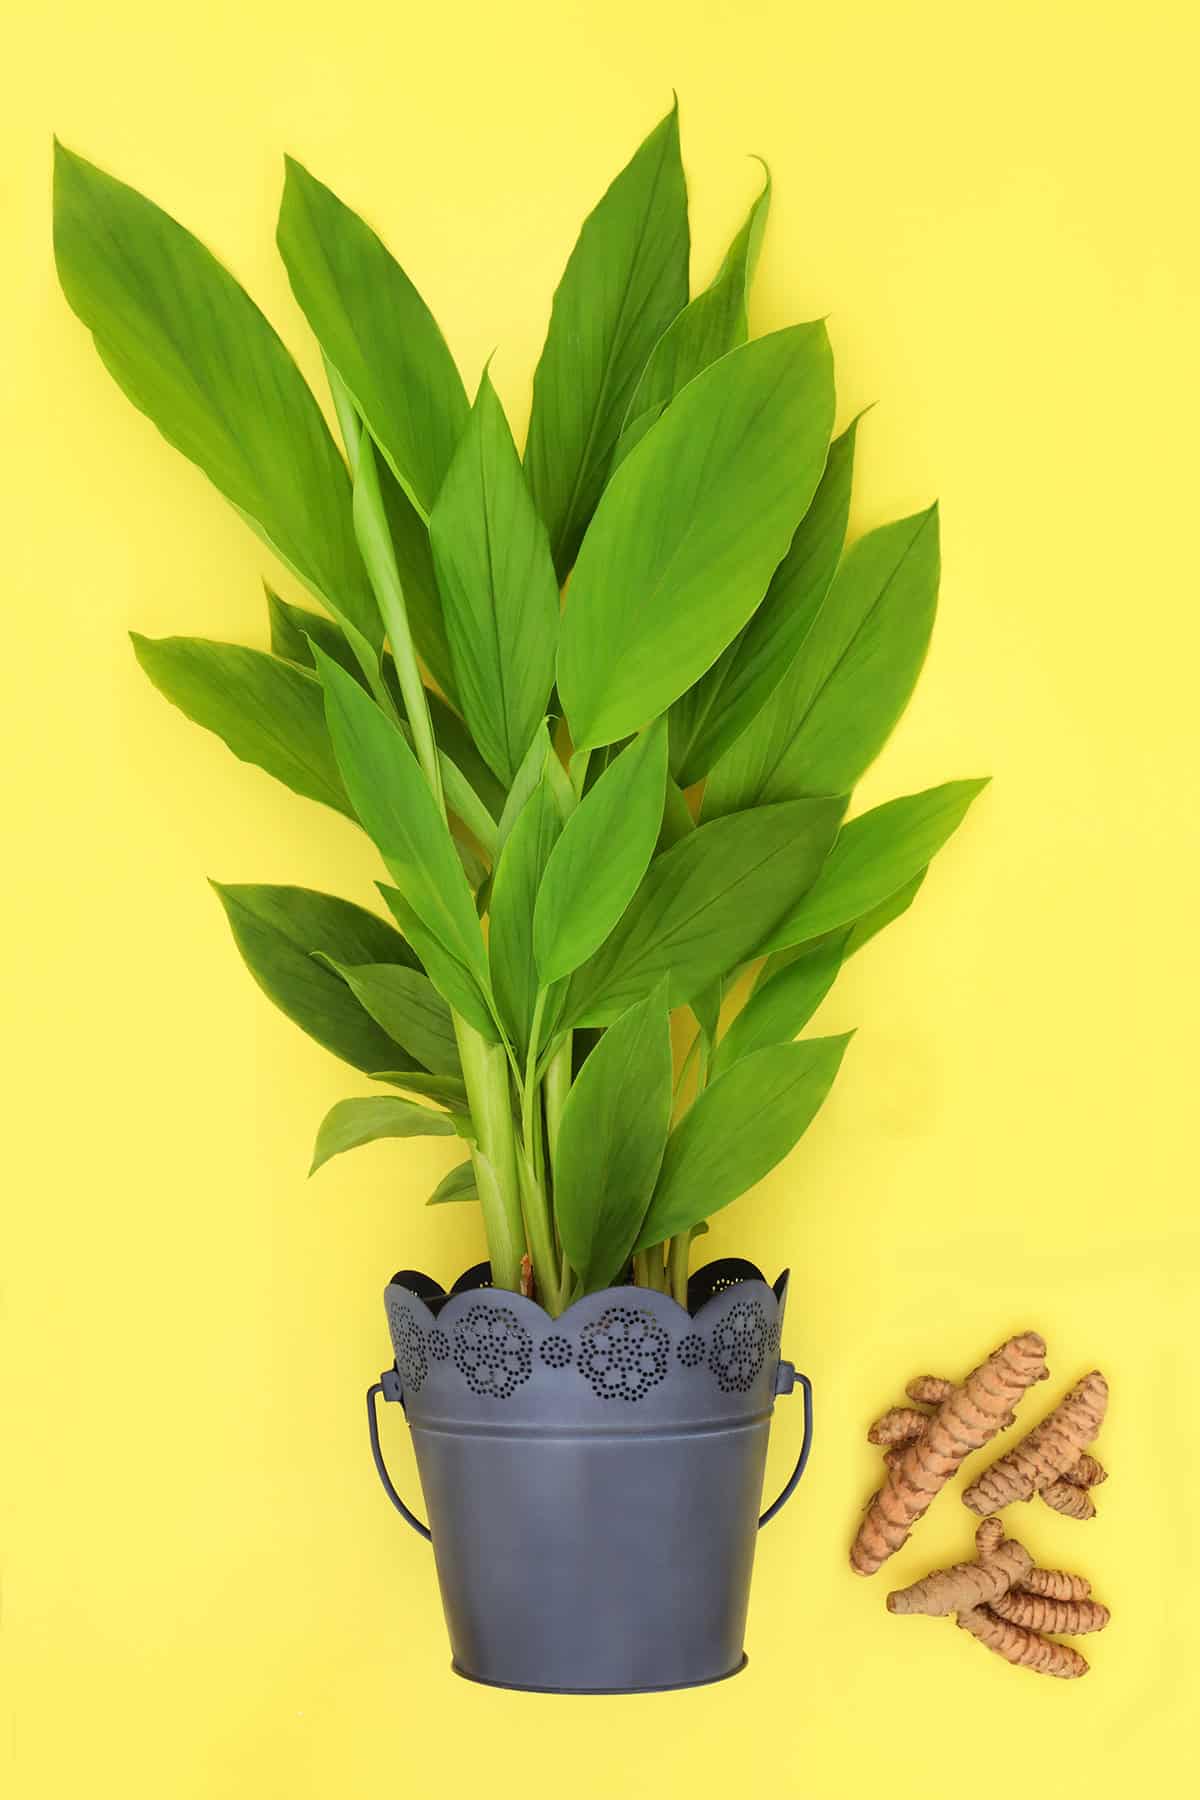
Honestly, space is your real limit with turmeric, not the weather. Compact Curcuma longa types are your best friends—they mature faster and don’t take over your living room. Most folks just grab culinary strains sold as seed rhizomes, and they’re surprisingly adaptable if you can keep things above 68°F.
Lakadong is a solid pick for indoor growers. It stays on the shorter side and the rhizomes are nice and firm. Give it a bright spot near a south or west window, and you’ll get good color and flavor without a monster plant crowding your space. That’s a relief if you don’t have much extra room.
Alleppey and Madras also do fine indoors if you give them enough light and don’t drown them. Plump, clean rhizomes with a few buds are what you want—skip any that look sad or mushy.
If you’re stuck with mystery rhizomes, just look for healthy, budded pieces. Honestly, quality and care matter more than a fancy variety name indoors.
Container Size And Depth
Turmeric likes to spread, so don’t skimp on width. A pot at least 12 inches across gives the roots room to do their thing. If you go too narrow, you’ll end up with a disappointing harvest.
Depth’s just as important—shoot for 10 to 12 inches of soil so the roots don’t get cramped. Shallow pots dry out in a flash and stress out the plant.
It’s worth thinking ahead, too. Turmeric rhizomes bulk up over time and can actually crack flimsy pots. Go for something sturdy with drainage holes, since you’ll be watering often.
Bigger pots mean you won’t have to mess with repotting mid-season, which usually slows things down. Give them enough space from the start and you’ll avoid a lot of hassle.
Soil
If you want good results, start with loose, rich soil. Turmeric roots like to stretch out sideways, so skip anything dense or heavy. You want a mix that drains well but still holds onto some moisture—leave the garden dirt outside.
Compost or aged manure goes further than any fancy bagged mix. The soil should feel soft and crumbly, never crusty after watering. Airy soil is key for healthy roots.
Keep it slightly acidic—around pH 6.0 to 6.5 is great. Most decent potting soils are close enough. Don’t grab cactus or succulent blends; they’re too alkaline.
Drainage is non-negotiable. Water should run out of the pot almost immediately. If your container traps water, even the best soil won’t save your rhizomes from rot.
Turmeric’s in it for the long haul indoors, so nutrients get used up. Top up with compost or worm castings once or twice a season to keep things ticking along. No need to get heavy-handed with fertilizers.
Planting
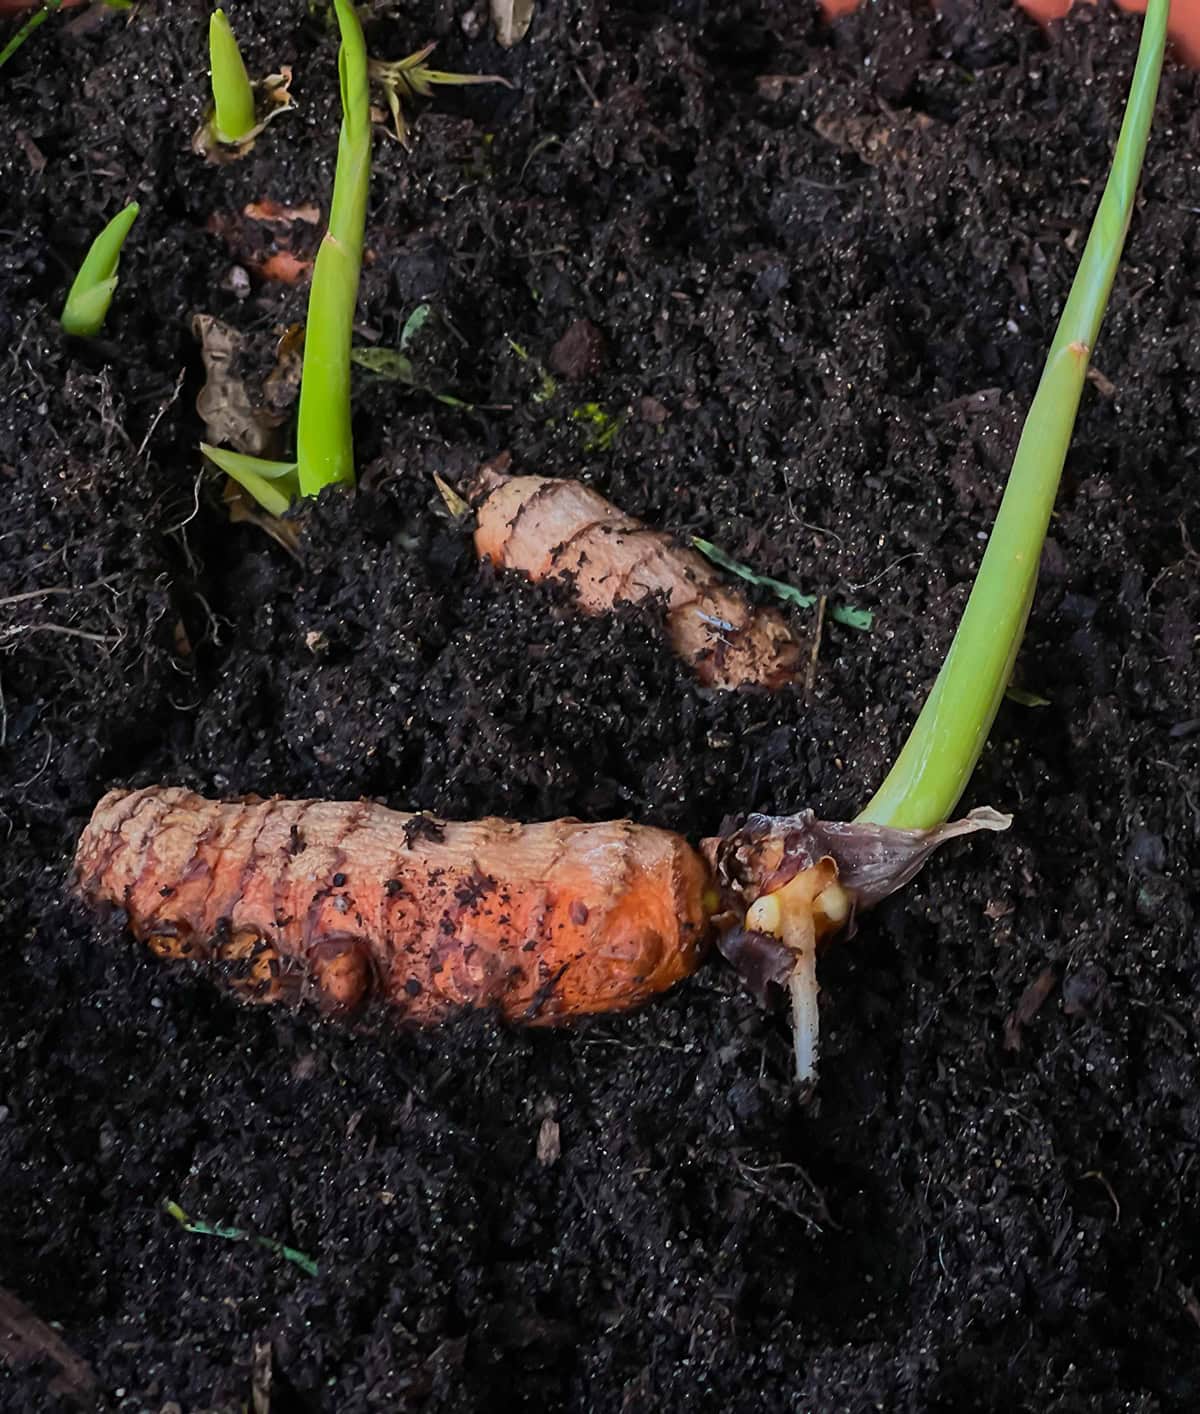
Grab a fresh, firm turmeric rhizome with visible buds—grocery stores usually have them when it’s warm out. Aim for pieces about two to three inches long. If you have a big chunk, slice it up so each section has at least one bud.
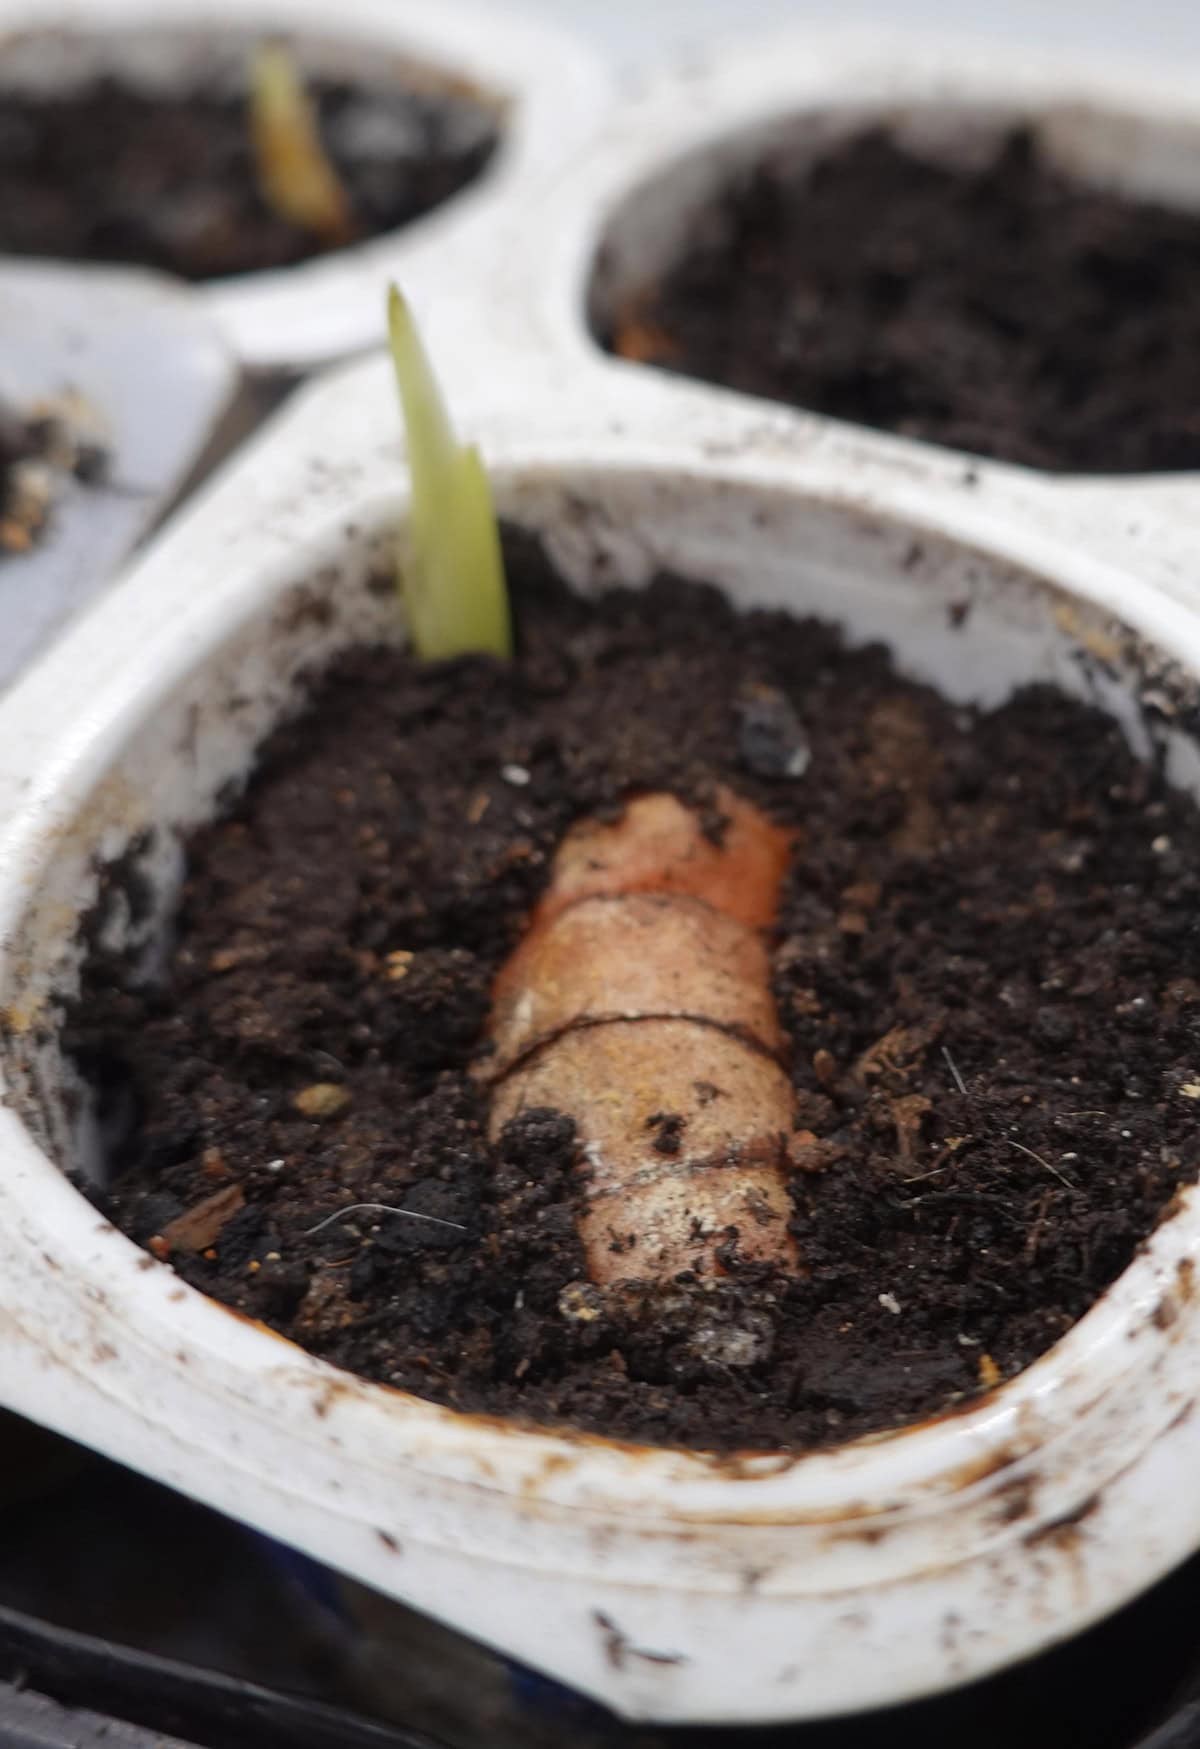
Pick a wide pot with drainage, fill it with your loose, rich soil, and make sure it stays a bit acidic and moist. Lay the rhizome flat, buds up, about two inches deep. Leave a few inches between chunks so they’re not fighting for space.
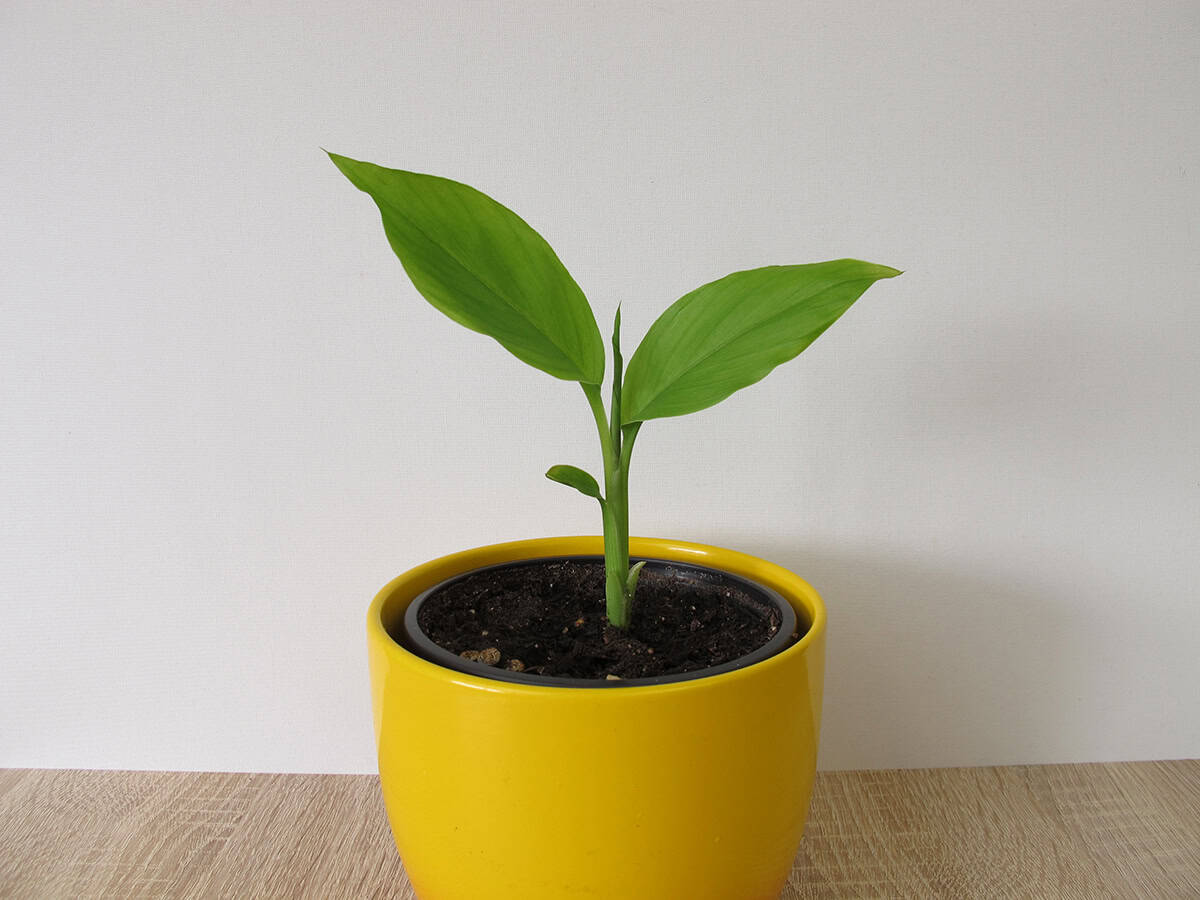
After planting, water so the soil’s evenly moist—not soggy. Set the pot somewhere warm (above 68°F is ideal). Bright, indirect light is fine at first. Shoots usually show up after a few weeks if all’s well.
Light
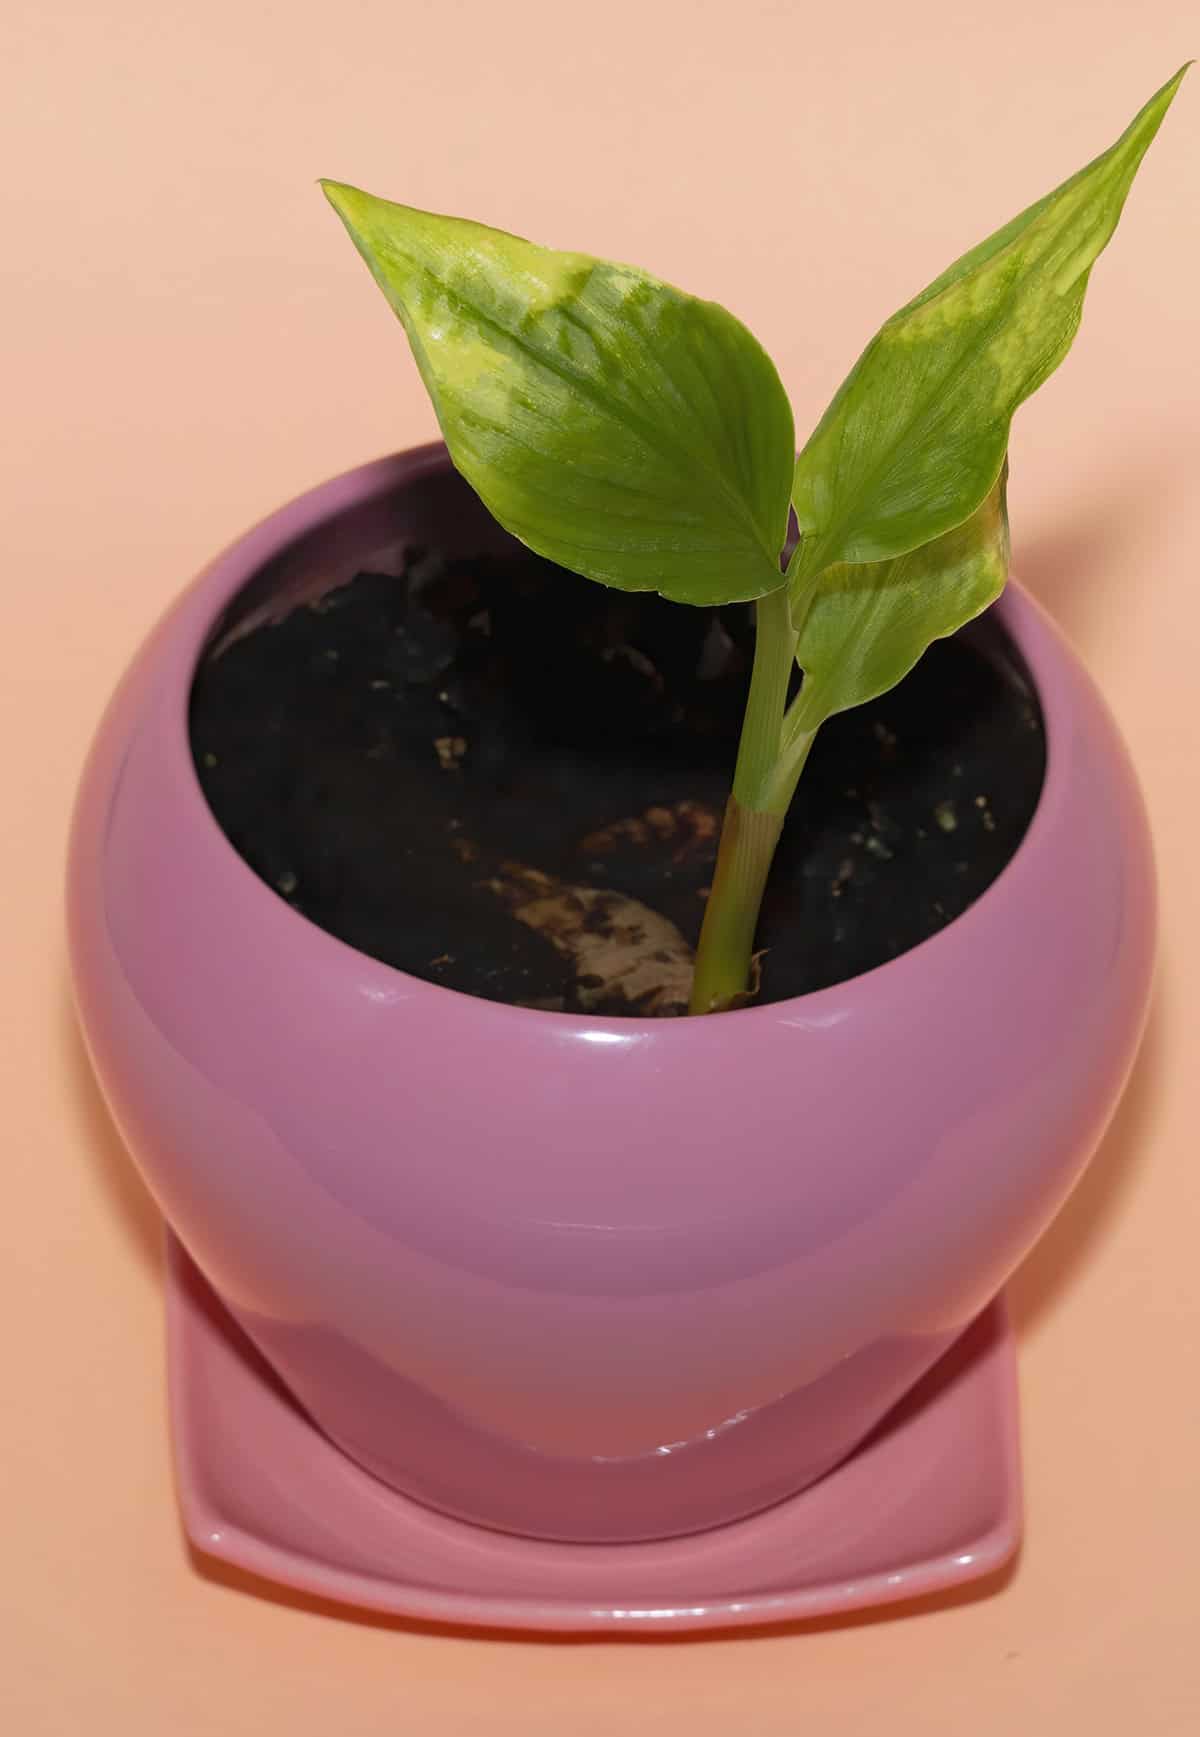
Turmeric’s leaves need plenty of light to stay happy. Go for bright, indirect sun most of the day. South or east windows work, but a sheer curtain helps avoid fried leaves.
Direct sun’s a bit much—rotate the pot every so often to keep things growing straight. Consistent light keeps the plant from getting lopsided.
Winter’s a pain for indoor light. If your place gets gloomy, a full-spectrum grow light will keep things moving. Hang it about a foot above the leaves and run it 10–12 hours a day.
If the plant starts dropping leaves or yellowing, it’s probably going dormant. You can ease up on the light until spring, then ramp it back up when you spot new shoots.
Water
Keep the soil moist—never soggy, never bone dry. Turmeric likes consistency, but too much water leads to rot.
Indoor air gets dry, especially in winter. A light misting on the leaves helps when humidity drops, but don’t overdo it and soak the soil.
Growth slows down or stops in the cooler, darker months. When that happens, cut back on watering and let things dry out a bit. Wait for new shoots before you start watering like normal again.
Feeding
Turmeric isn’t a heavy feeder, so start with rich, organic potting soil that already has compost in it. That way you don’t have to fuss with fertilizer all the time.
When the plant’s growing, a balanced liquid fertilizer at half strength once a month works fine. Pick one with equal N-P-K. Too much nitrogen just gives you leaves, not rhizomes. Keep it light and regular.
Worm castings or compost tea are solid options and won’t mess up your soil. Use them sparingly and water afterward. You want things moist, not swampy.
If the plant starts yellowing and slows down, stop feeding. Let it rest and bulk up the rhizomes. Only start feeding again when you see new growth. Overdoing it in dormancy just weakens the plant.
Growth Time
After planting, expect shoots in 2 to 4 weeks if you keep things warm and moist. Temperature’s a bigger deal than speed—aim for 68°F or higher for the best start.
Turmeric takes its sweet time indoors. From planting to harvest, you’re looking at 8 to 10 months. Leaves come first, then the rhizomes fatten up over several months.
Light makes a difference. With enough indirect sun, growth stays steady most of the year. If winter light tanks, your plant might just nap for a while—totally normal.
When it’s dormant, leaves drop and growth halts. Back off on water and wait for spring. Once it warms up and light returns, you’ll see shoots again.
You’ll know it’s harvest time when leaves yellow and dry out. Indoors, this usually happens a bit later than outside, but the flavor and size hold up just fine.
Harvest
When stems fade and leaves go pale, you’re getting close—usually about seven months in. Most folks hit this stage in late fall or early winter, with the rhizomes at their peak.
To harvest, gently tip the plant out and brush off the soil. Take what you need, but leave a few solid pieces if you want to keep the plant going. Just tuck them back into fresh soil and keep things warm.
Wash the rhizomes and let them dry a bit. Store unpeeled turmeric in a sealed bag in the fridge for a few weeks. For longer storage, freeze or dry them. Don’t stash them anywhere colder than 50°F—chilling ruins the texture.
Common Problems And Troubleshooting
If the rhizomes feel mushy or have a weird smell, odds are you’ve got too much water hanging around. Fast-draining soil really helps, and it’s worth making sure the surface dries out between waterings. Don’t forget to let the pot drain all the way after you water, or you’ll just end up right back where you started.
Cold snaps can really mess with growth, and leaves might look rough if the room drops below 68°F—anything under 50°F is just asking for trouble. Drafty windows are classic culprits, so maybe steer clear of those if you can.
When stems flop over and leaves look washed out, it’s usually a light problem. Try moving the pot somewhere it’ll catch some gentle morning sun. Giving the container a little spin every so often helps everything grow straight instead of leaning for the window.
Yellowing leaves could mean the plant’s hungry. Rich soil is a good start, but a balanced fertilizer every once in a while keeps things moving. Don’t overdo it—too much feed, and you’ll end up with salty soil and cranky roots.
Waiting for those first shoots can feel endless, especially if you started with old or shriveled rhizomes. Fresh, plump ones with visible eyes wake up way faster. Keeping the soil warm and just moist enough nudges them along, but sometimes you just have to wait it out.
Dry air indoors is basically an open invitation for spider mites. If you spot fine webs or speckly leaves, it’s probably them. Wiping the leaves with a damp cloth knocks them back, and a tray of water nearby might bump up the humidity enough to keep them away.