Celeriac’s got this earthy, fragrant root that’s just killer in soups, roasts, or even sliced raw into a salad. When you grow your own, you get to dial in the flavor and texture exactly how you like it. It’s a crop for folks who don’t mind slow progress—think cool weather, steady attention, and a bit of patience.
If you want to grow celeriac at home, you’ll start seeds early, keep the soil rich and moist, and wait things out until fall. Soil quality and consistent watering are huge. Light and feeding also play a part in how big and tasty your roots get. Picking the right variety? It matters more than you’d guess.
Garden beds or deep containers both work, as long as roots have room. It’s a marathon, not a sprint, so spacing and care matter for months. When you harvest makes a difference in texture and taste, too. Most issues are easy to handle if you catch them early and don’t overthink the fixes.
Table of Contents
Soil
Celeriac thrives in soil that’s rich, holds moisture, but doesn’t get swampy. Loose, deep dirt lets those knobby roots grow without getting all twisted up. Heavy clay just isn’t it—roots get weird and stunted.
You’ll want to dig in compost or well-rotted manure before you plant. Six inches deep is a good target. This helps the root feed evenly and keeps the soil nice and open.
Nutrient levels show up in both root size and taste. Since celeriac doesn’t have a huge root system, nutrients need to be right where the plant can reach them. If you’re unsure, a soil test will point out any shortages—nitrogen, potassium, phosphorus—so you can fix them before you start.
Dry spells can make the roots tough and woody. Deep watering is better than a quick sprinkle. It’s about getting moisture down to where the roots actually are.
pH does matter—aim for slightly acidic to neutral. If you’re off, add lime or sulfur as needed, but don’t stress if you’re close.
Planting
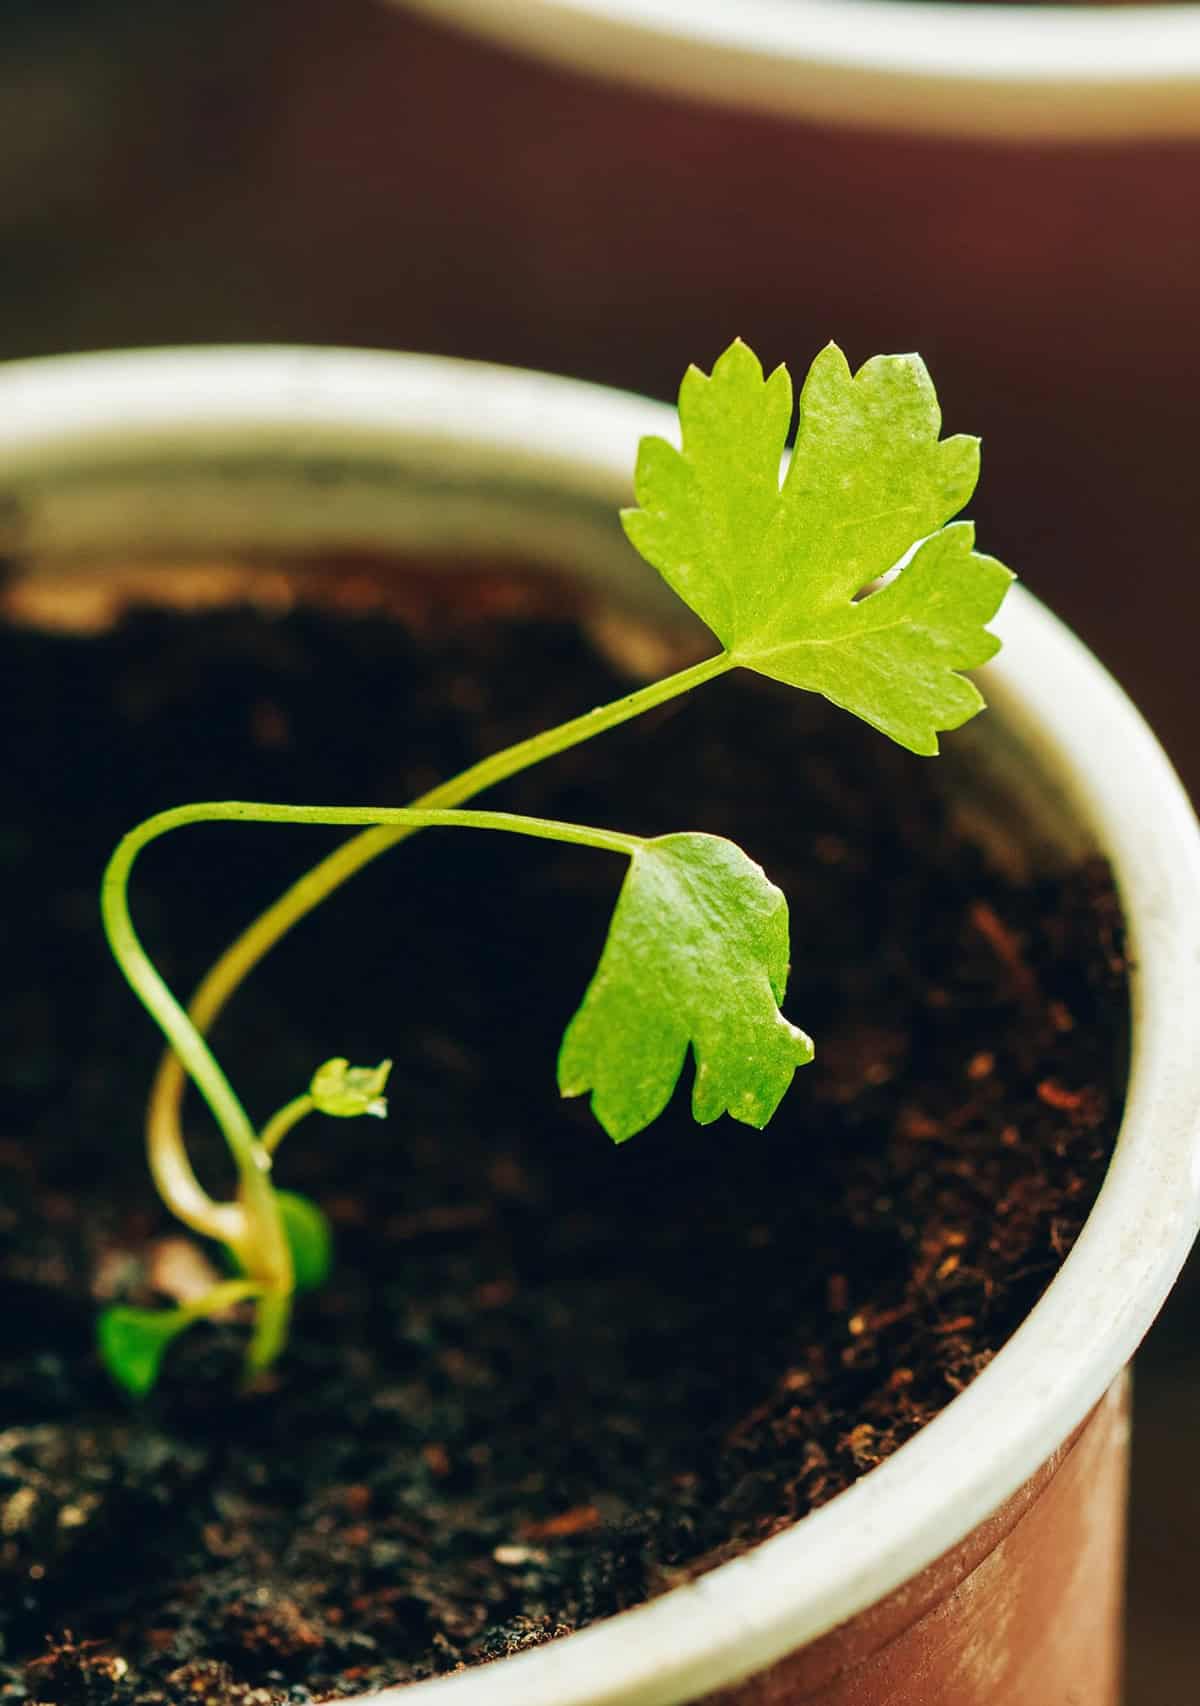
Celeriac’s a slowpoke, so you’re better off starting seeds indoors. Go about 10 to 12 weeks before your last frost. Press the seeds onto the soil surface—don’t bury them—and keep them moist. They need light to sprout, and they’re not in a rush.
Pick a sunny spot with loose, rich soil. The root sits right at the soil line, so deep, fluffy ground and regular nutrients help a lot. Avoid packed earth—it just cramps their style.
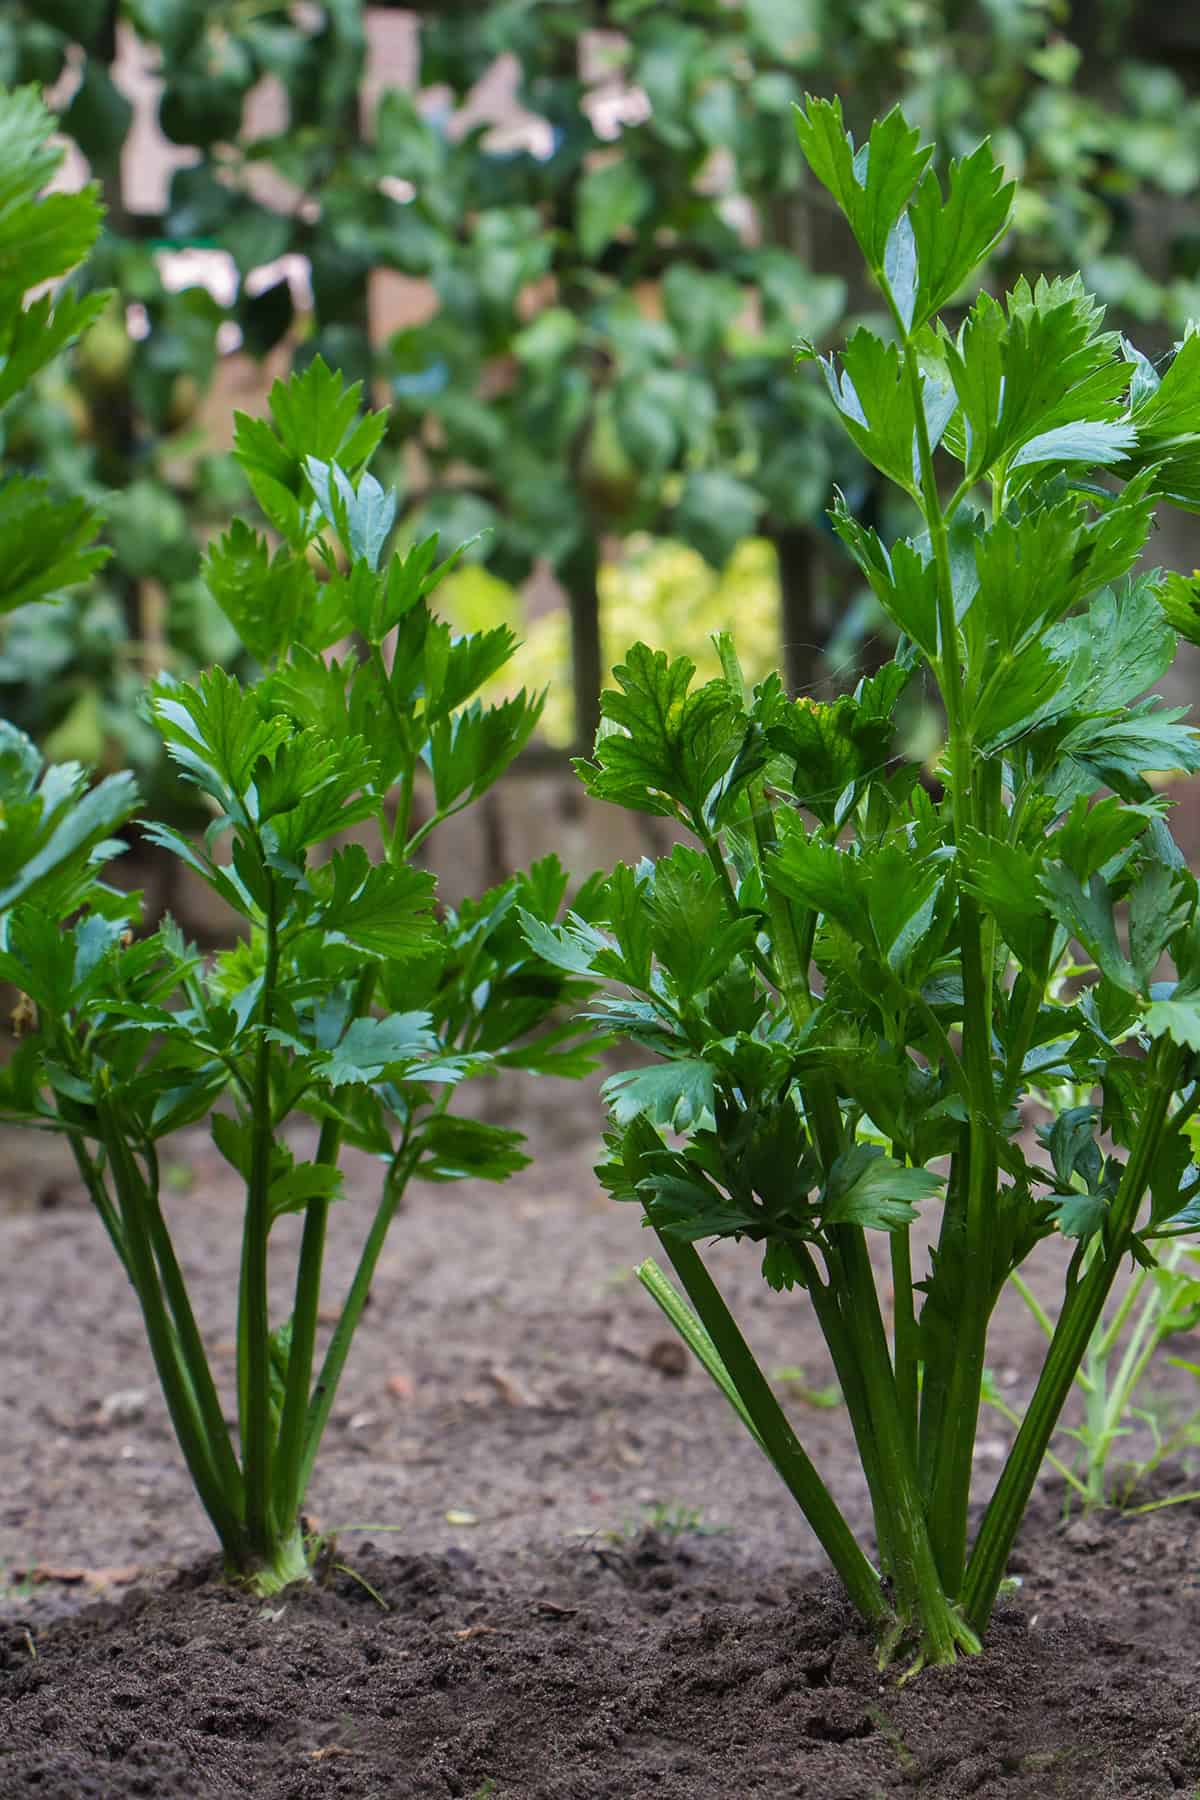
Once seedlings are hardened off and frost isn’t a worry, transplant them outside. Give each plant 8 to 10 inches of space, rows about 18 inches apart. Keep the crown level with the soil. Cooler temps are actually better for these guys.
Water well after transplanting and keep the soil evenly moist while they settle in. Mulch is a good move—it holds moisture and keeps the soil temp steady. Early care pays off with a better harvest.
Recommended Varieties
Not a ton of celeriac varieties out there, but the differences are real. Go for types bred for smoother roots and steady growth.
Giant Prague is a classic—handles cool weather, doesn’t mind a little stress, and gives you big, round roots with a mild, pleasant flavor. Pretty reliable, honestly.
If storage is your thing, Monarch is a solid pick. Dense roots, not much hollowing, and they keep well after harvest. The flavor’s balanced, perfect for soups or roasting.
Diamant and Brilliant are for folks who want roots that look good and don’t need a ton of trimming. Smooth skin, fewer side roots, and they size up nicely.
Light

Celeriac wants plenty of sun—full sun for six to eight hours is ideal. Less than that, and you’re likely to get small or lumpy roots.
If you’re in a hot area, a bit of afternoon shade helps. It keeps the plants from getting stressed and the roots from turning woody. Morning sun is usually enough in really warm spots.
The plant likes cool weather, so it’s the light that matters, not the heat. Don’t crowd your beds; each plant needs its own space for the leaves to catch enough sun.
Water
Keeping the soil consistently moist is key for celeriac. Shoot for about 1 to 2 inches of water a week, whether from rain or your hose. Letting things dry out leads to tough, misshapen roots. Uneven watering? That’s how you get cracks.
Shallow watering doesn’t cut it. Water slow and deep, so it soaks in several inches. Better to give a big drink less often than to sprinkle every day.
Hot or windy days dry things out fast, so you might need to water more. Stick a finger in the soil to check—don’t just trust the surface.
Drainage is just as important. Soggy soil causes rot and disease. Water early so the sun dries off any extra moisture. The goal is damp, not muddy.
Feeding
Celeriac’s shallow roots mean you need to keep nutrients close by. Start with rich soil—mix in compost or well-rotted manure before planting.
Once they’re growing, feed them regularly. A balanced fertilizer (equal parts nitrogen, phosphorus, potassium) works. Small, frequent doses are better than dumping it on all at once—too much nitrogen and you’ll just get leaves, not roots.
When roots start to swell, side-dress with compost or use a diluted liquid feed every couple weeks. Keep fertilizer a few inches away from the plant’s base.
If your soil’s short on calcium or magnesium, add some lime or a complete organic feed. Water after feeding to help the nutrients reach the roots.
Don’t slack on feeding late in the season. Consistent nutrition keeps the roots firm and flavorful.
Growth Time
You’re in it for the long haul—crops usually take 90 to 120 days from transplant to harvest. If you count from seed, it’s more like 120 to 150 days. Definitely not a quick veggie.
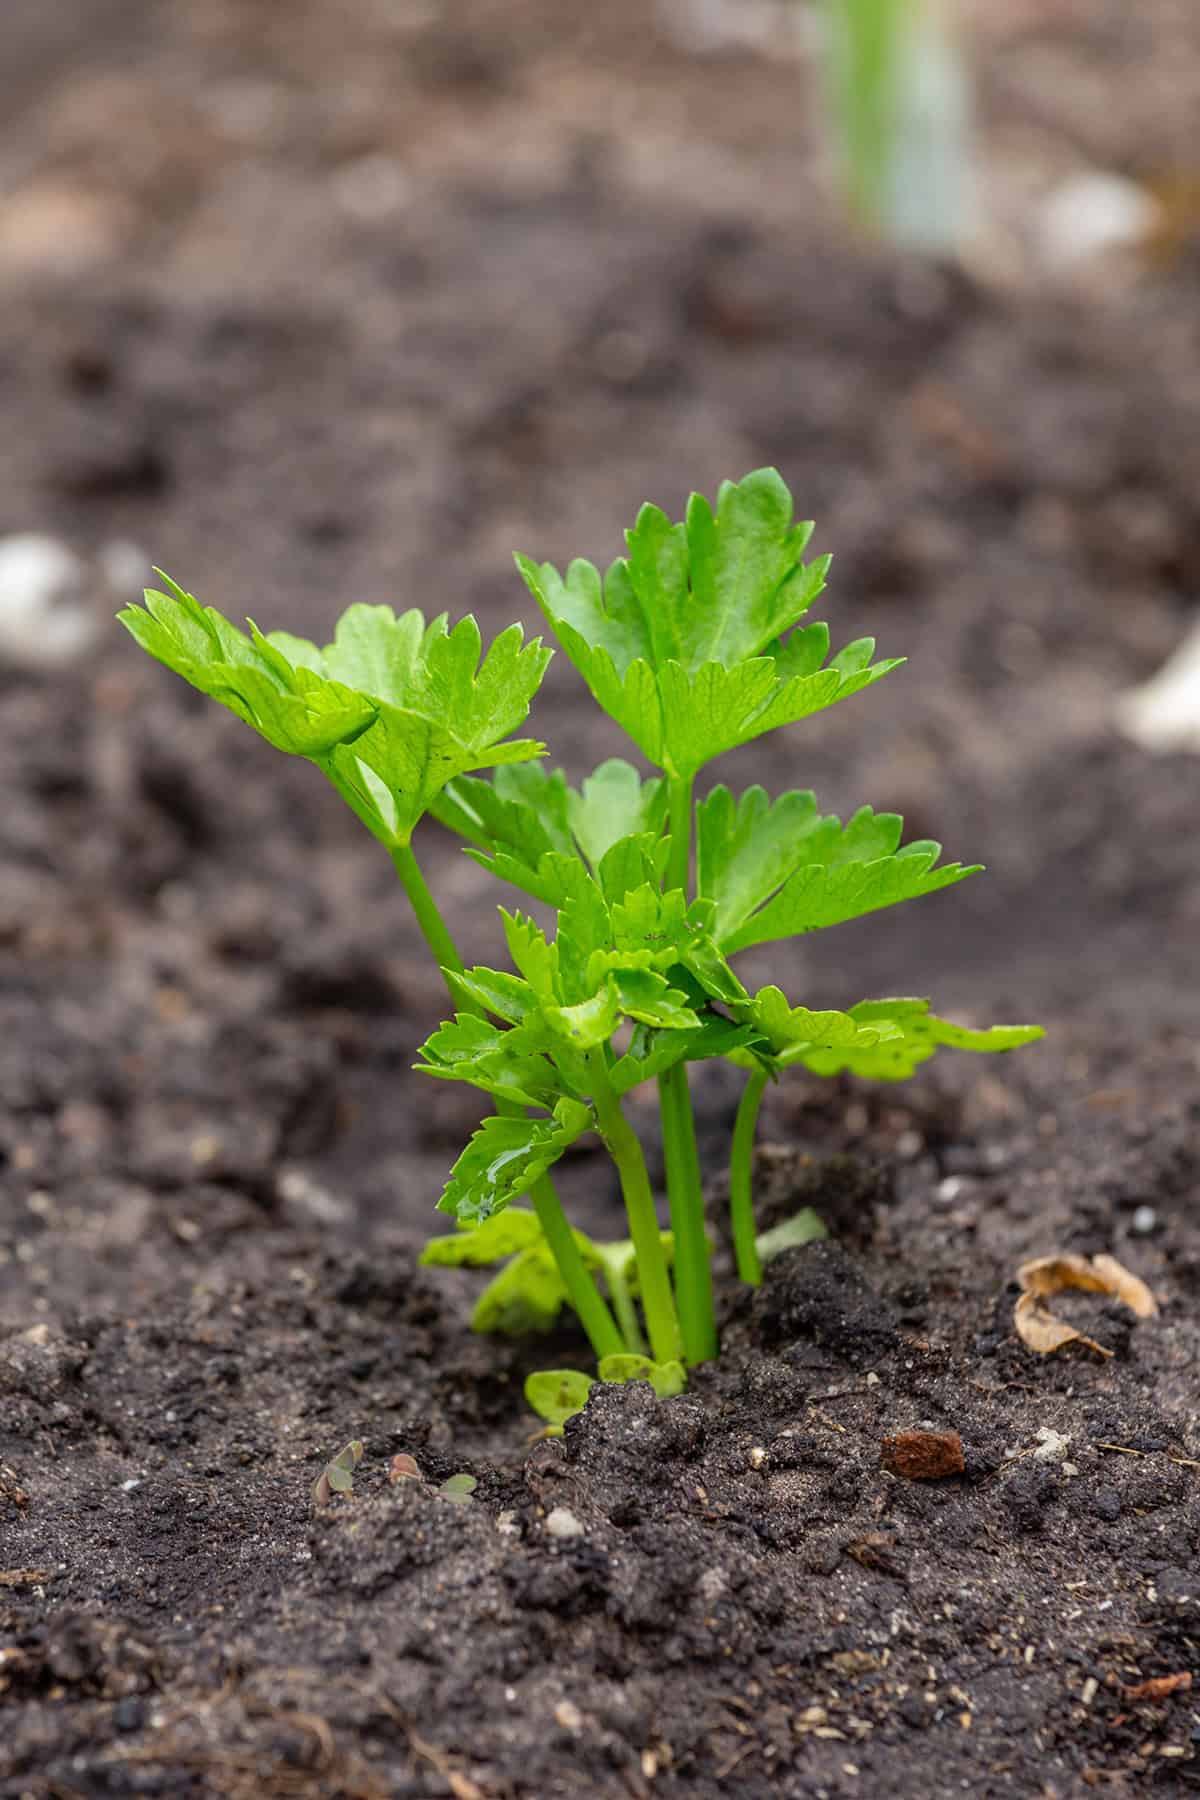
Seeds might take 14 to 21 days to sprout, even with warmth and moisture. Early growth is slow, so give them space and time. Cold soil can drag things out even more.
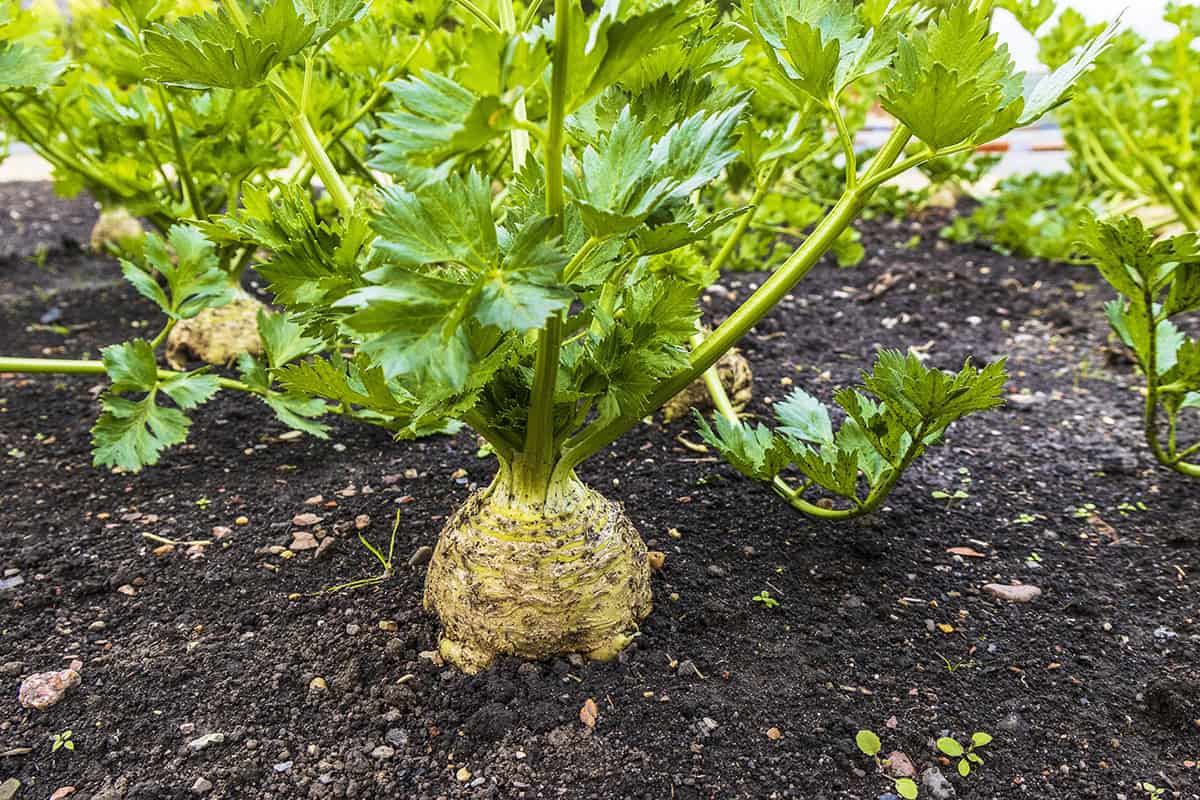
Root swelling happens late in the season, after the plant’s put on plenty of leaves. Most folks wait until roots are about 3 to 5 inches across. A light frost near harvest can actually make the flavor better.
When the root feels solid and full, it’s ready. Don’t leave them too long or they’ll get woody. Consistent care all season makes for a smoother harvest.
Growing in Containers
Don’t have a big garden? No problem. Celeriac does fine in containers if you stay on top of soil, water, and light.
Pick a pot at least 12 to 14 inches deep and wide—roots need room. Drainage holes are a must to avoid rot. Place the pot somewhere it’ll get six to eight hours of sun.
Use a light, well-draining potting mix, not heavy garden soil. Keep the crown level with the soil when planting.
Water when the top inch dries out, and don’t let the pot bake dry. Feed every couple weeks with a balanced fertilizer.
Only grow one plant per pot to avoid crowding. If it gets hot, move containers to partial shade.
Harvest
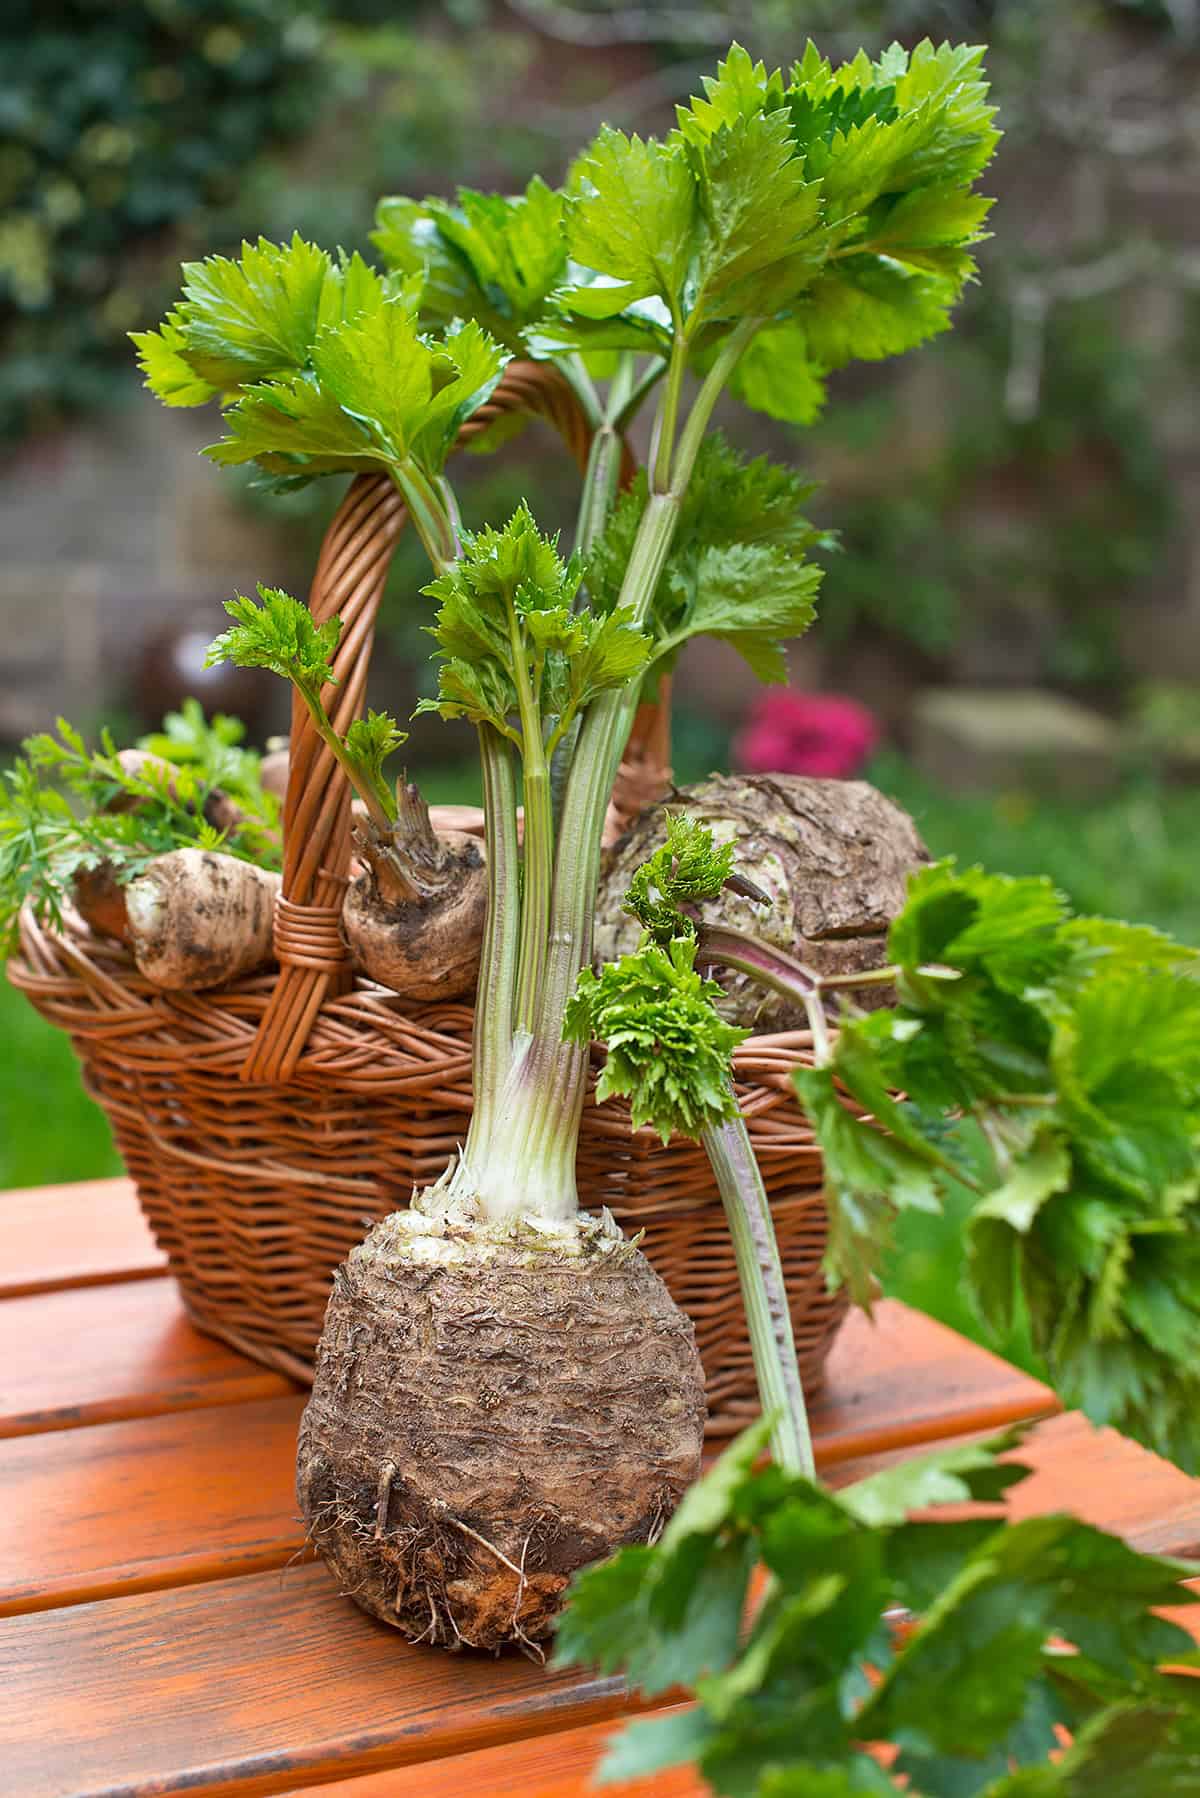
Start checking when the root’s about the size of a baseball. Some people wait longer, but early harvest gives a more tender root. Try to finish before a hard frost—cold sweetens the flavor, but deep freezes will ruin the root.
Loosen the soil with a fork and lift the plant out. Trim off side roots and cut the leaves close to the crown. Leave the main root whole for storage. Don’t wash—just brush off dirt for now.
Cure the roots in a cool, shady spot for a bit. Store them near 32°F with high humidity—a perforated bag in the fridge works. Stored right, celeriac keeps for months and stays tasty.
Common Problems and Troubleshooting
When growth drags along, it’s usually because the plants got stressed early. They’re fussy: cool temps, steady moisture, and rich dirt make all the difference for solid roots. If it gets hot, they’ll bolt and that’s basically game over. Throwing up some shade cloth and starting early can help a lot, though it’s not a guarantee.
Roots that turn out stubby or weirdly shaped? That’s almost always a soil thing. Rocks, big clumps, or planting in beds that aren’t deep enough can make roots fork or twist. If the soil’s short on nutrients, you’ll see puny celeriac. Mixing in a good amount of compost and keeping the ground loose is worth the effort.
Most folks don’t have much trouble with leaf damage, but diseases do pop up, especially when it’s damp. Fungal spots look like brown blotches and can spread if things stay wet. Giving plants some breathing room helps, and it’s smart to pick off any leaves that start looking bad. Try not to soak the foliage when you water.
Cracks or tough, woody roots are usually from letting the soil dry out and then dumping a bunch of water on. It’s way better to keep moisture steady through the season. Mulching on top goes a long way toward keeping the soil from drying out too fast, and it saves some hassle.