Daikon radish rewards you with crisp roots and steady harvests when you give it cool weather and deep soil. You get to tweak flavor and size with a few basic choices right in your own garden. You grow daikon radish at home by sowing seeds in cool seasons, loosening soil deeply, giving full sun, and keeping moisture even.
The process is pretty straightforward. You pick a variety, set the seeds at the right depth, and leave enough space for straight roots. Light, water, and feeding all play a part in the final taste and texture, and timing makes a surprising difference in quality.
Even if you’re short on space, don’t stress. Containers can work just fine if they’re deep enough and filled with the right soil. Figuring out when to pull roots and spotting problems early keeps things running smoothly.
Table of Contents
Soil
Loose, deep earth is what you want for daikon. The long taproot means you’ll need to prep soil at least 12 to 18 inches deep. If the ground’s compacted, you’ll end up with stubby or forked roots. A garden fork or broad spade will help break things up before you plant.
Texture’s just as important as depth. Daikon does best in well-drained, sandy or loamy soil that holds moisture but doesn’t get swampy. Heavy clay? Roots will struggle and water won’t drain. If your soil’s on the dense side, mixing in some finished compost can help.
You don’t need super-rich soil. Daikon likes moderate nutrients; too much nitrogen means big leaves and weak roots. Compost before planting usually does the trick.
pH matters, too. Aim for slightly acidic to neutral—somewhere around 6.0 to 7.0. Extreme pH can mess with nutrient uptake and shrink your harvest. A quick soil test can save you headaches later.
Planting
Cool weather gives you the best daikon. Early spring, once the soil’s workable, is good. Early fall is another solid choice—roots tend to come out smoother. If it gets too hot, roots go woody and sharp.
Pick a spot that gets sun most of the day. Light shade is okay, but roots will take their sweet time sizing up. Loose, well-drained soil matters more than anything fancy. Heavy clay? Expect weird, forked roots.
Dig deep so roots can grow straight. Break up any hard layers down to at least a foot. Compost helps if your soil is lacking, but skip fresh manure—it just makes leaves explode and roots suffer.
Sow seeds right where you want them; daikon hates being moved. Drop seeds about half to one inch deep. Give them enough space for full-grown roots—crowded plants just end up small. Thin seedlings early so you don’t mess up root shape.
Water right after planting to settle everything in. Keep the soil moist while seeds sprout. If it dries out, you’ll get spotty germination and stressed plants. Steady moisture is key for healthy roots.
Recommended Varieties
You’ve got options depending on your space, climate, and what you want to eat. Minowase is a favorite; it matures in about 50–60 days and gives you long, smooth roots if your soil’s loose. The flavor is mild, and it does well in cool weather—most folks plant it in fall or early spring.
If you deal with surprise heat waves, April Cross and Summer Cross No. 3 handle warmer temps better. They keep roots tender even when it gets toasty, so you can plant a little earlier or later. Both do well in deep raised beds.
For smaller gardens, Miyashige is worth a look. Roots are thick and uniform, which makes them easy to cook and store. Keep an eye on timing for the best flavor; they’re mild if you harvest on time.
If you’re after a monster harvest, Sakurajima cranks out huge, round roots—assuming you’ve got rich soil and plenty of space. The taste is still balanced, but most people use it for pickling or cooking, not raw.
Light
Daikon needs sun—no way around it. Best results come when you give the crop full sun most of the day, at least four to six hours. More sun means roots size up faster and taste better.
Partial shade slows things down. Roots end up thinner and take longer to mature. Short winter days can also drag out the timeline. Try to plan your planting so you get enough daylight.
Early spring and early fall usually work well for light and temperature. Cool air plus plenty of sun keeps roots from getting woody or too spicy. Don’t tuck them behind fences or under trees—consistent light is what you want.
Water
Moisture makes or breaks your daikon. Keep the soil evenly moist from the moment you sow until harvest.
If you let the soil dry out, expect sharp flavor and tough roots. Hot weather just makes it worse, so water more often if things heat up.
The roots grow deep, so water needs to reach down—not just the surface. Give enough so it soaks several inches.
If your soil doesn’t drain well, you’ll end up with weird roots or rot. Make sure excess water can escape after each watering.
Stick to a regular schedule instead of big, random soakings. Sandy soils need lighter, more frequent water; heavier soils want slower, deeper drinks.
Just poke your finger in before watering. If it’s dry an inch or two down, it’s time to water.
Feeding
Daikon isn’t a heavy feeder. If your soil’s got some organic matter and drains well, you’re set. Too much fertilizer just means big leaves and so-so roots.
Before planting, work in finished compost. It feeds the crop slowly and steadily, which matches daikon’s quick growth and short season.
If your soil’s weak, sprinkle on a little balanced fertilizer at the start. Keep nitrogen low to moderate so roots get priority. Apply once after seedlings settle in—then stop.
Adding fertilizer midseason does more harm than good. Extra nitrogen late can turn roots woody or hollow. Moist soil helps the plants use nutrients without stress.
Keep soil pH close to neutral so plants can actually take up what’s there. Adjust with lime or sulfur if needed. Consistent, moderate feeding keeps roots straight and tender.
Growth Time
Most daikon at home is ready in 45 to 70 days. Cool weather keeps roots growing steady and the texture crisp. Hot spells slow things down and mess with quality. Loose, fertile soil speeds things up.
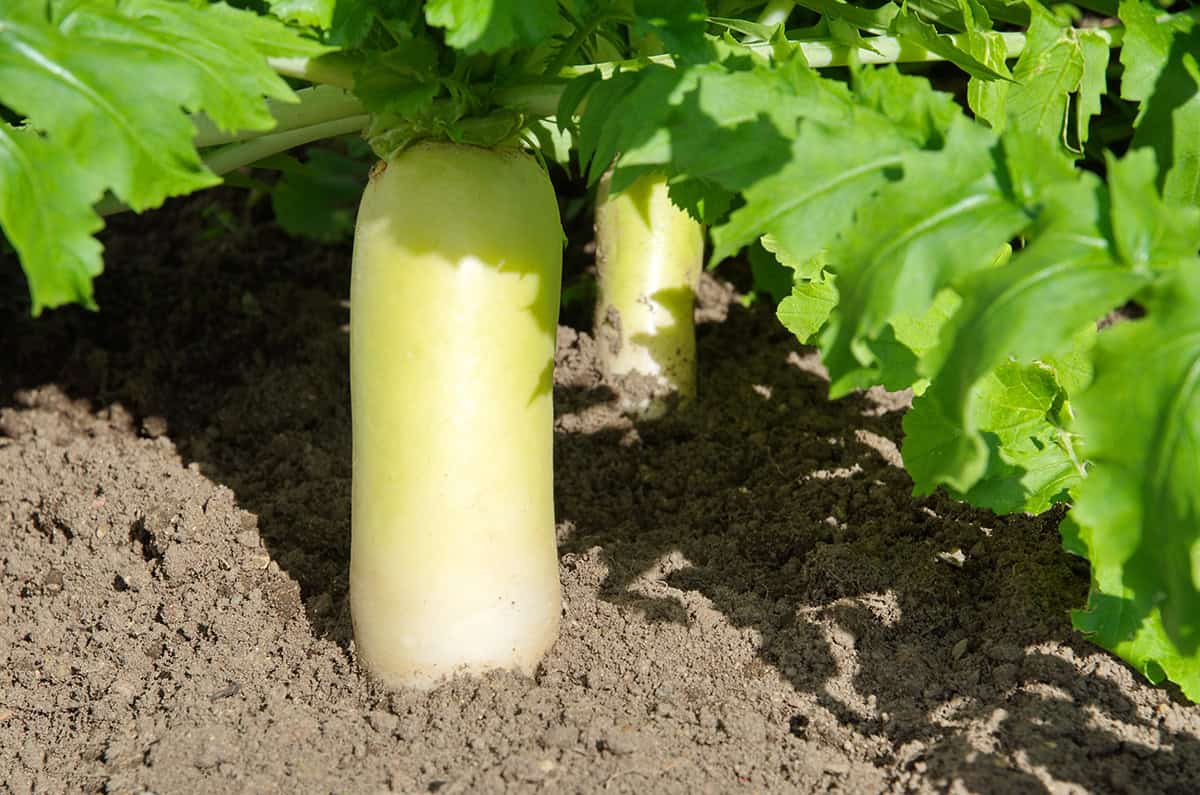
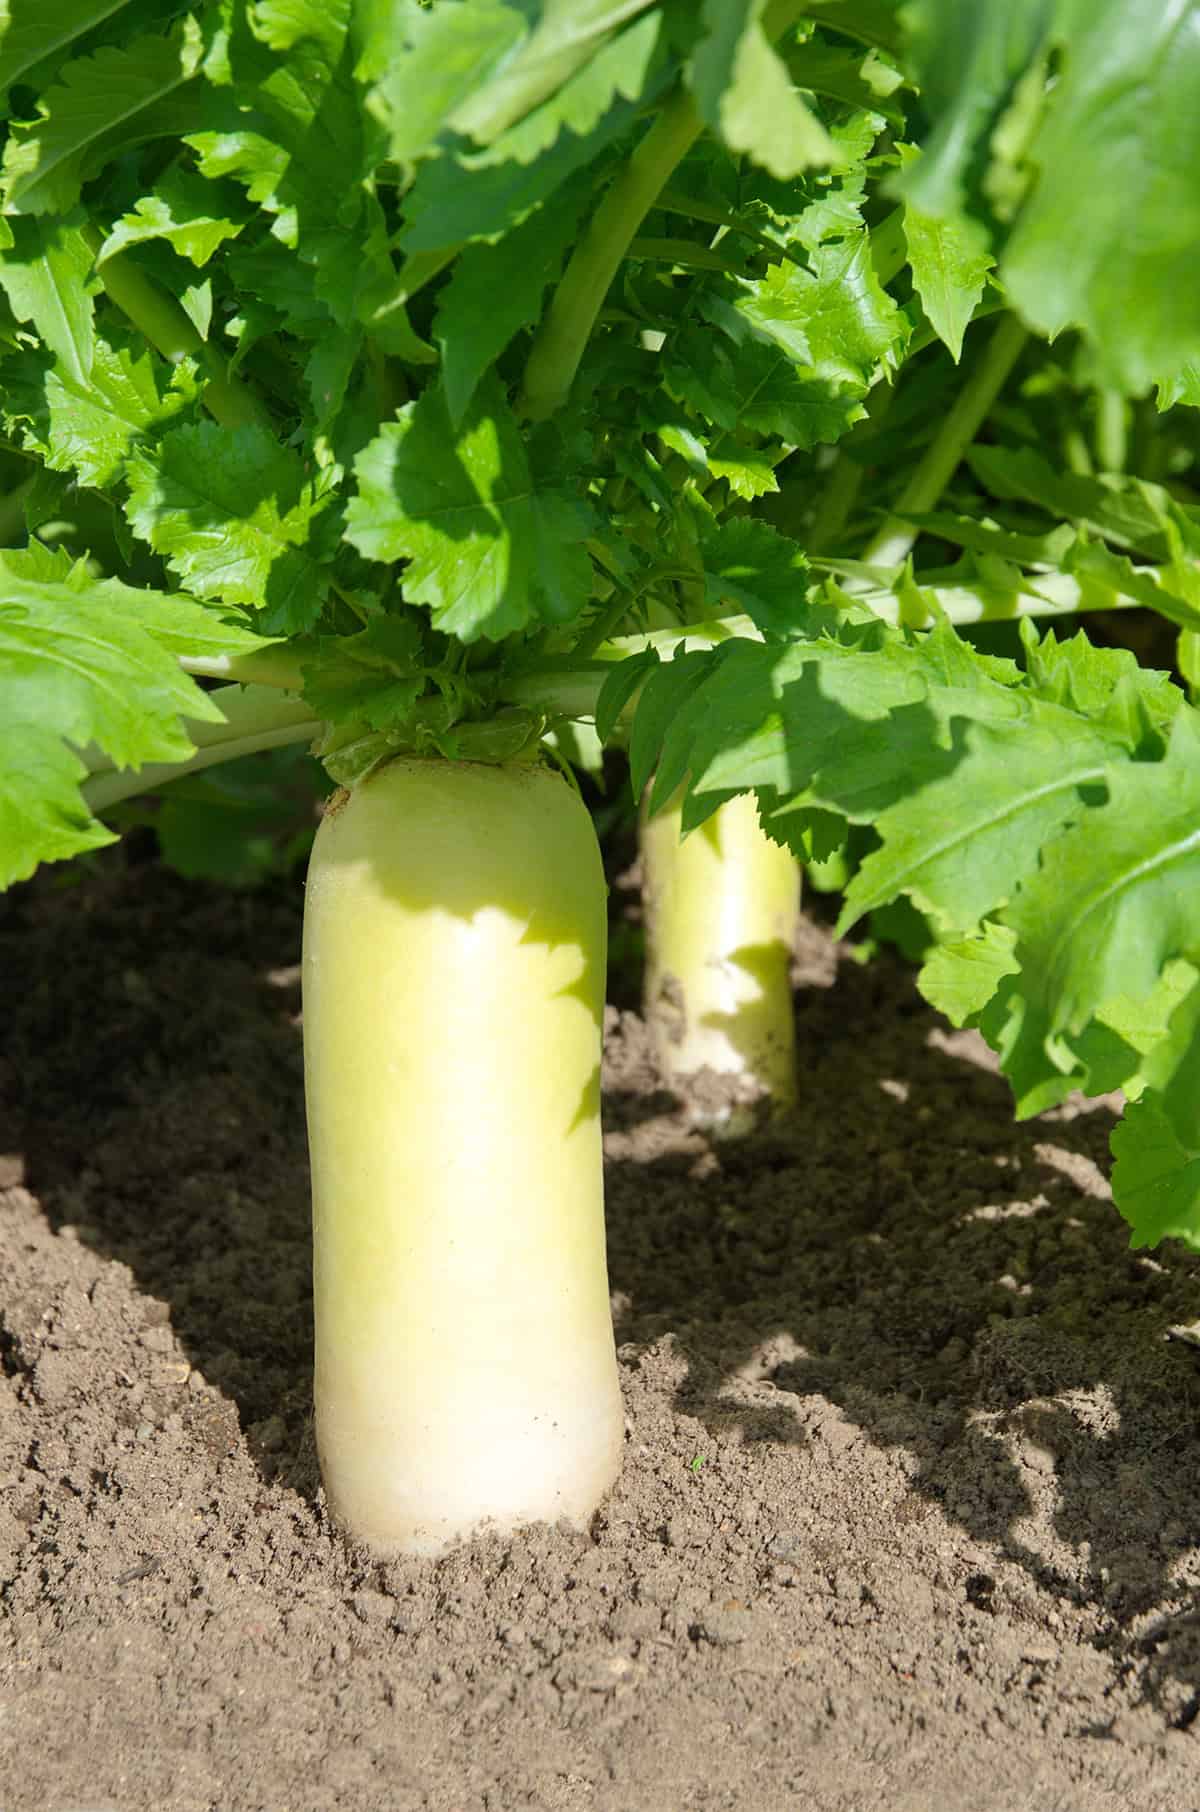
You’ll know it’s close when the root top starts poking above the soil. It should feel firm and smooth. Wait too long, and you’ll get woody centers and extra heat.
Variety and season can shift things by a week or two. Fall crops usually mature more evenly than spring ones. Shorter days slow leaf growth but help roots develop. Mark your planting dates and keep an eye on soil temps for better control.
Harvest timing changes flavor more than size. Young roots are mild and crisp. Bigger ones still work if you pull them before they get fibrous. Check every few days as harvest approaches—don’t just guess.
Growing In Containers
If you’re tight on garden space, daikon still works in containers. Just make sure your pot is 12 to 18 inches deep so roots have room. Wider pots are better, too—each plant needs its own space.
Go for loose, well-draining soil with a neutral pH. Mix in compost so roots don’t hit resistance. Heavy or dense soil leads to short, split roots.
Put containers somewhere with full sun or at least light shade for four hours daily. Any less, and roots stay small. If it’s hot, a bit of afternoon shade helps tame the flavor.
Sow seeds right in the pot—daikon really hates being transplanted. Plant them about ½ inch deep, spacing 4 to 6 inches apart. Thin early so roots develop properly.
Keep the soil moist but not soggy. Dry soil toughens roots; too much water causes rot. Pots dry out faster than beds, so check often.
Roots often push up above the soil when mature. Use a hand fork to gently loosen the dirt before you pull—they snap easily. Go slow and steady.
Harvest
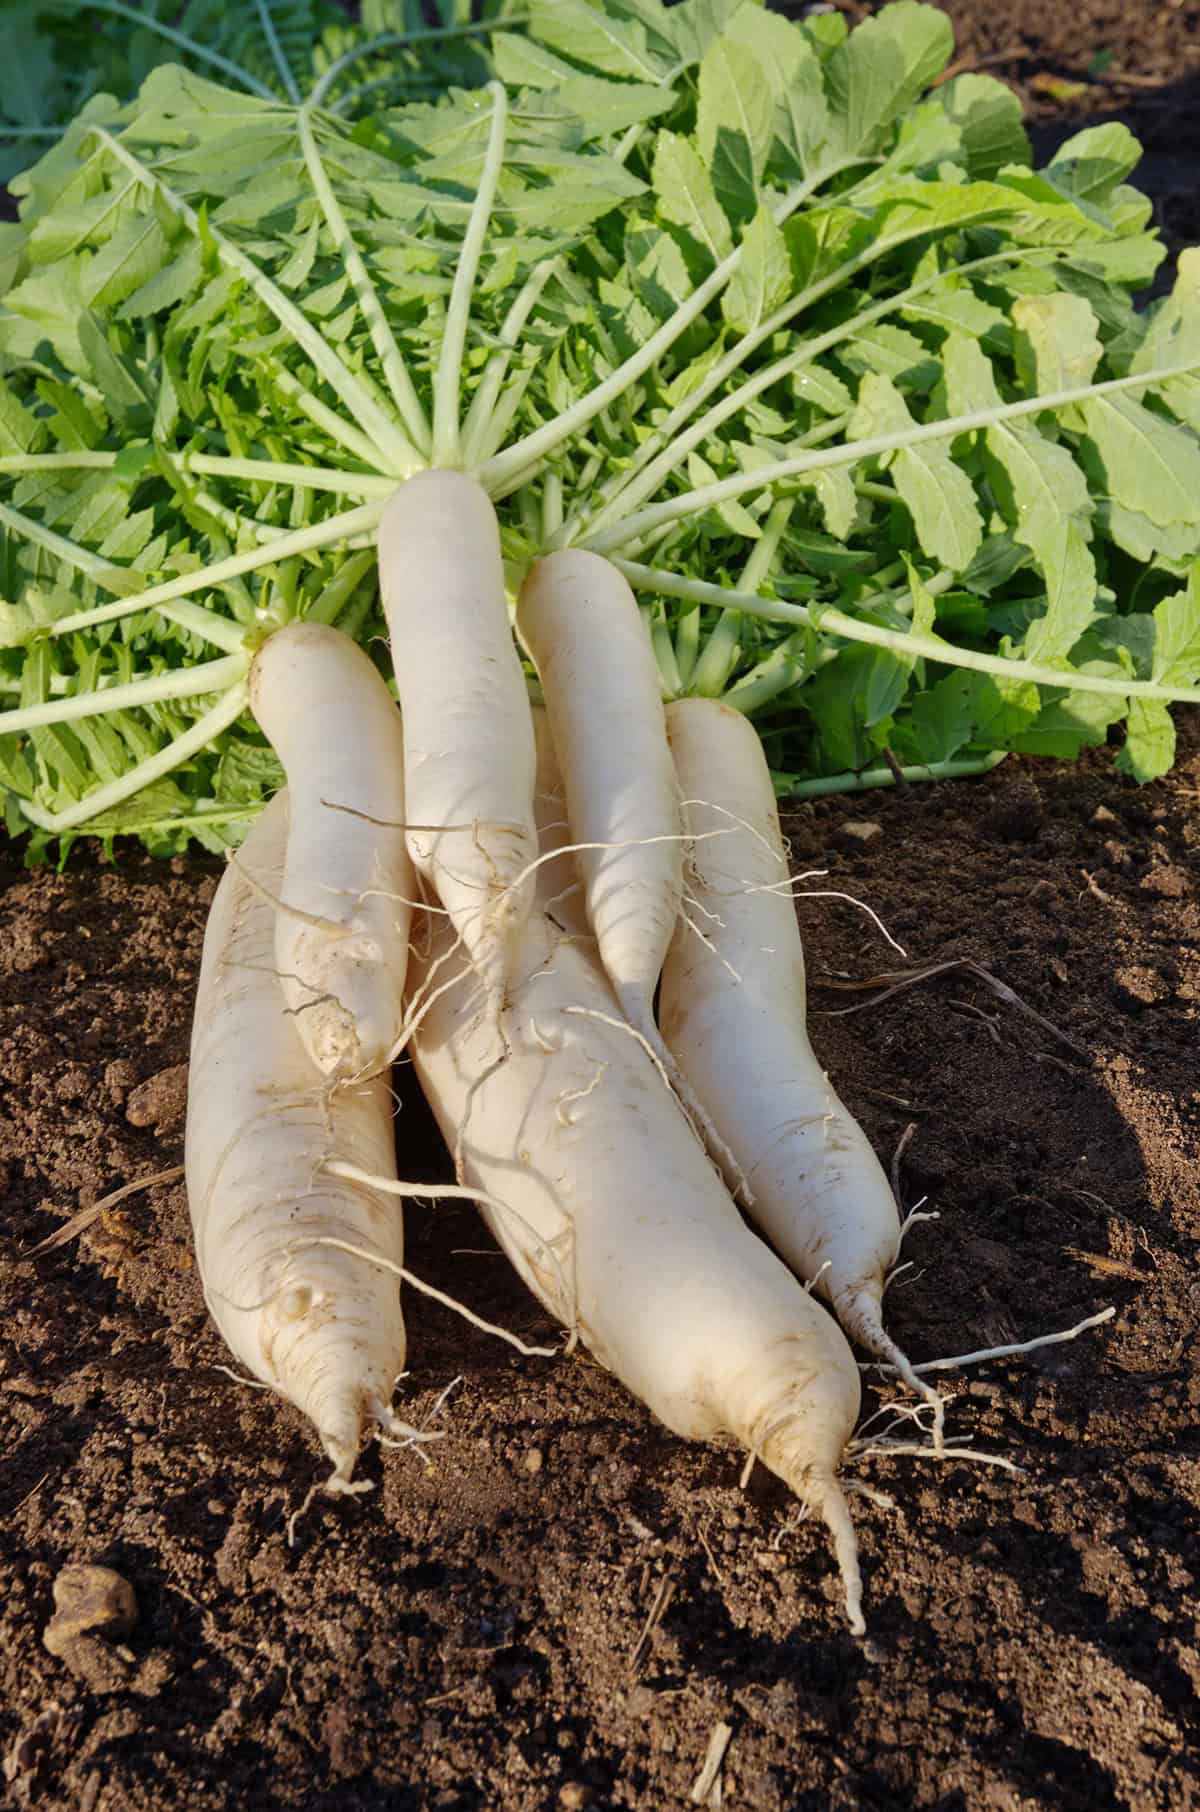
You’ll want to harvest daikon 40 to 70 days after sowing, depending on variety and weather. Check where the root meets the soil—2 to 3 inches across usually means it’s ready.
Pull roots when the soil’s still cool. Warm weather makes them hot and hollow. Don’t wait for frost; freezing ruins the texture. Smaller roots are milder, but if you let them get too big, they’ll turn woody.
Loosen the soil first to avoid breaking those long taproots. A garden fork helps if things are compacted. Pull straight up by the leaves, not at an angle. Snip or twist off the tops soon after to keep the roots from drying out.
Store fresh daikon unwashed in the fridge, high humidity if possible. Most will keep for several weeks; fall-grown ones last even longer. Only clean and peel them right before you use them.
Common Problems And Troubleshooting
Roots can get tough, woody, or a bit spicy if you leave them in the ground too long or if the weather’s just too hot for too long. Keeping the soil evenly moist and picking daikon when it’s hit full size—don’t wait forever—makes a big difference. Some folks throw a bit of shade over them when the sun’s relentless. Cooler weather’s your best friend if you care about flavor.
When daikon comes out looking like a twisted carrot or with weird lumps, chances are the soil’s packed too tight or full of rocks. These roots want space—dig deep, clear out stones, and you’ll see straighter, happier daikon. If you notice roots splitting, soggy spots in the bed might be the culprit.
Bugs—flea beetles, aphids, and those sneaky root maggots—leave holes in leaves or tunnels in the roots. Kind of annoying. Light row covers early on can keep most of them out, at least for a while. Switching up where you plant each year helps too, though it’s rarely a perfect fix.
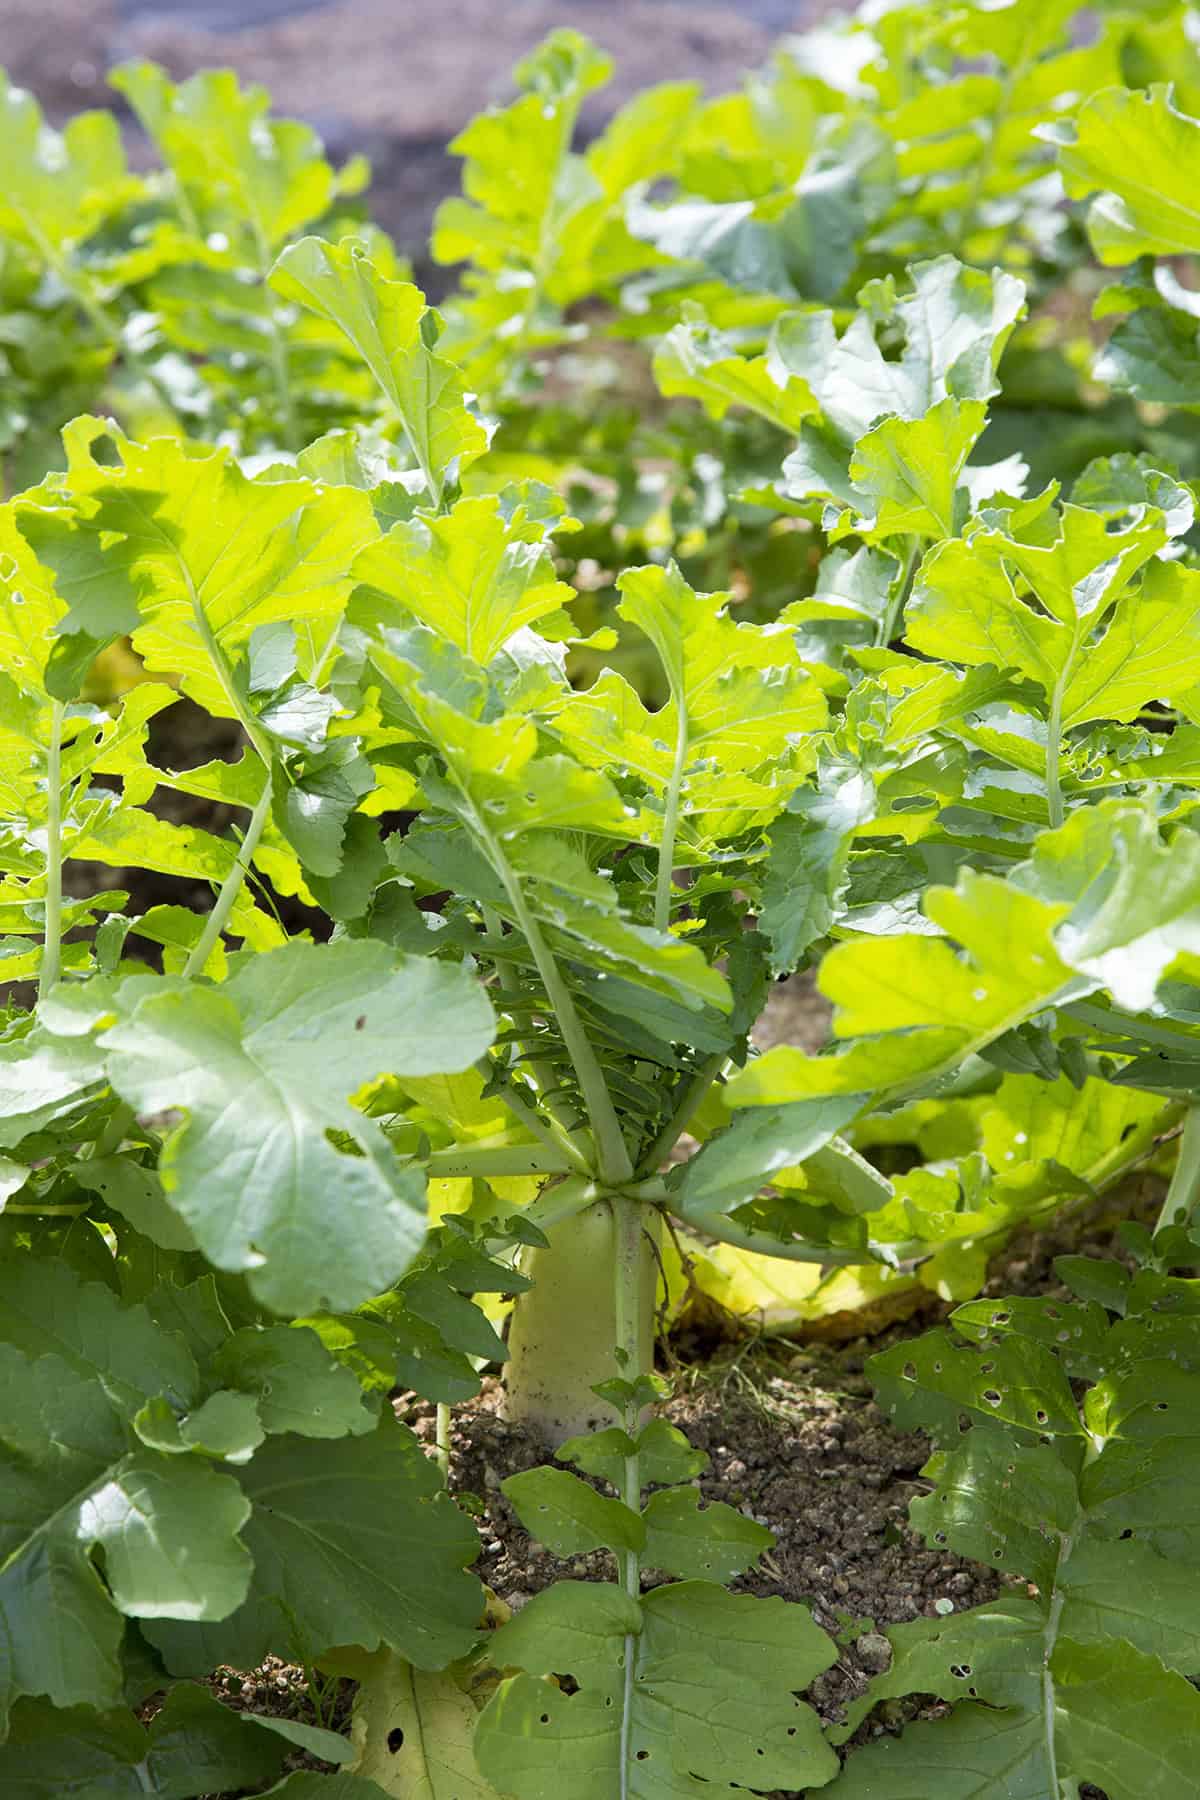
If you’re getting huge leaves but puny roots, odds are you’ve pumped in too much nitrogen or the plants aren’t seeing enough sun. Try dialing back the fertilizer and make sure they catch several hours of sunlight. Dry soil slows everything down, so don’t let them dry out. Oh, and don’t crowd them—roots need elbow room.