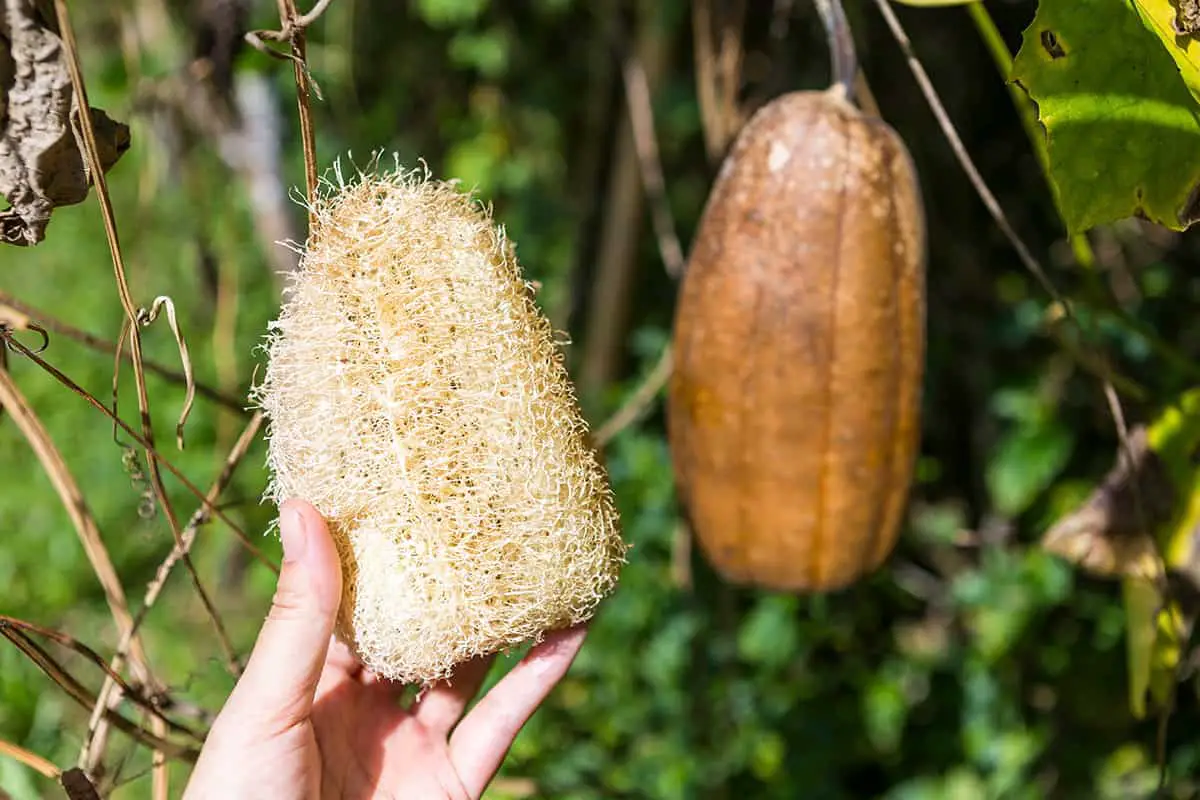
Loofah sponges come from a garden vine, a cucumber relative whose ripe gourds dry into a fibrous scrubber inside a papery shell.
Growing them takes a long, hot summer and a sturdy trellis, and the payoff is a year’s supply of biodegradable sponges for the shower and the sink. The harvest and peeling steps are the fun part, and the eleven uses at the end find a home for every scrap.
Table of Contents
Understanding Loofah
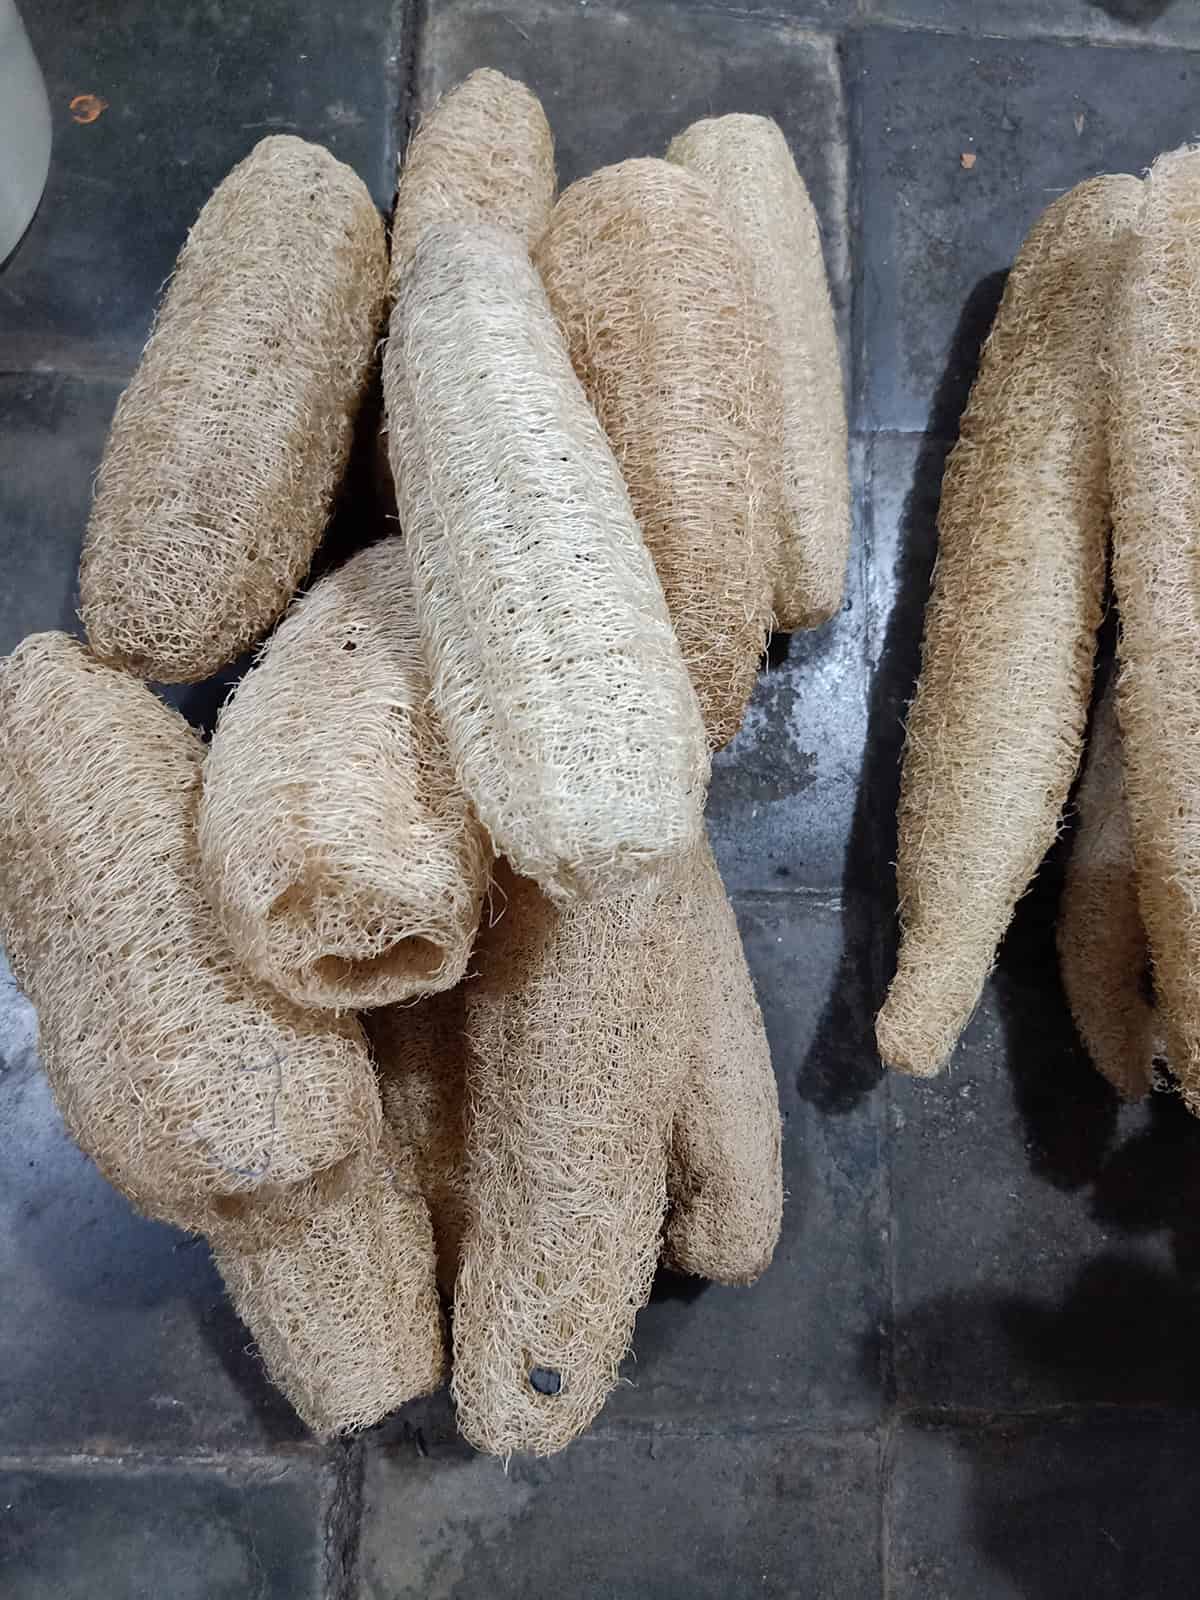
Loofahs grow on a fast, vigorous vine and develop their sponge inside the ripening fruit.
The Loofah Plant
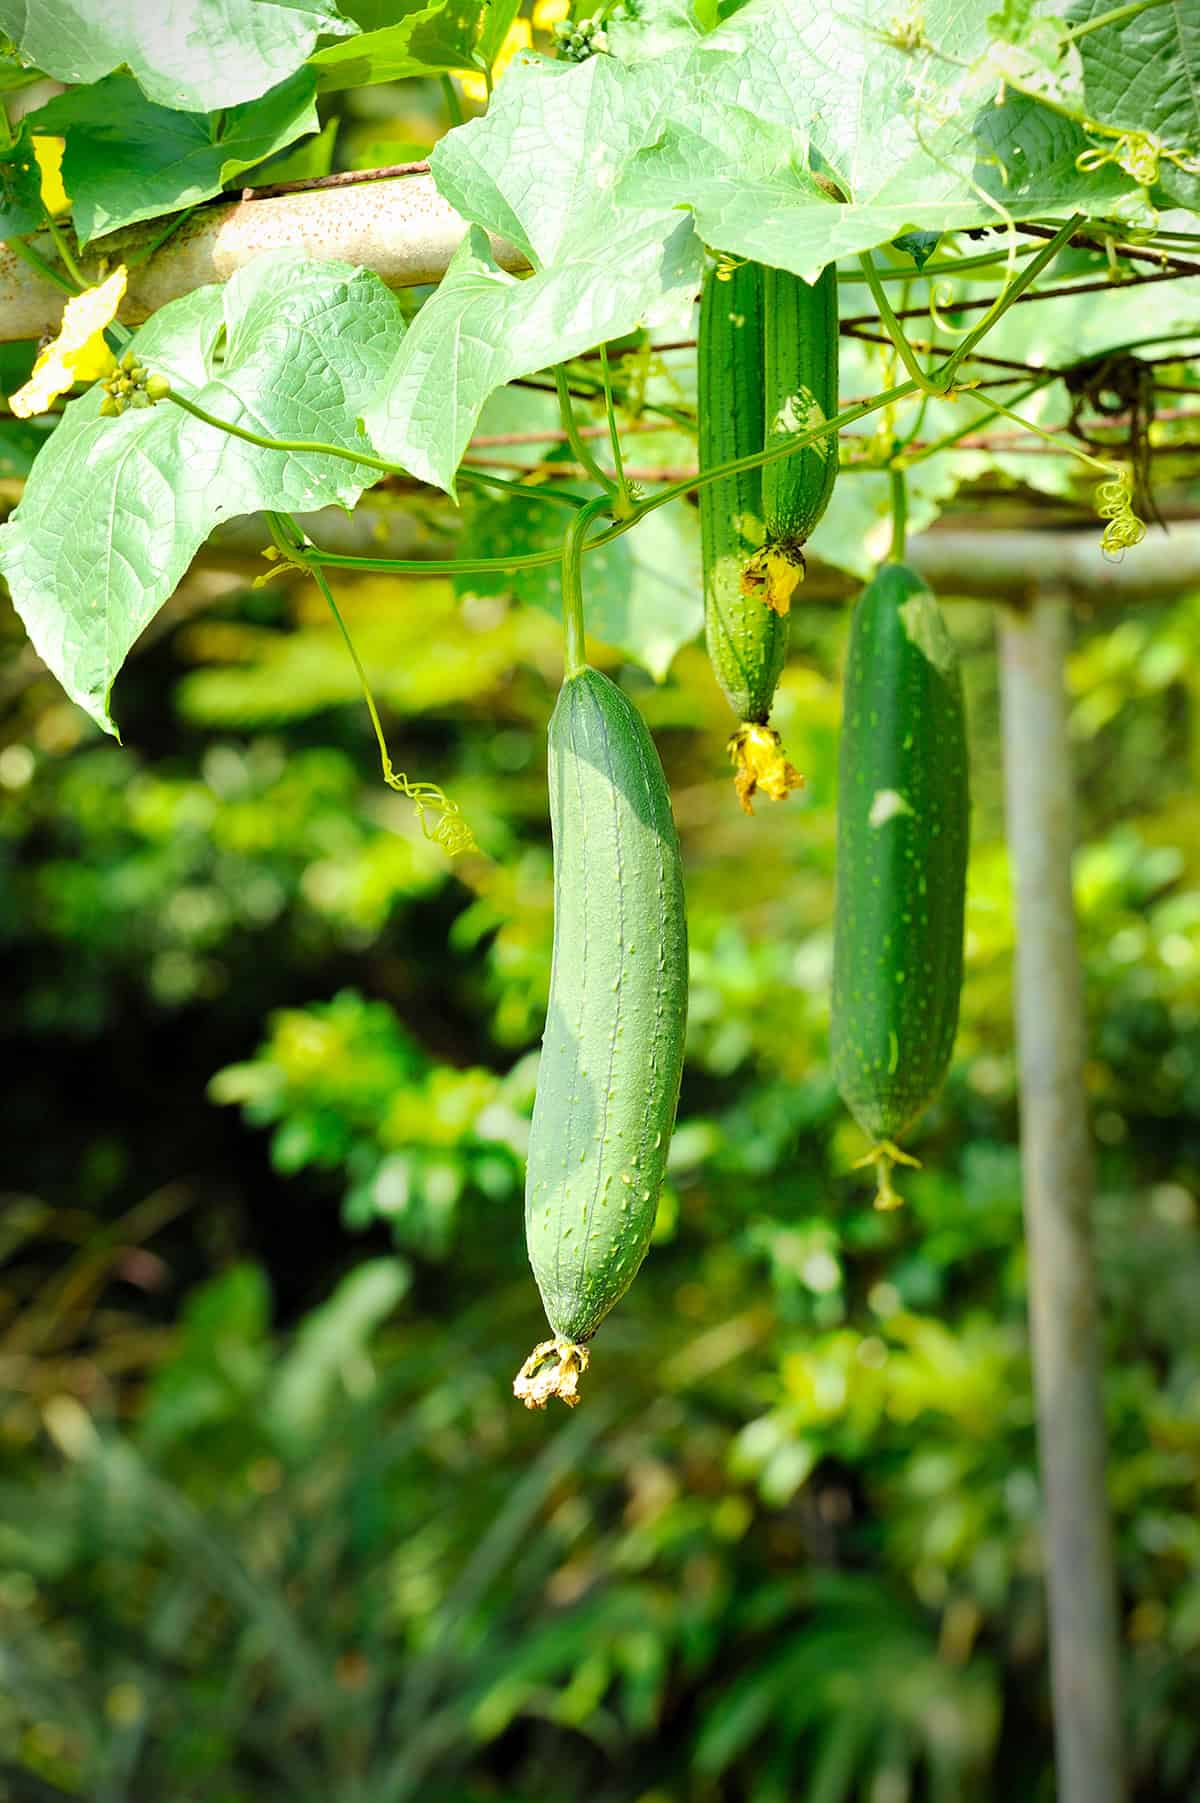
Loofah, also spelled luffa, belongs to the cucumber family. The common sponge gourd, Luffa aegyptiaca, climbs 25 to 30 feet in a season, and its fruits grow up to 2 feet long. Inside each gourd, a network of fibers hardens as the fruit matures and dries.
Young fruits under about 7 inches long are edible and taste like zucchini. Left on the vine, the gourds need 150 to 200 warm days to mature into sponges, which is why gardeners in cooler regions start seeds indoors.
Benefits of Growing Loofah
Homegrown loofahs replace plastic sponges and break down in the compost once they wear out. A single vine produces several sponges, and the big yellow flowers attract bees all summer.
The vines also cover a fence or arbor fast, and the whole seed-to-sponge process makes a satisfying project for gardeners and kids.
Preparation for Planting
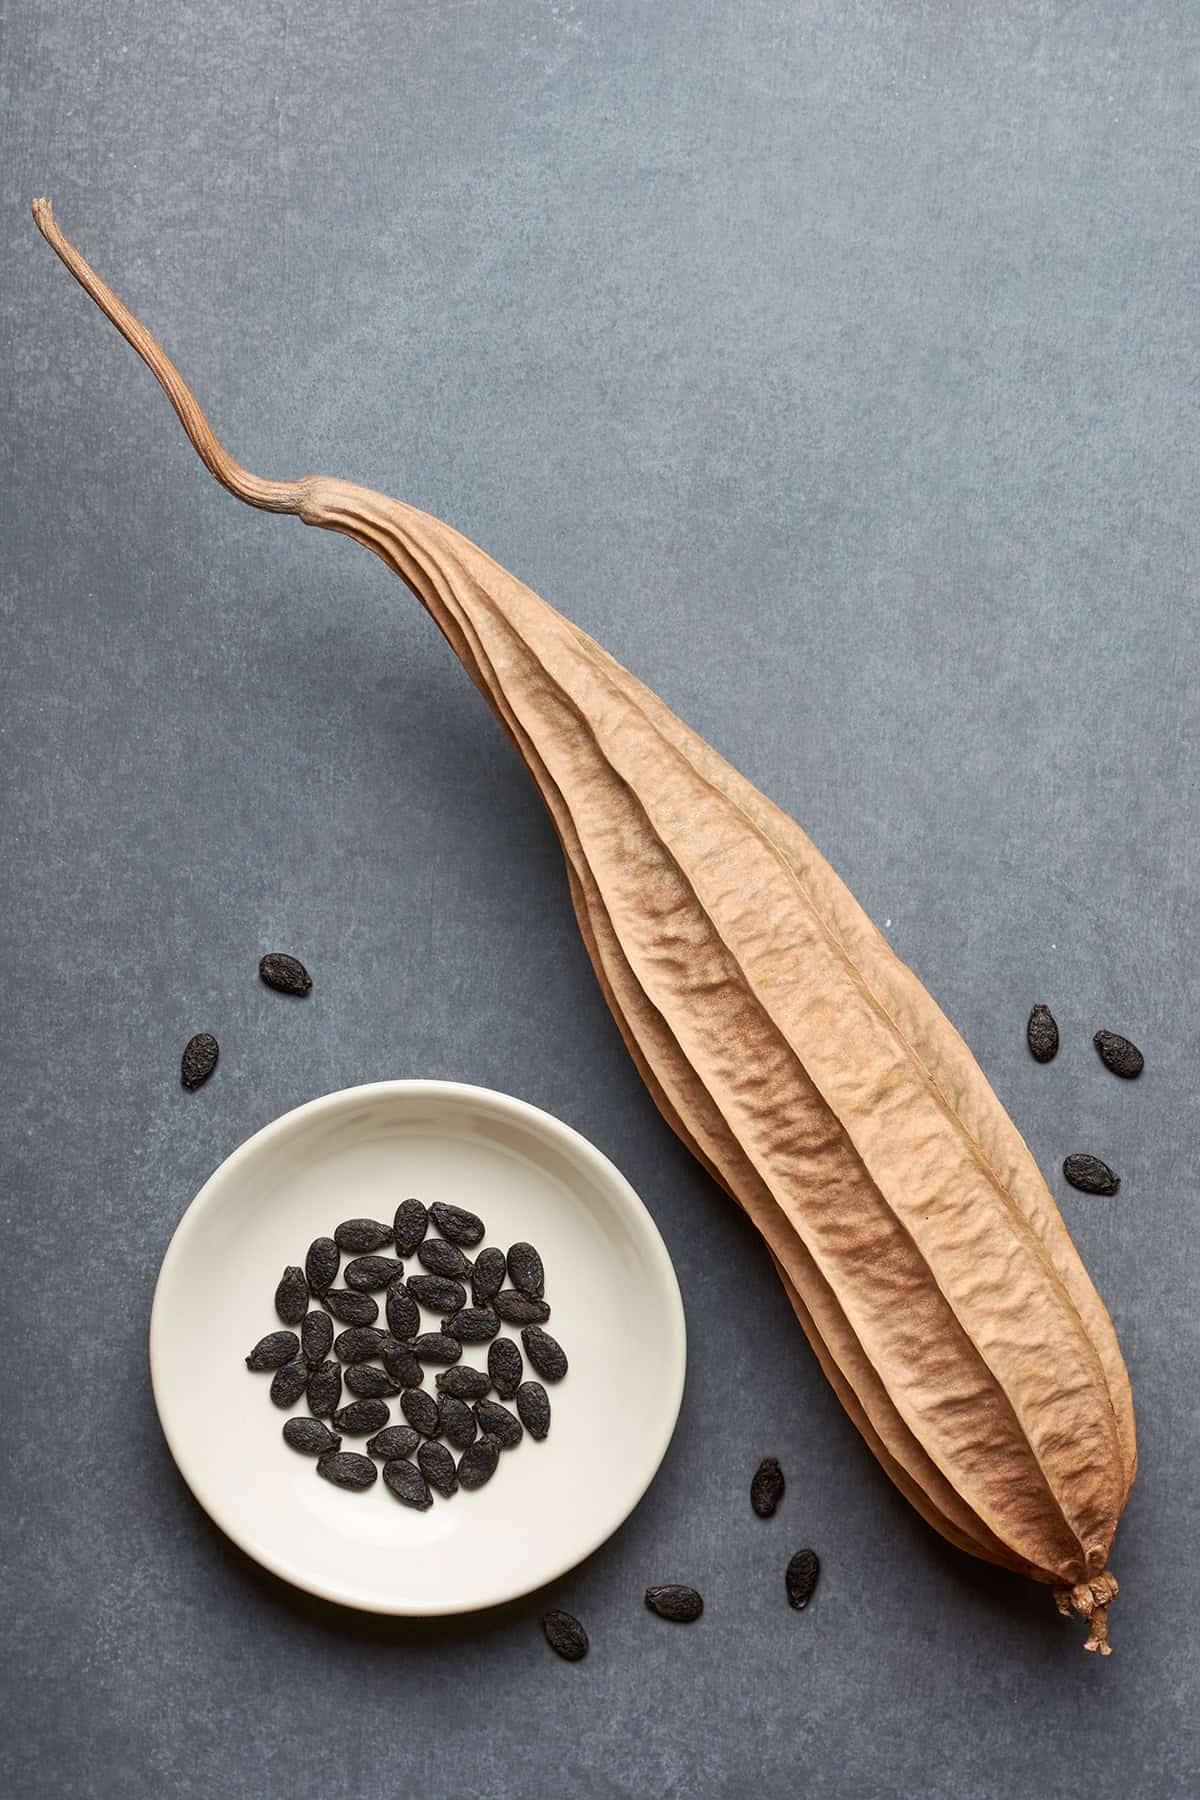
Good seed, a sunny site and rich soil set the plants up for a long season.
Choosing the Right Seeds
Buy seeds from a reputable supplier for good germination. Soak them in warm water for 24 hours to soften the hard coat before sowing.
Sow two or three seeds per cell in seed trays four to six weeks before the last frost, and thin to the strongest seedling once true leaves appear. Loofah germinates best in warm soil, around 75 to 85°F, and a heat mat speeds things up.
Selecting the Ideal Location
Pick the sunniest spot available, with shelter from strong wind. The vines grow 25 feet or more, so they need a long trellis, fence or arbor to climb.
Avoid low spots where water collects, since soggy soil rots the roots.
Soil and Compost Requirements
Loofah thrives in fertile, well-drained soil with a pH of 6.0 to 7.0. Mix compost and aged manure or a balanced fertilizer into the top 6 to 8 inches before planting, and adjust pH with lime or sulfur if a soil test calls for it.
Water the bed deeply a day or two before transplanting.
Planting Process
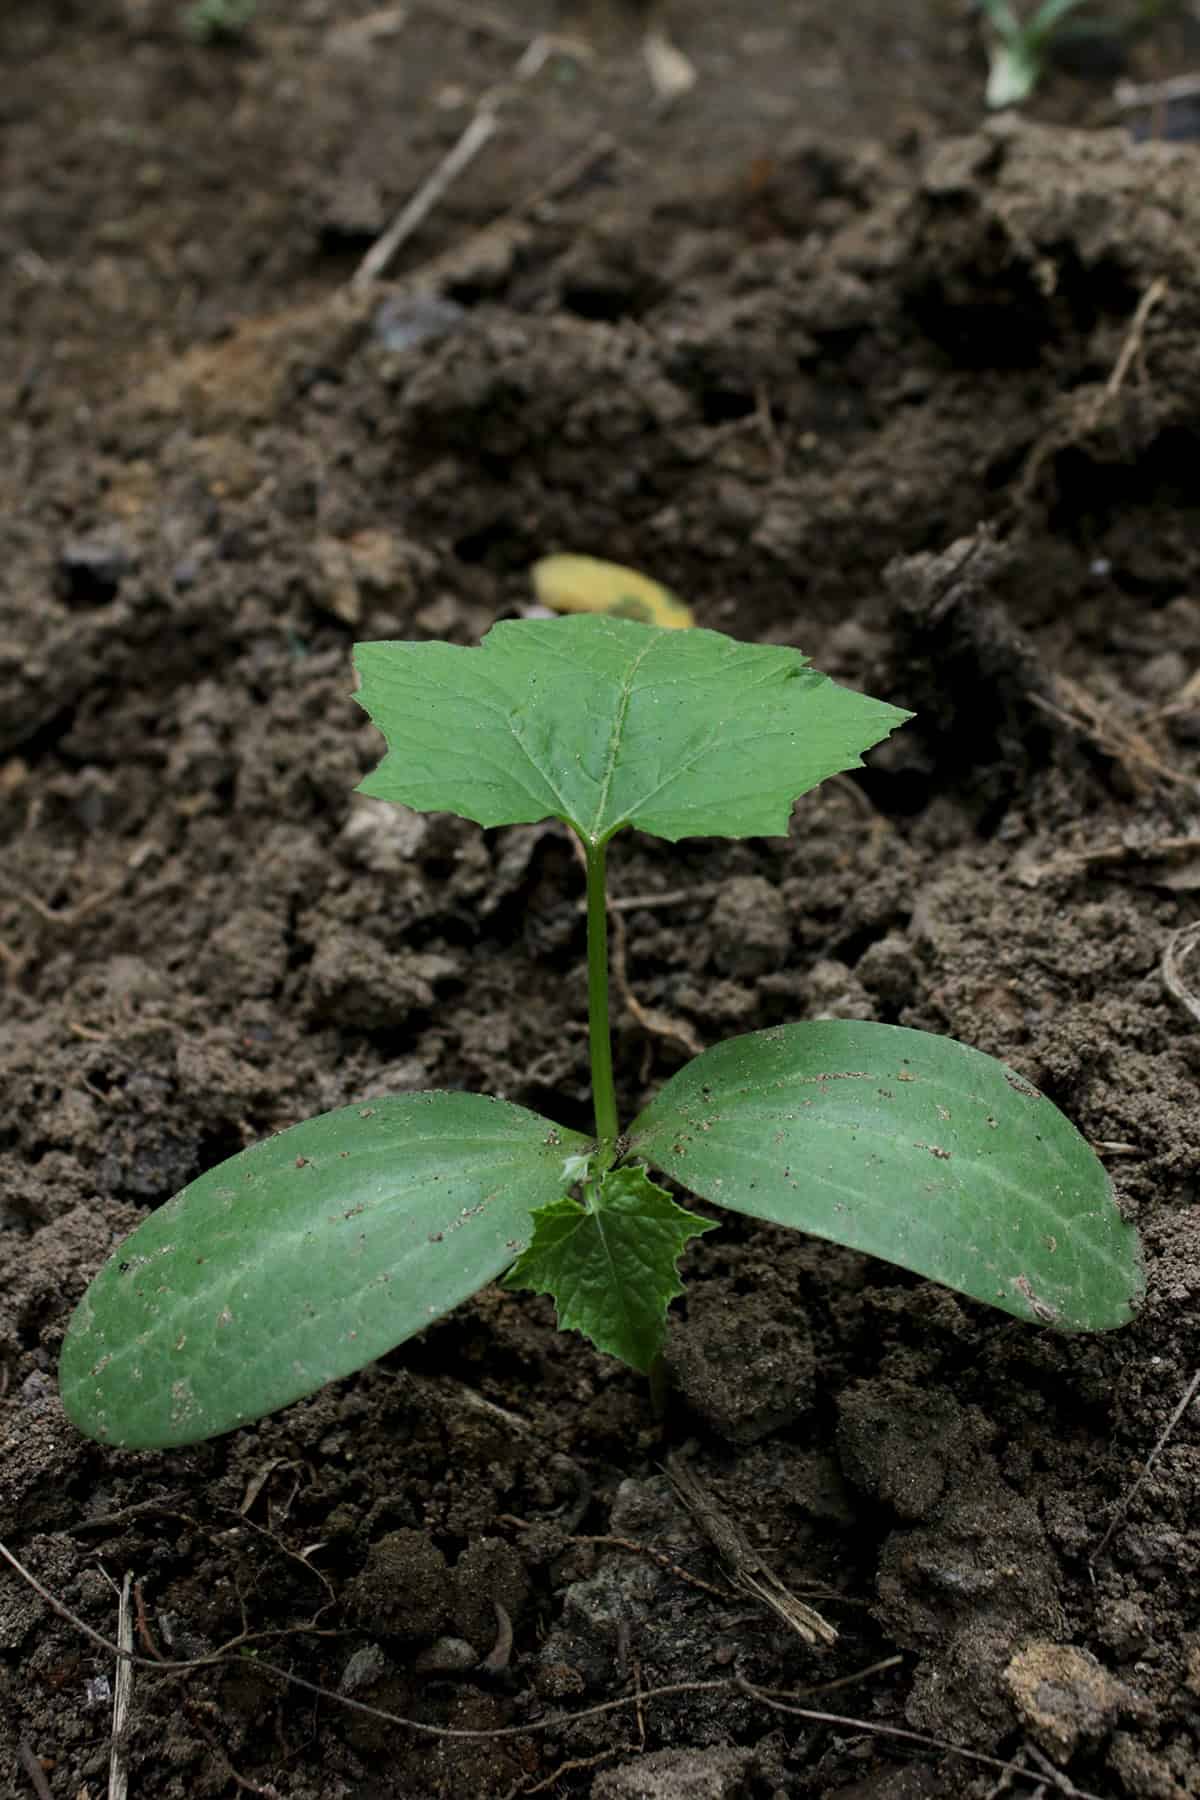
Warm soil, careful transplanting and a sturdy support set loofah vines up for success.
Seed Germination
Plant soaked seeds about an inch deep, two or three per cell, in a well-draining seed-starting mix. Hold the soil at 75 to 85°F with a heat mat, and expect sprouts in one to two weeks.
Thin to one seedling per cell, water evenly and avoid soggy soil.
Transplanting Seedlings
Move seedlings outdoors at four to six weeks old, once they have at least two true leaves and nights hold above 50°F. Harden them off over a week, with a little more time outside each day.
Plant at the same depth as in the pot, firm the soil around the roots and water well. Loofah roots resent disturbance, so handle the root ball gently or use biodegradable pots.
Spacing and Support Structures
Space plants about 3 feet apart along the support, with rows 6 to 8 feet apart. Good spacing improves air flow and lowers disease risk.
Build a sturdy trellis, fence or arch before planting, since mature vines with hanging gourds get heavy. Tie young vines to the support as they grow. Gourds that hang freely grow straighter and cleaner than those lying on the ground.
Caring for the Loofah Plants
Water, food and regular pest checks carry vines through the long season.
Watering and Moisture Control
Water deeply once or twice a week, with extra in hot spells, for moist soil that never sits soggy. Water early in the day at the base of the plant to prevent leaf disease.
Mulch holds moisture and moderates soil temperature through summer heat.
Fertilization and Nutrient
Feed with a balanced liquid fertilizer every three to four weeks during the growing season, and side-dress with compost.
Once flowering begins, switch to a fertilizer lower in nitrogen and higher in phosphorus and potassium to support fruit. Too much nitrogen produces lush vines with few gourds.
Pest and Disease
Aphids, cucumber beetles and spider mites are the main pests. Inspect leaves regularly and treat infestations with insecticidal soap or neem oil.
Powdery mildew shows up in humid weather. Good spacing, morning watering at the soil and prompt removal of infected leaves limit its spread.
Harvesting Loofah Sponges
Patience pays off at harvest, since fully mature gourds make the best sponges.
Identifying Maturity
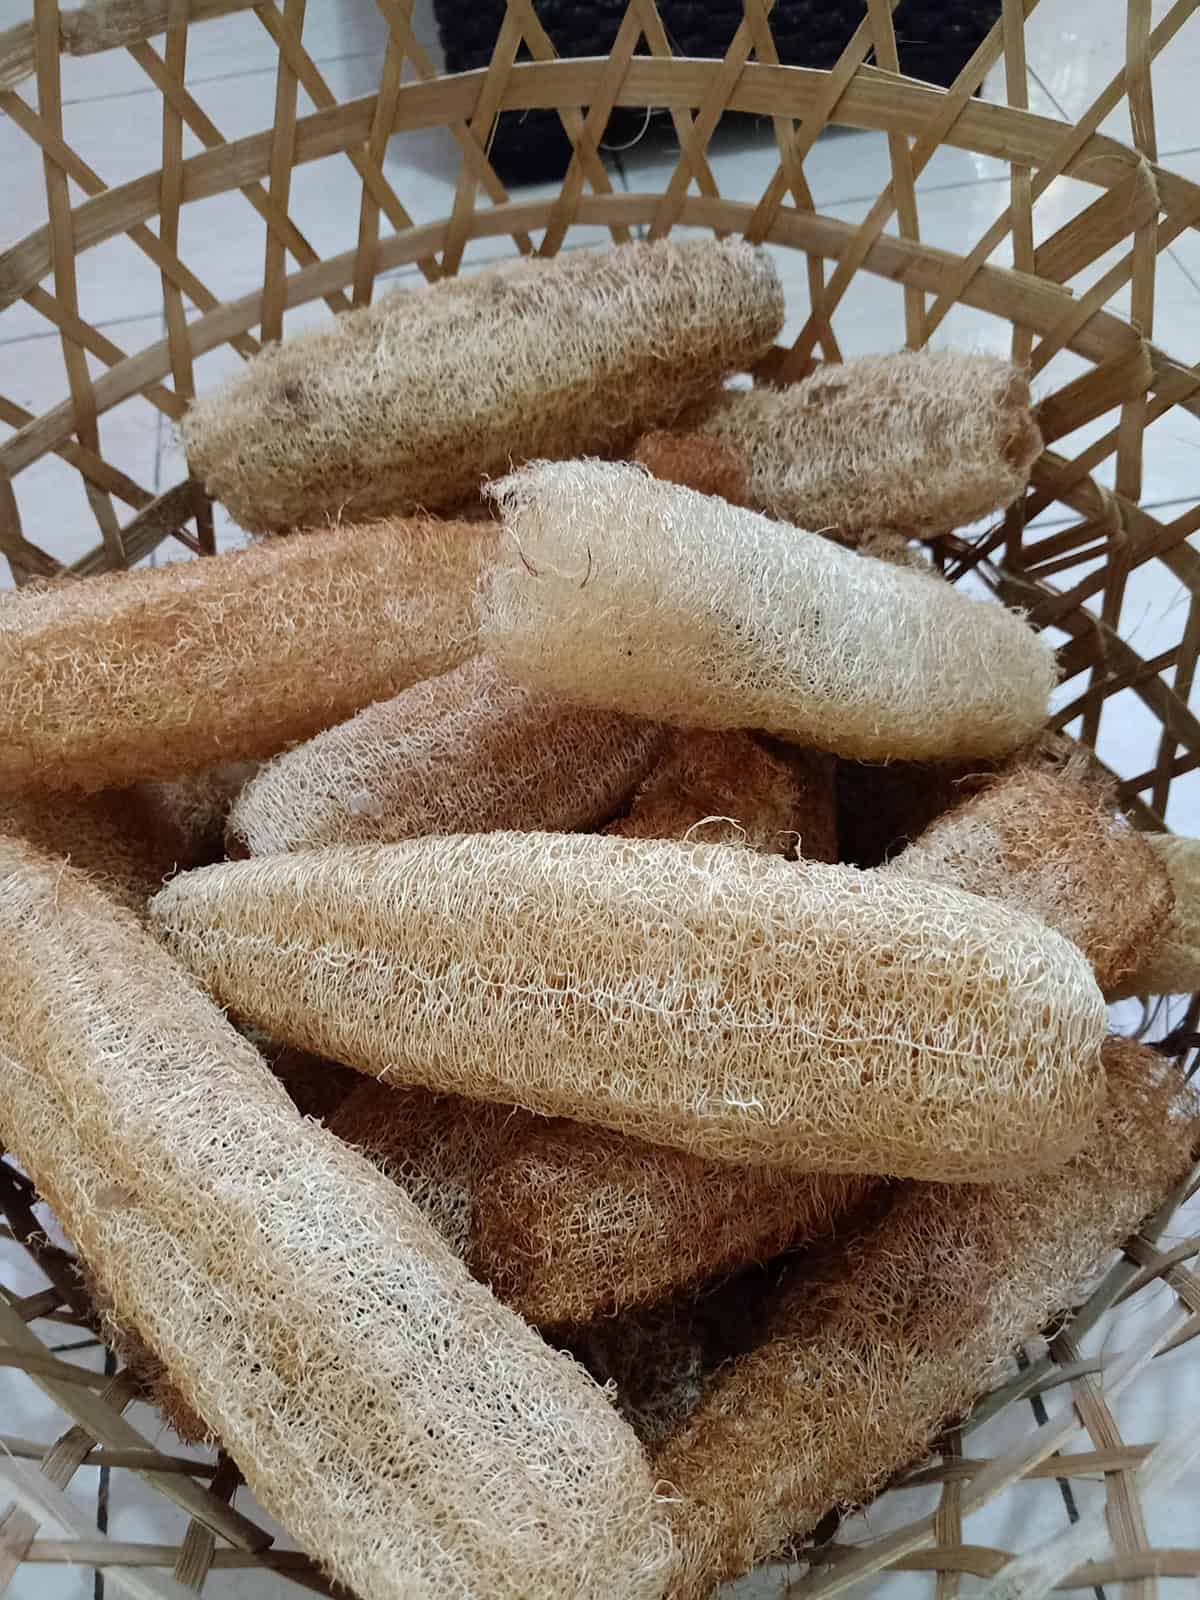
Mature gourds change from green to yellow, then tan or brown. They weigh noticeably less, the skin dries and loosens, and the seeds rattle when shaken. A brown, shriveled stem is another sign.
Leave gourds on the vine as long as possible, and pick any remaining fruit before the first frost.
Proper Harvesting Techniques
Cut each gourd from the vine with sharp pruners and leave a short piece of stem. Avoid twisting or pulling, which damages the vine and cracks the fruit.
Harvest in dry weather to reduce mold.
Drying and Peeling
If the skin is still green or tight, let the gourds dry in a warm, airy spot for a few weeks and rotate them now and then.
Once the skin is brittle, crack it and peel it away with your thumbs. A stubborn gourd peels easily after an hour in a bucket of water. Shake out the seeds, rinse the sponge and let it dry completely.
Processing and Cleaning
Cleaning removes leftover pulp, seeds and spots before the sponges go into use.
Preparing Loofah for Use
Peel away any remaining skin, then shake and tap the sponge to release the seeds. Save the plump, dark seeds for next year’s crop.
Rinse the sponge under running water to wash out pulp and sap.
Natural Cleaning Solutions
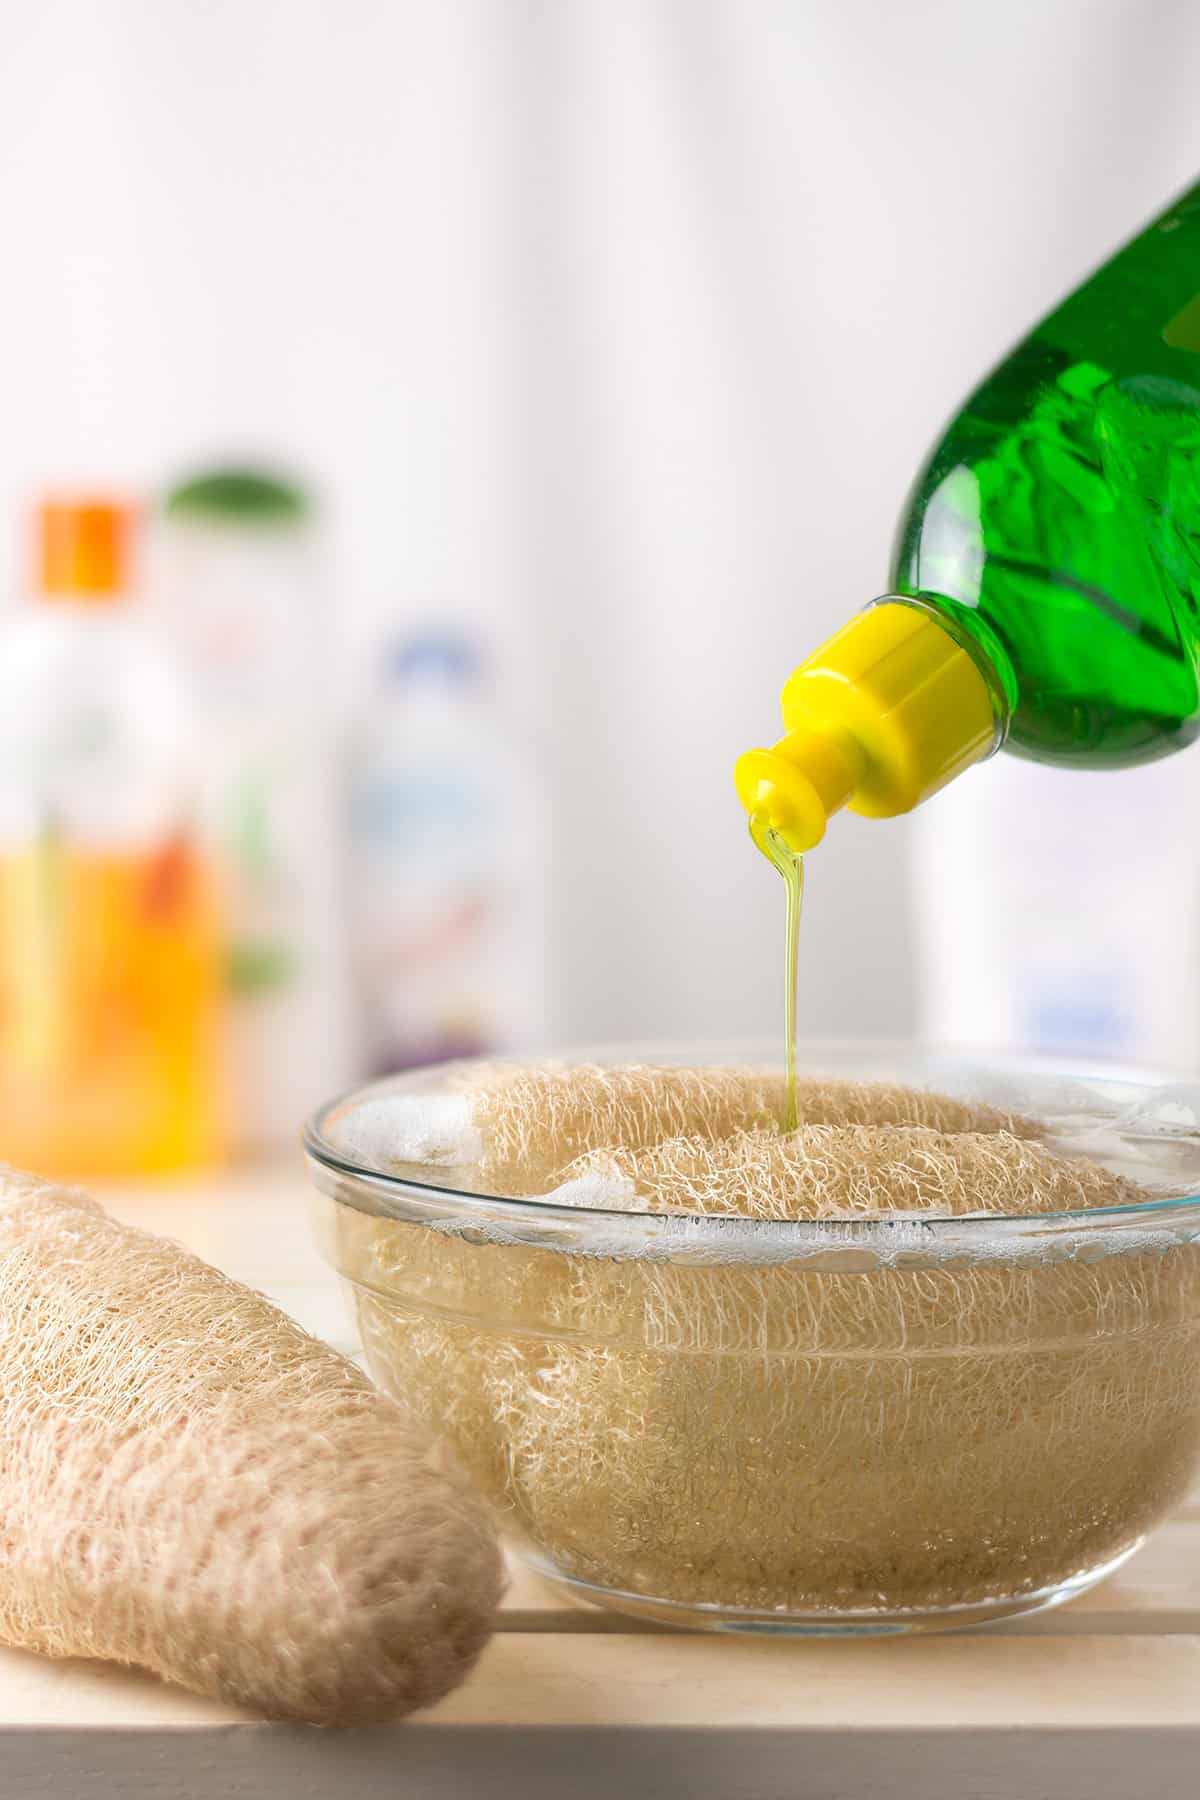
To lighten and disinfect the fibers, soak sponges for 15 to 30 minutes in a 10 percent bleach solution. For a gentler option, use diluted vinegar or hydrogen peroxide.
Rinse thoroughly to remove every trace of the solution, then dry the sponges completely in a sunny, well-ventilated spot before using or storing them.
Storage and Preservation
Well-dried loofahs last for years in storage.
Long-Term Storage Tips
Store sponges in a dry, well-ventilated spot, in mesh bags or an open container. Paper bags and breathable fabric sacks protect them from dust, and plastic bags trap moisture and invite mold.
Check stored loofahs now and then, and sun-dry any damp ones before putting them away again.
Avoiding Mold and Decay
Dry each sponge thoroughly before storage, and rotate them for even drying. A dehumidifier or silica gel packets help in humid basements and closets.
Discard any sponges that develop soft spots or discoloration before mold spreads to the rest. Once in use, rinse loofahs after every use, hang them to dry and replace bath loofahs every three to four weeks, since bacteria build up in damp fibers.
11 Great Uses of Loofah Sponges
Loofahs scrub skin, dishes and garden tools, and they find their way into crafts and soap.
Exfoliating the Skin
The natural fibers slough off dead skin and leave it smoother. Use a wet loofah with gentle pressure, and skip it on sensitive skin or the face, where it’s too rough.
Bath and Shower Scrubber
Soap or shower gel lathers up beautifully in loofah fibers. Rinse and hang it to dry after each use, and replace it every few weeks.
Kitchen Cleaning
Loofah scrubs countertops and sinks with no scratches, and it biodegrades when worn out.
Dish Scrubber
Cut a loofah into small pieces for scrubbing pots, pans and dishes. The fibers tackle stuck-on food, rinse clean and dry quickly, which limits odors. Replace pieces regularly.
Gardening Uses
Small loofah slices serve as biodegradable seed-starting pots or liners that hold moisture around seedlings. Old pieces scrub dirt off garden tools and pots before they head to the compost.
Crafting Projects
Loofahs cut, dye and shape easily for ornaments, stamps and kids’ art projects.
Homemade Soap Making
Pour melt-and-pour soap into a section of loofah set inside a mold for a bar that cleans and exfoliates at once. These bars make popular handmade gifts.
Exfoliating Foot Scrubber
A coarse loofah piece smooths rough heels and soles. Use it on wet feet a few times a week to soften calluses.
Cleaning Fruits and Vegetables
A soft piece of loofah scrubs dirt off potatoes, carrots and other firm produce. Use a dedicated piece for food only.
Spa and Beauty Treatments
Loofah pairs well with sugar scrubs and body lotions at home. A gentle scrub before lotion helps it absorb.
Natural Body Scrub Recipes
Mix sugar or salt with a carrier oil and a few drops of essential oil, then apply it with a loofah for extra exfoliation. Adjust the scent and grit to taste.