You bring home an orchid that looks great, but after a few months, the roots start spilling out or circling inside the pot, and the bark mix turns soggy. Suddenly, your plant just isn’t thriving anymore. Repotting when new roots start to appear or the potting media breaks down can make a big difference.
Fresh air and space for the roots help prevent rot and keep your orchid happy. Timing and method matter, but you don’t have to overthink it—just a few simple steps can keep the plant blooming for years.
With a bit of prep, you can move your orchid into a new pot without too much fuss. Here’s how to get ready, handle the repotting, and care for your plant afterward so it keeps looking its best.
Table of Contents
Preparing the Orchid for Repotting
Knowing when to move your orchid and having the right tools makes all the difference. The roots and potting mix will usually tell you what you need to know.
Signs Your Orchid Needs Repotting
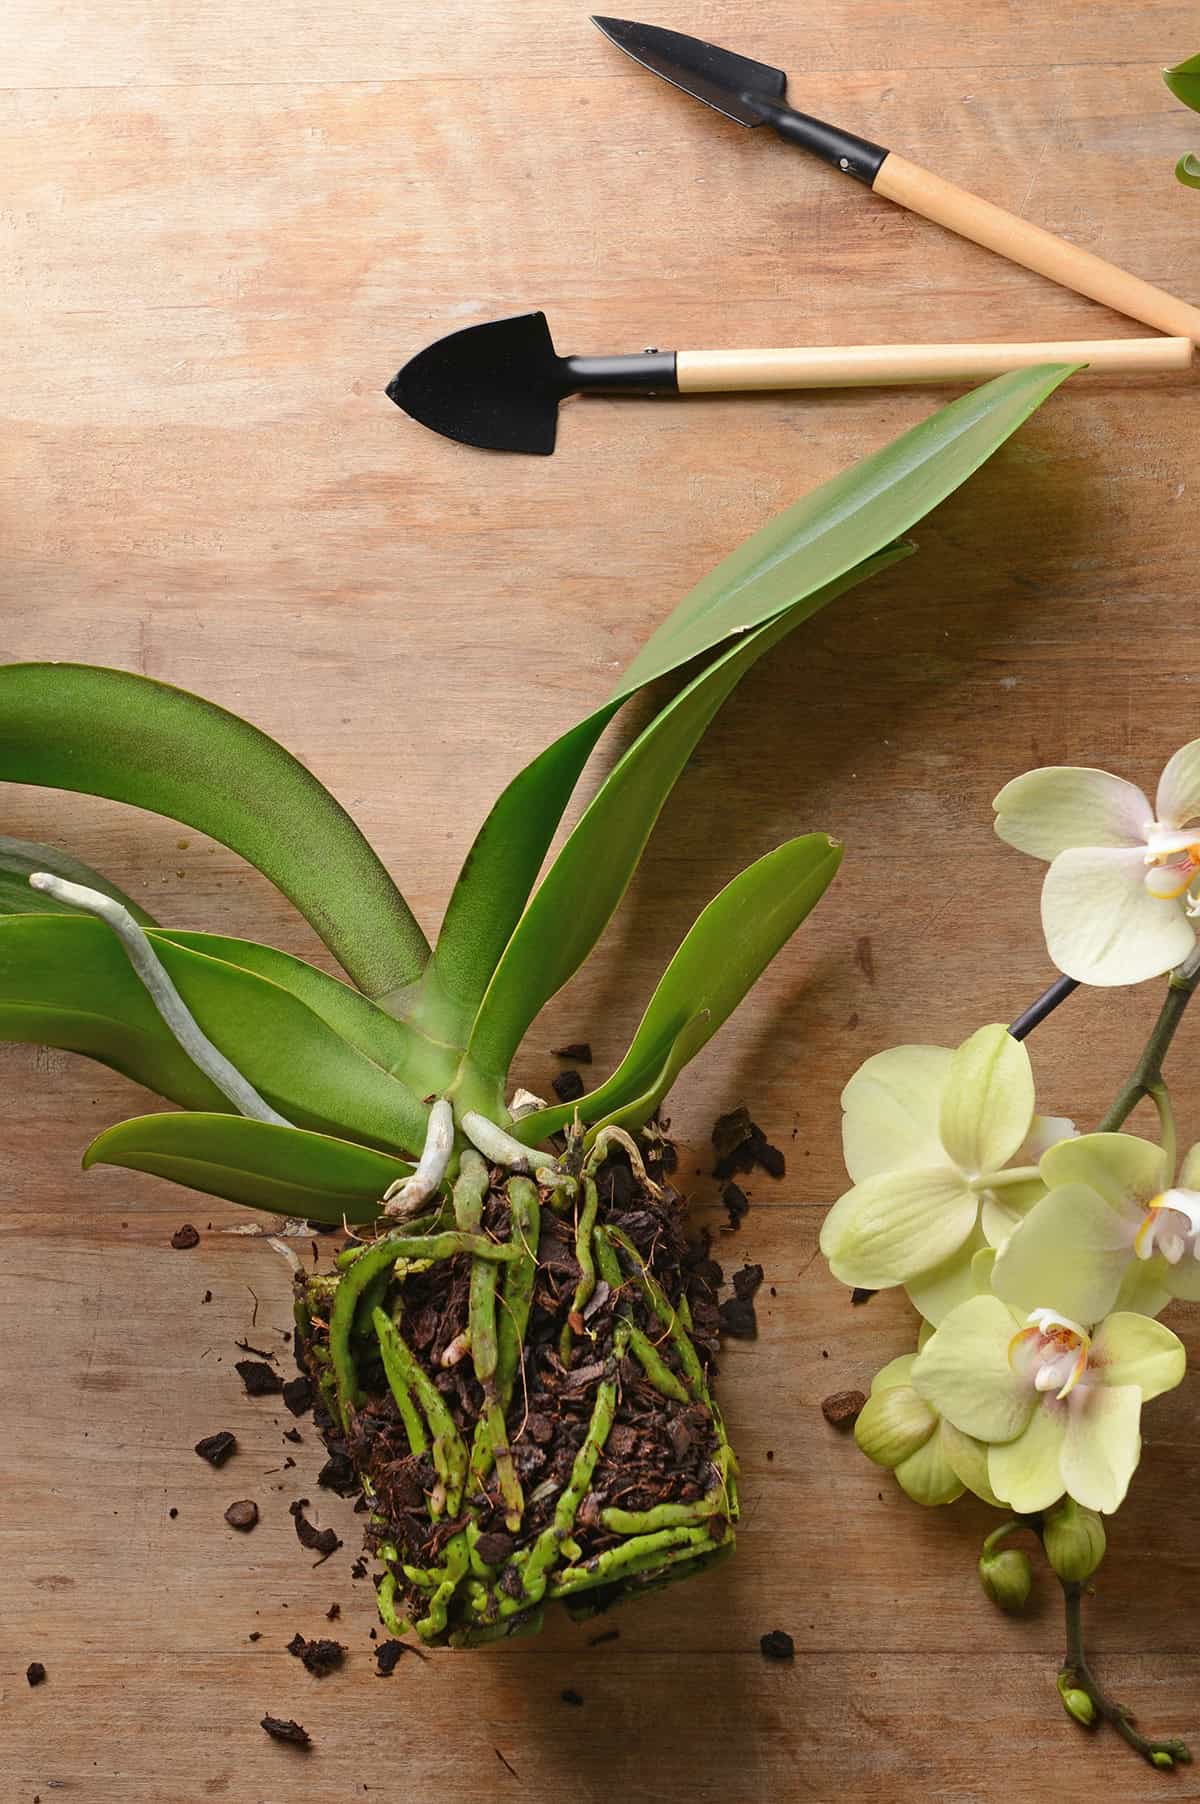
If you notice roots creeping over the pot’s edge or circling tightly, it’s usually time for an upgrade.
Take a look at the potting mix—if it’s broken down into tiny bits or stays soggy, that’s not good for the roots.
Leaves turning yellow, slow growth, or a funky smell from the pot? Those are red flags. Usually, it means the roots aren’t getting enough air or have started to rot.
After two years in the same pot, even a healthy-looking orchid could use fresh media. Old mix just doesn’t drain well anymore.
Best Time to Repot Orchids
It’s best to repot after the flowers fade and before new root growth kicks in. That way, the plant bounces back faster.
Early spring is usually a safe bet since growth is about to pick up. Try not to repot while the orchid is blooming—flowers can drop off early if you do.
If the roots look rotten or the plant’s struggling, don’t wait. Go ahead and repot, even if it’s not the “perfect” time.
Keep an eye out for new root tips—green or white ones mean it’s a good moment to repot.
What You’ll Need
Set up a clean workspace to avoid spreading any disease. Sterilize your scissors or pruning shears for trimming roots.
Grab some fresh orchid potting mix that suits your plant’s needs for drainage and moisture.
You’ll also want a pot with good drainage, gloves, and maybe a stick or chopstick to help settle the mix around the roots. A spray bottle can keep roots from drying out while you work.
Keep everything close by so you can work quickly and keep stress to a minimum for your orchid.
Choosing the Right Pot and Mix
Pick a pot with plenty of drainage holes—orchids really hate sitting in water.
Most orchids do well with a chunky mix of bark, charcoal, and perlite. It lets air flow and keeps roots from getting waterlogged.
Some types prefer sphagnum moss if they like things a bit more damp. Try to match the mix to your orchid’s natural habitat.
Skip regular potting soil—it’s just too dense and suffocates the roots. The pot should fit the root mass, with enough room for growth but not so much empty space that water hangs around.
Step-By-Step Repotting Guide
Go for a pot that’s just big enough for the roots. Too much space and moisture will linger, which orchids don’t appreciate. Make sure the container has drainage holes—no exceptions.
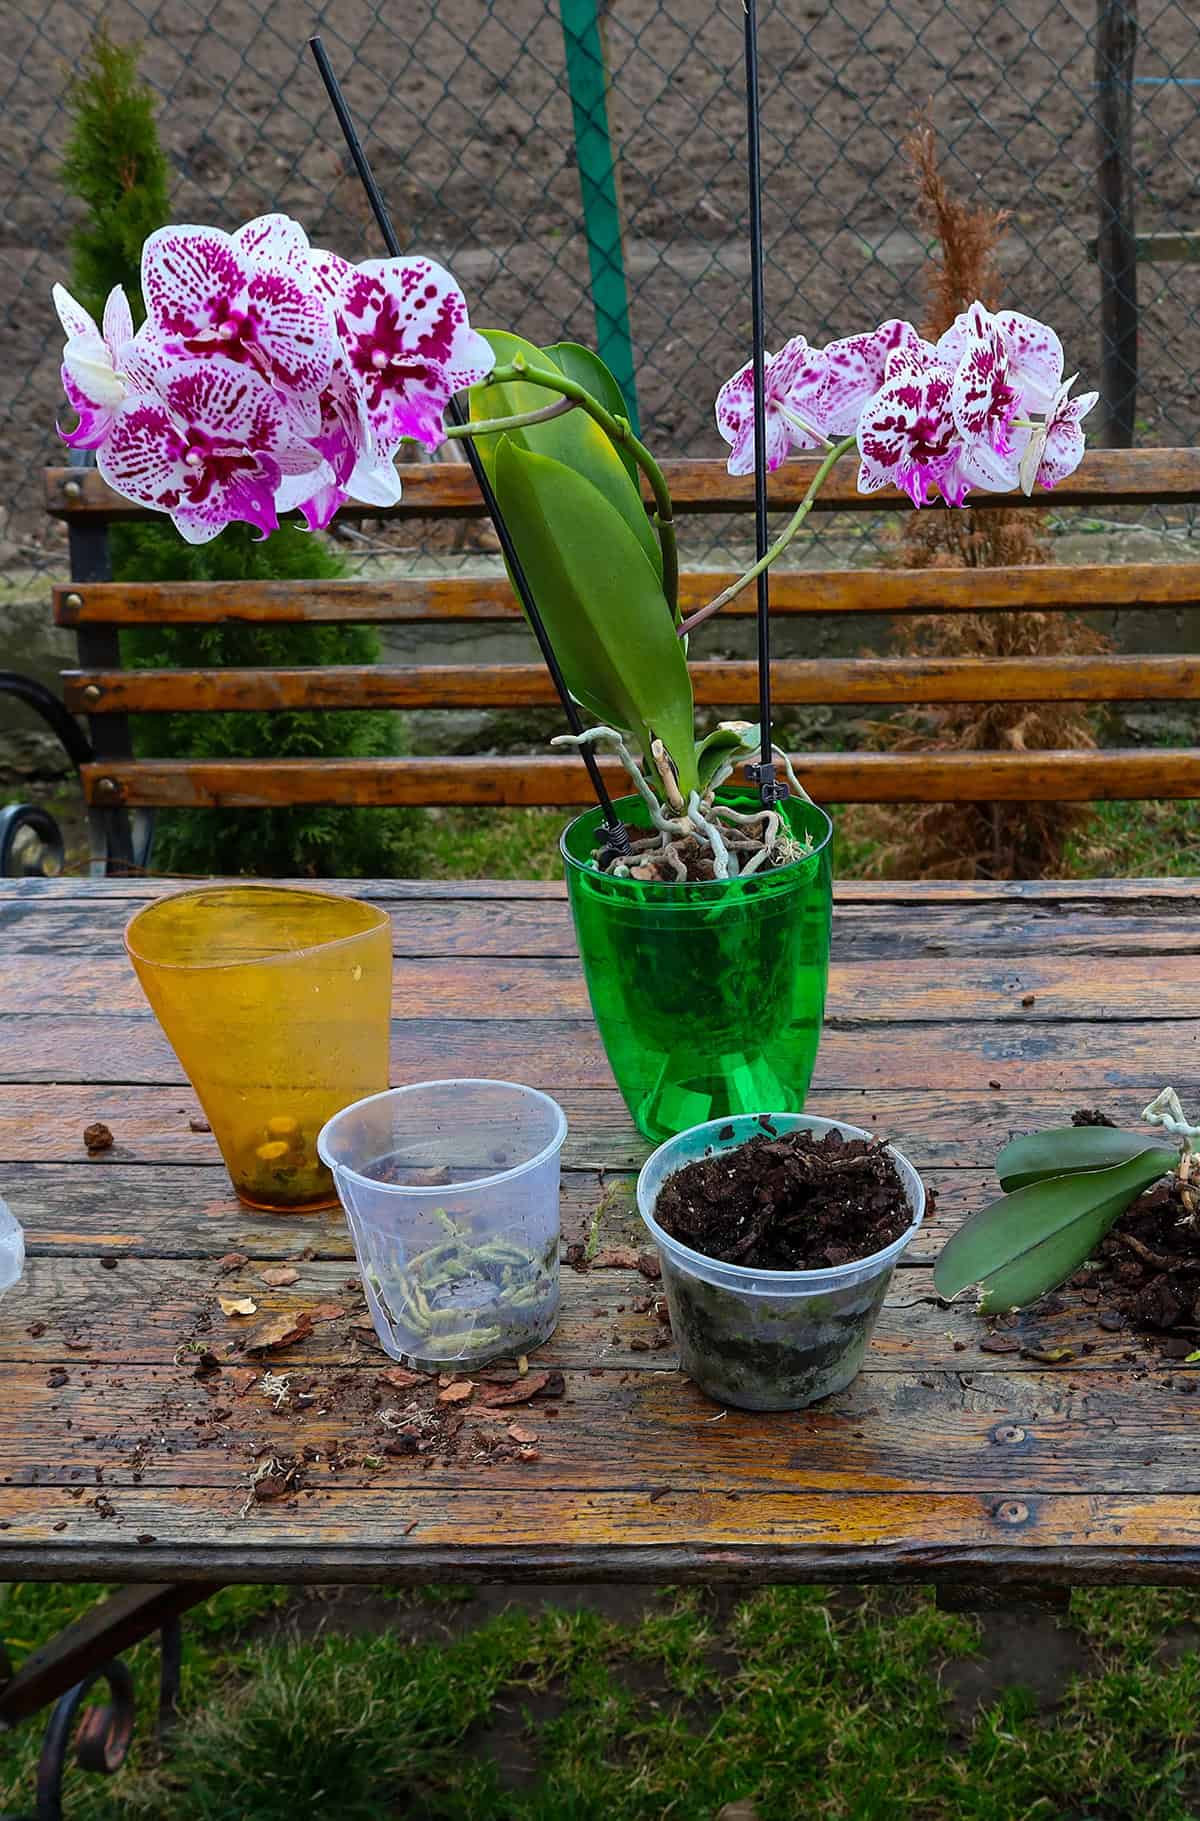
Gently work the orchid out of its old pot, loosening the roots as you go. Rinse or shake off the old potting mix. Snip away any dead or mushy roots with your clean scissors.
Set the orchid in the center of its new pot, spreading the roots out so they have room. Try not to bend or cram them together.
Add fresh orchid mix around and under the roots—bark, moss, or a blend meant for orchids. Press it in just enough to stabilize the plant, but don’t pack it tight.
Water lightly after you’re done, letting any extra water drain out. Keep the orchid somewhere warm and shaded for a few days to help it settle in.
Aftercare for Newly Repotted Orchids
Find a spot with plenty of bright, indirect light—direct sun’s a bit much for those sensitive new roots. Let the air move around it, but don’t park it in a drafty hallway.
Wait until the potting mix starts to dry before watering again. Roots need a little time to settle in, and honestly, soggy conditions are just asking for trouble.
Moderate humidity helps, so setting the pot on a tray with pebbles and some water underneath works well. Just make sure the pot isn’t actually sitting in the water, or you’ll have a mess on your hands.
Skip the fertilizer for a couple of weeks. The roots could use a breather after all that handling. Later on, you can start with a weak orchid fertilizer—half strength is plenty.
Keep an eye on the leaves and roots. If leaves start wrinkling or roots look mushy, something’s off with your watering. Tweak things as needed to keep your orchid happy.
Try not to shuffle the orchid around too much. It appreciates a little stability while it gets comfortable in its new home.