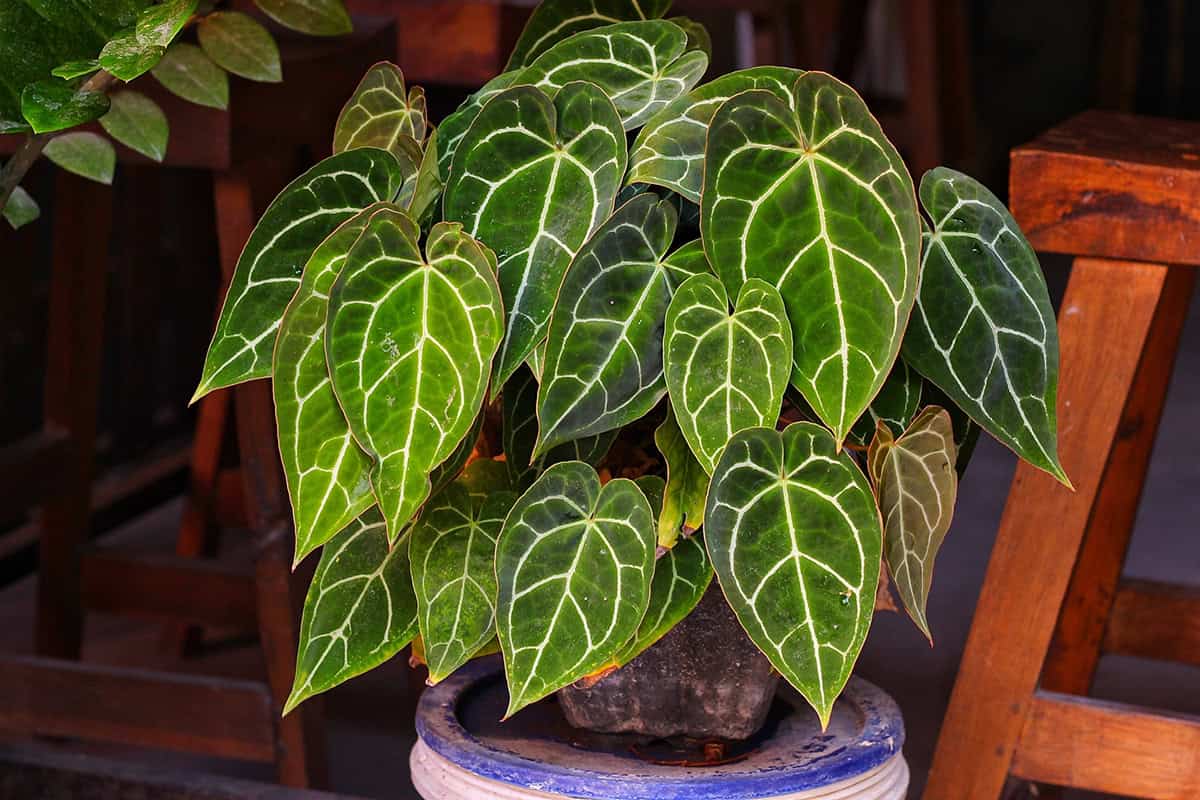
Those big, velvety leaves marked with crisp white veins? That’s the real showstopper here. Anthurium crystallinum isn’t about the flowers—what you want is healthy, dramatic foliage. Getting it right means bright but gentle light, chunky soil, cozy warmth, humidity that’s always up, and a careful hand with watering.
Dialing in that balance between light, moisture, and airflow keeps the plant looking tight and vibrant. Warmth and humidity really drive its steady growth. The following sections cover everything from lighting and soil to feeding, repotting, and troubleshooting—so you’ll have a good shot at keeping yours thriving indoors.
Table of Contents
Quick Care Summary
You’re after those broad, velvety leaves with their sharp white veins—Anthurium crystallinum is all about the foliage. It comes from the tropics, so it wants warmth, high humidity, and filtered, bright light. If your indoor space stays steady, it’ll reward you.
Botanical name: Anthurium crystallinum
Common names: Crystal anthurium
Plant type: Tropical perennial
Mature size: 1 to 3 feet tall indoors
Growth rate: Moderate
Toxicity: Toxic to pets and children if eaten
Native region: Central and South America
Roots need to breathe, not drown. If your air’s dry or light’s off, the leaves will tell you fast.
Light: Bright, indirect—never harsh sun.
Soil: Airy, well-drained mix (orchid bark, perlite, peat/coco coir).
Water: Keep it just moist; let the top dry before watering again.
Cold or dry rooms? Expect sluggish growth and leaf issues.
Temperature: 65–80°F; keep away from drafts.
Humidity: 60%+ for best results.
Fertilizer: Diluted, balanced feed every 4–6 weeks when it’s growing.
Propagation: Divide at the roots when it’s got a few stems.
Plant Overview
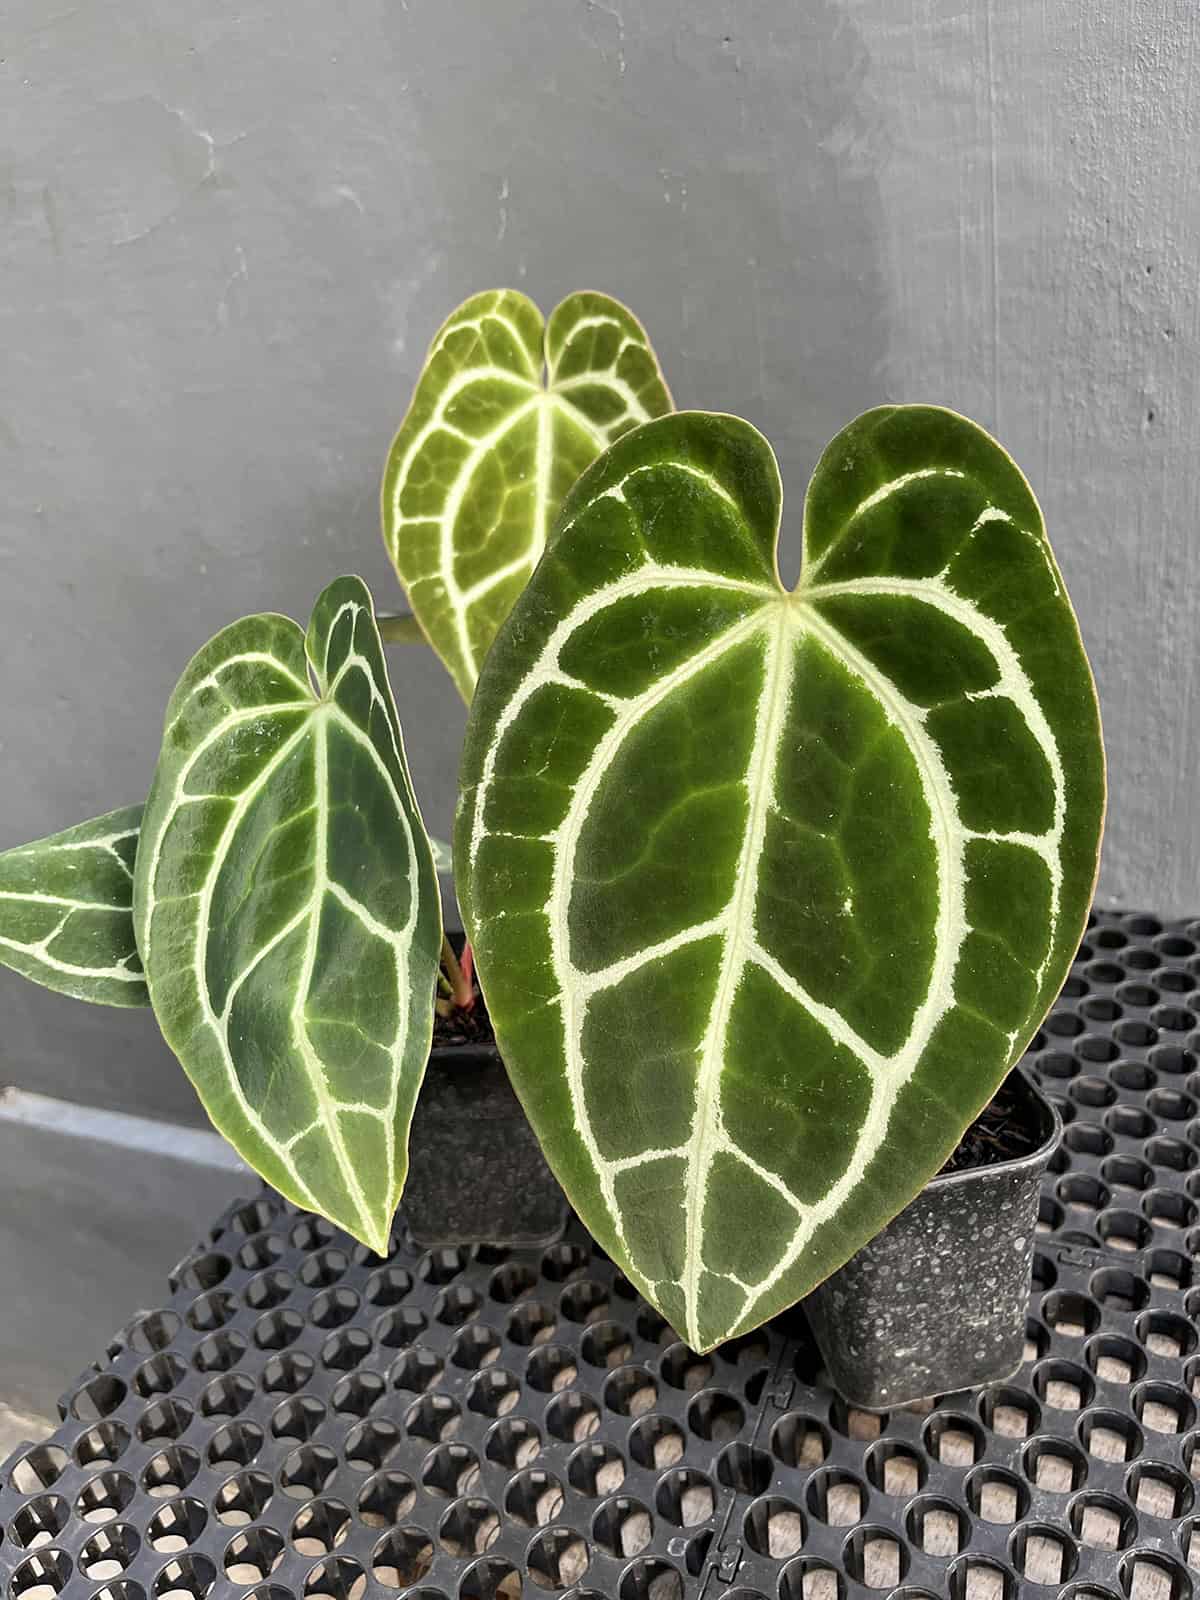
Step into a room with this species and you’ll notice the contrast and texture right away. The leaves—broad, heart-shaped, and velvet to the touch—grab your attention more than any bloom would.
Native to the rainforests of Central and South America, it’s part of the Araceae family (yep, that’s the aroid crowd). Warmth and humidity are its comfort zone.
Plant Details:
- Botanical name: Anthurium crystallinum
- Common names: Crystal anthurium, Crystal laceleaf
- Plant type: Tropical evergreen perennial
- Mature size: 1–3 feet tall; similar spread indoors
- Growth rate: Moderate if conditions are good
- Toxicity: Toxic if ingested; not safe for pets or children
- Native region: Central and South America
You’ll see upright stems with those signature leaves—sometimes stretching over a foot long if it’s happy. Indoors, it usually stays a bit more compact.
Quick Care Summary:
- Light: Bright, indirect
- Soil: Chunky, fast-draining aroid mix
- Watering: Lightly moist; let the surface dry a bit
- Temperature: 65–80°F
- Humidity: 60%+
- Fertilizer: Balanced liquid feed in the growing season
- Propagation: Division or stem cuttings with a node
Light
A room with soft, filtered sunlight sets off the leaf color and texture. Near a south or west window, but behind a sheer curtain, the plant can stretch out its leaves without risking sunburn. Direct rays? Those will scorch and fade the velvet finish in no time.
If the spot’s too dim, new leaves shrink and growth drags. The whole plant might start leaning for more light, losing its compact shape.
Curtains or pulling the pot back a few feet from the window usually does the trick. East windows are a safe bet if the morning sun isn’t too harsh. Spinning the pot every couple weeks helps it grow evenly.
When natural light isn’t cutting it, a decent full-spectrum LED does the job. Keep it a foot or so above the leaves, and aim for about twelve hours a day. It’s not rocket science, but consistency matters.
Water
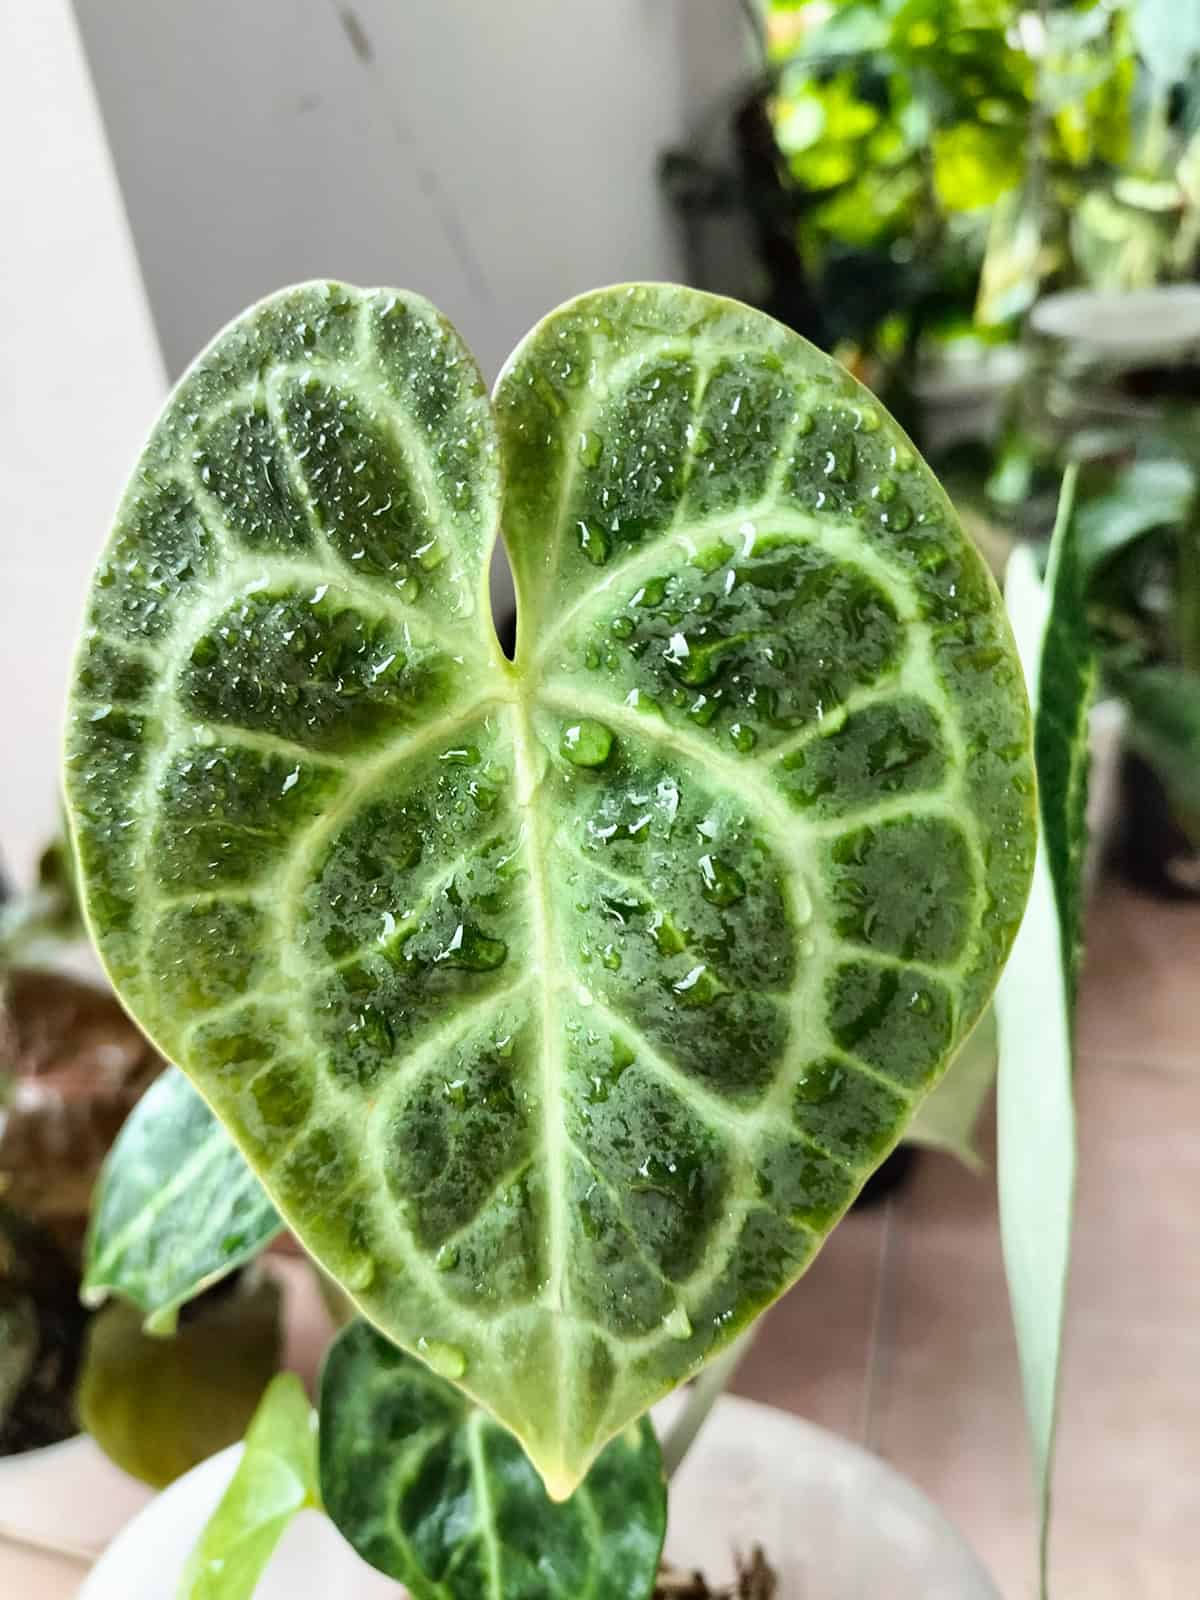
Getting the watering right is key—roots want to be damp, not soaked. Stick your finger in the soil; if the top inch is dry, that’s your cue. Schedules don’t work here, since everything from room temp to pot size can speed up or slow down drying.
Drainage is non-negotiable. Always pick a pot with holes, and dump any leftover water from the saucer. Soggy roots turn mushy and start to smell, and yellow leaves usually follow.
Room temp water keeps things calm—cold shocks the roots. If your tap water’s heavy on minerals, filtered or rainwater is safer. Over time, salts can build up and mess with the roots, so a flush with clean water every now and then helps.
During winter, back off a bit. Growth slows, so the plant doesn’t need as much. Just don’t let the soil go bone dry.
Soil
A chunky, airy mix is the secret to happy roots. Heavy, dense soil suffocates them, and you’ll see it in the leaves before long. Texture matters—a blend of peat or coco coir, orchid bark, and perlite gives you that balance of moisture and airflow.
Some folks go for a 2:1:1 mix of peat/coco, perlite, and sphagnum moss. Bark keeps things loose, sphagnum hangs onto just enough water.
Skip the garden dirt—it compacts and chokes off oxygen. Studies back this up: anthuriums do best in loose, organic mixes that let roots breathe.
After watering, excess should drain out quick. If water pools on top, it’s time to up the bark or perlite. Repot every year or two, since old mix breaks down and airflow drops off.
Temperature & Humidity
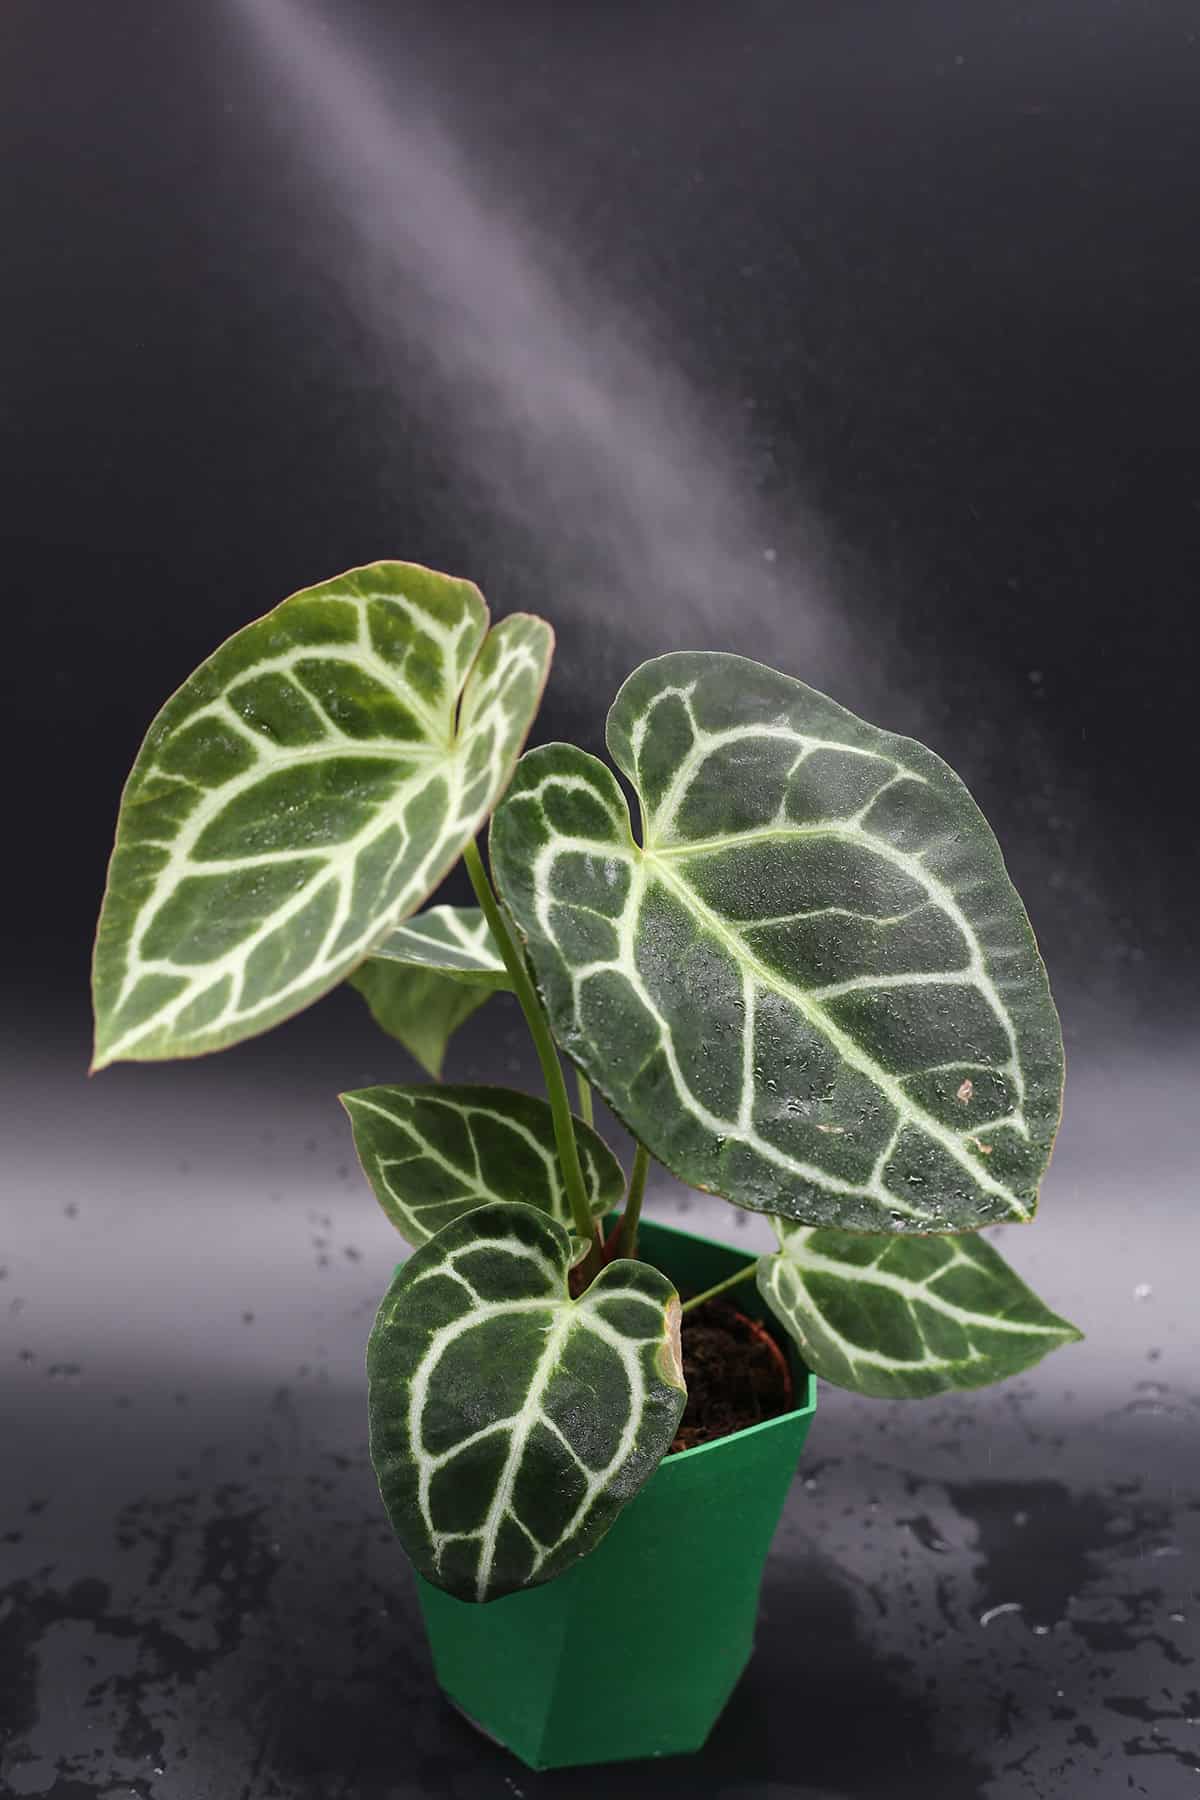
If the air feels warm and a bit muggy, you’re on the right track. Daytime temps between 70°F and 85°F make this plant happiest. Nights can dip a bit, but don’t let it fall below 60°F. Cold drafts? That’s a fast track to stunted growth or worse.
Sudden chills or blasts from vents are trouble. Anything below 55°F for long can be a death sentence. Consistency is your friend here.
Humidity is just as important. These leaves crave 60–80% humidity. Dry air sucks the life out of them—edges go brown, velvet turns dull. Keep things moist and you’ll see that signature sheen.
A humidifier nearby, a pebble tray under the pot, or clustering plants together all boost local moisture. Just make sure air still moves, or you’ll risk fungal issues.
Bathrooms with bright, indirect light can be great, especially if you’re in a dry climate. Stick a cheap humidity meter nearby if you’re not sure. When warmth and humidity hold steady, the plant settles in.
Fertilizer
Feeding isn’t complicated, but overdoing it backfires. Go for a balanced, water-soluble fertilizer—something like 10‑10‑10 or 20‑20‑20. Dilute it to half strength; the roots are sensitive. Spring and summer, every four to six weeks is usually plenty.
If you’re not into frequent feeding, a slow-release option can work—just don’t overdo the dose. Too much nitrogen is a quick way to crispy leaves. Every few months, flush the pot with clean water to rinse out any fertilizer residue.
Skip feeding in the colder months when growth stalls. Once new leaves pop up again, you can start back in.
Potting & Repotting
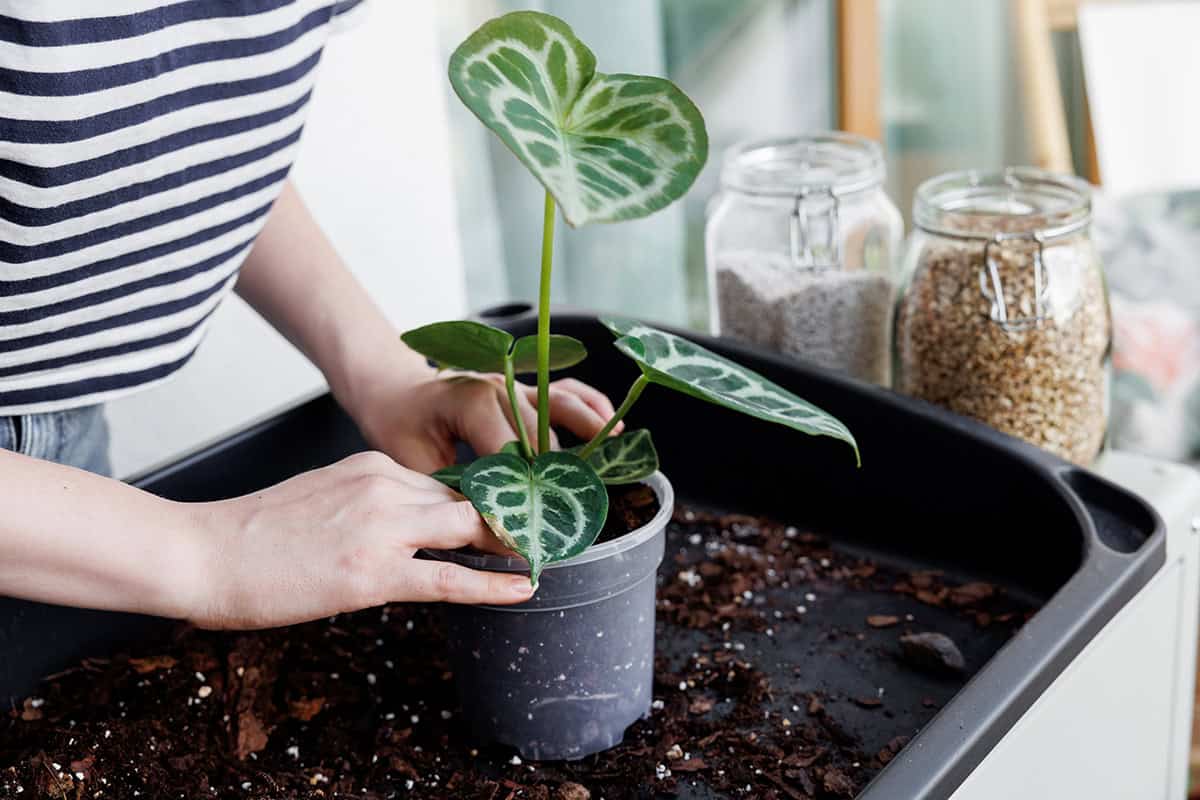
Loose, coarse, and fast-draining—that’s the goal for your potting mix. Equal parts peat moss, pine bark, and perlite usually do the trick. Roots want air, not a swamp. Always go for a pot with at least one drainage hole.
You’ll know it’s time to repot when the roots start circling or poking out the bottom. Move up just one pot size—too big, and the mix stays wet too long.
Water lightly before repotting so the root ball holds together. Gently tease apart any tangled roots and snip off anything mushy or dark. Replant at the same depth, fill in with fresh mix, and firm it down gently. Leave a bit of space at the top for watering.
Afterward, keep it in bright, indirect light and just moist for a bit. Hold off on fertilizer for a month or so.
Pruning
This isn’t a plant that needs constant trimming. The main reason to prune is to get rid of leaves that are yellow, brown, or look sickly.
Use sharp, sanitized scissors or pruners. Cut the stem close to the soil for damaged leaves—clean cuts heal faster and reduce disease risk.
Snip off dead or weak growth as you spot it. That way, the plant puts energy into healthy leaves. Don’t go overboard; taking off more than a third at once is rough on the plant.
If an old flower stalk is hanging around, cut it back near the base. No need to shape the plant by cutting healthy leaves—those big leaves are its power source. If things get crowded, divide the plant while repotting instead of hacking away at the foliage.
Always clean your tools with alcohol before and after. It’s a quick way to limit disease spread.
Propagation
Multiplying this plant is pretty straightforward if you’re patient. Division is the most reliable method, especially if the plant’s mature and has a few stems. Best to do this in spring or early summer, when it’s actively growing.
Take the plant out of its pot and gently pull apart the root ball. Each piece should have at least one healthy stem and some roots. If it’s stubborn, a clean knife helps. Pot up each section in a fresh, loose mix with plenty of organic matter.
Stem cuttings can work too, as long as there’s a node and an aerial root. Tuck the cutting into moist sphagnum or a chunky mix, keep humidity high, and maintain temps around 70–85°F. With luck and steady moisture, roots pop out in a few weeks.
Don’t drown the cuttings—consistent moisture is key, but soggy soil is a killer. Once you spot new leaf growth, treat it like any other established plant.
Common Problems
Yellowing leaves are usually a sign of overwatering or soggy soil. Sometimes you’ll notice mushy stems or a funky smell. That’s root rot—pull the plant, trim away dead roots, and repot in a fresh, airy mix.
Crispy brown edges? That’s almost always low humidity or erratic watering. This species wants steady moisture in both the soil and the air. Up the humidity, keep watering on track, and usually the new growth bounces back.
If you spot dark, wet-looking spots on the leaves, you might be dealing with bacteria. Anthuriums can get bacterial blight, especially in muggy conditions. Isolate the plant, cut away affected leaves with clean tools, and avoid splashing water on the foliage. Better airflow helps too.
Pale leaves and sluggish growth often mean not enough light or a lack of nutrients. Move the plant to a brighter spot and feed it during active growth, but don’t dump on the fertilizer—salt buildup is a real risk.
Pests like spider mites and mealybugs sometimes show up. Flip the leaves and check the stems. Wipe them off, use insecticidal soap if needed, and keep an eye out for new visitors. Regular checks help you catch problems before they get out of hand.
Varieties
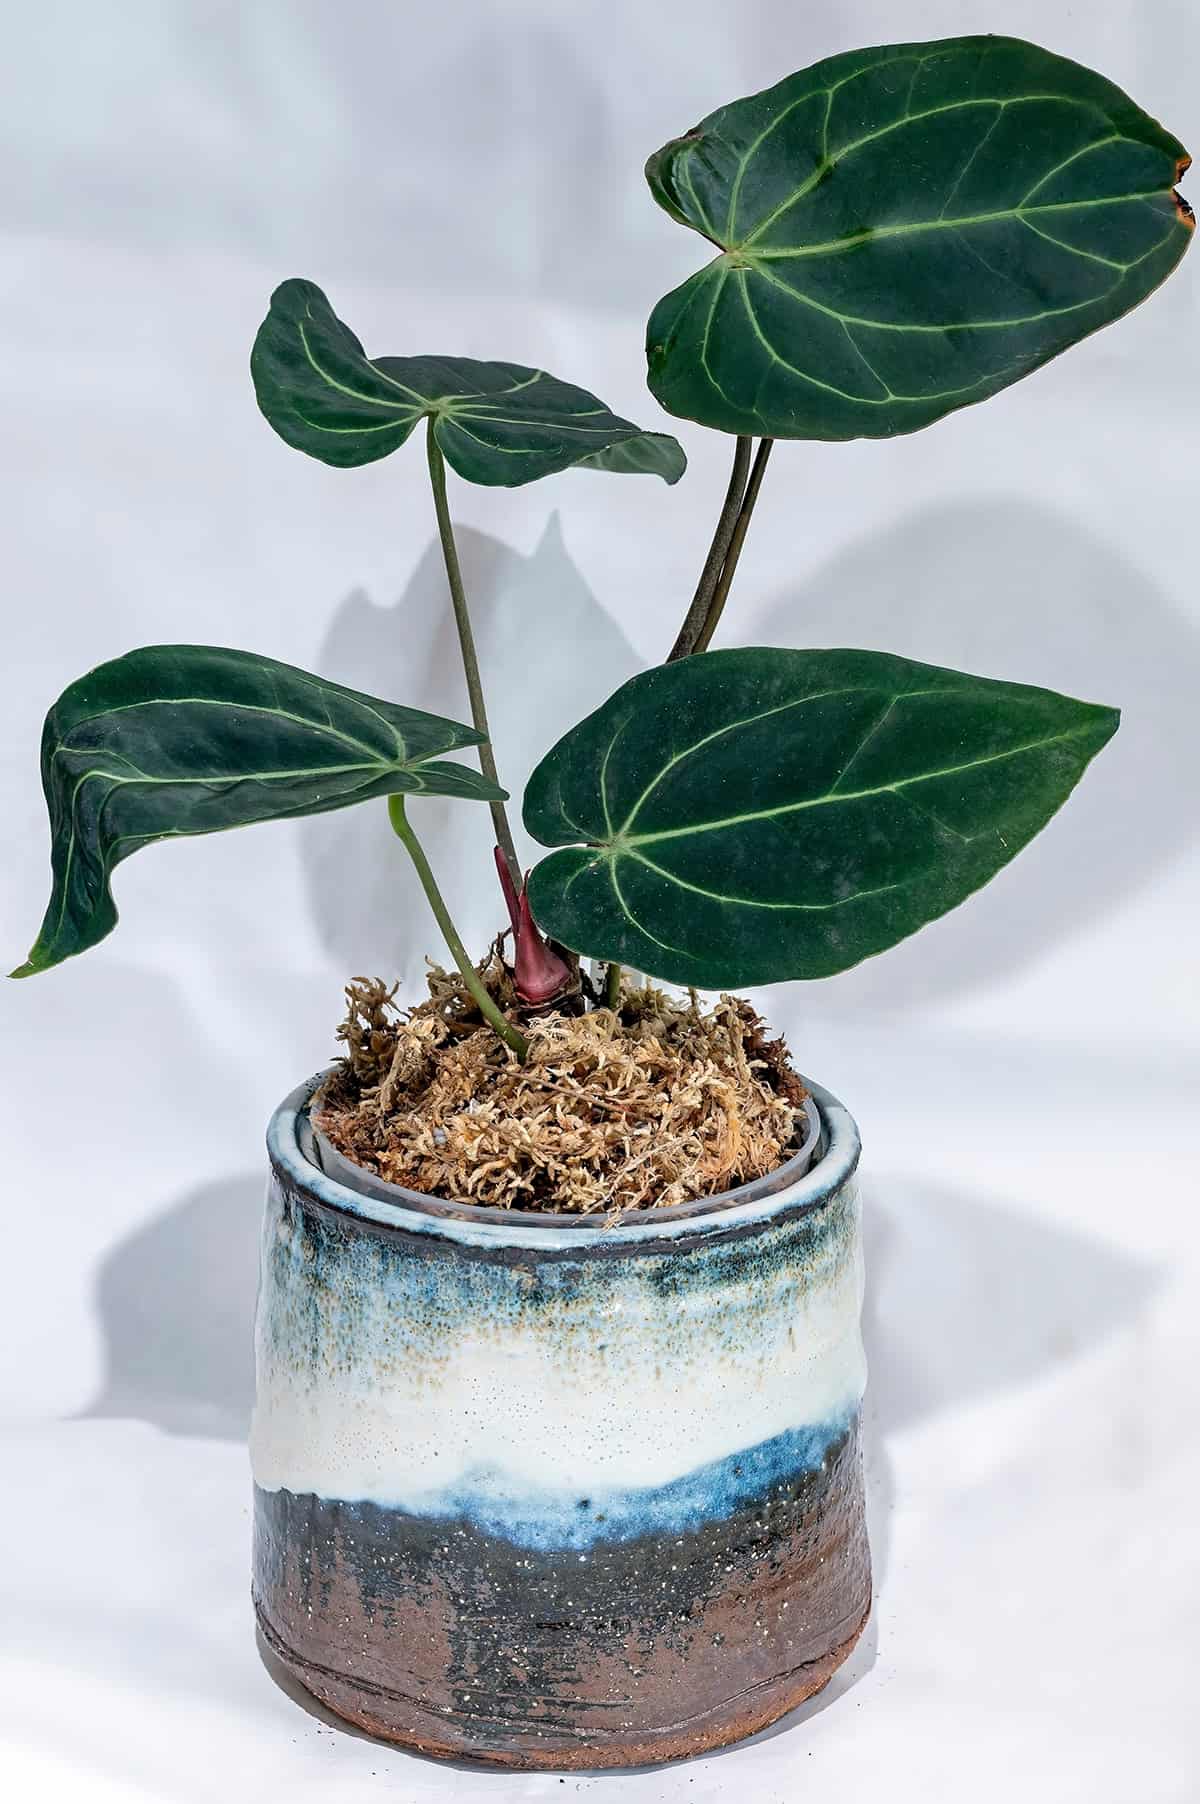
Step into any decent aroid collection and you’ll spot a few distinct forms of Anthurium crystallinum—all flaunting those deep green, velvety leaves etched with dramatic white veins. But the similarities end there. Leaf shapes shift: some plants lean toward plump, rounded hearts, veins almost glowing in sharp contrast, while others seem to stretch out, leaves narrowing and veins tracing finer, more intricate paths. Over time, what starts off feeling like soft velvet can turn a bit firmer, even edging into a leathery texture as the plant gets older.
Hybridization pops up everywhere in this group. Collectors are always chasing new crosses, especially between A. crystallinum and close relatives like Anthurium clarinervium. That clarinervium parent brings in chunkier, darker leaves, veins just as bold, and a certain sturdiness that’s hard to miss. Hybrids sometimes surprise with quicker growth or veins that don’t quite follow the usual script.
Labels at plant shops can be a little loose—“Crystal Anthurium” gets slapped on a range of velvet-leaf species, not just crystallinum. If you’re picky about what you’re adding to your shelf, double-check the botanical name before handing over any cash.
Given the right indoor setup—think steady warmth, humidity cranked up, and that elusive bright-but-not-direct light—these plants can eventually top out at around two or three feet. They won’t take over your living room overnight, but with patience, they’ll get there.